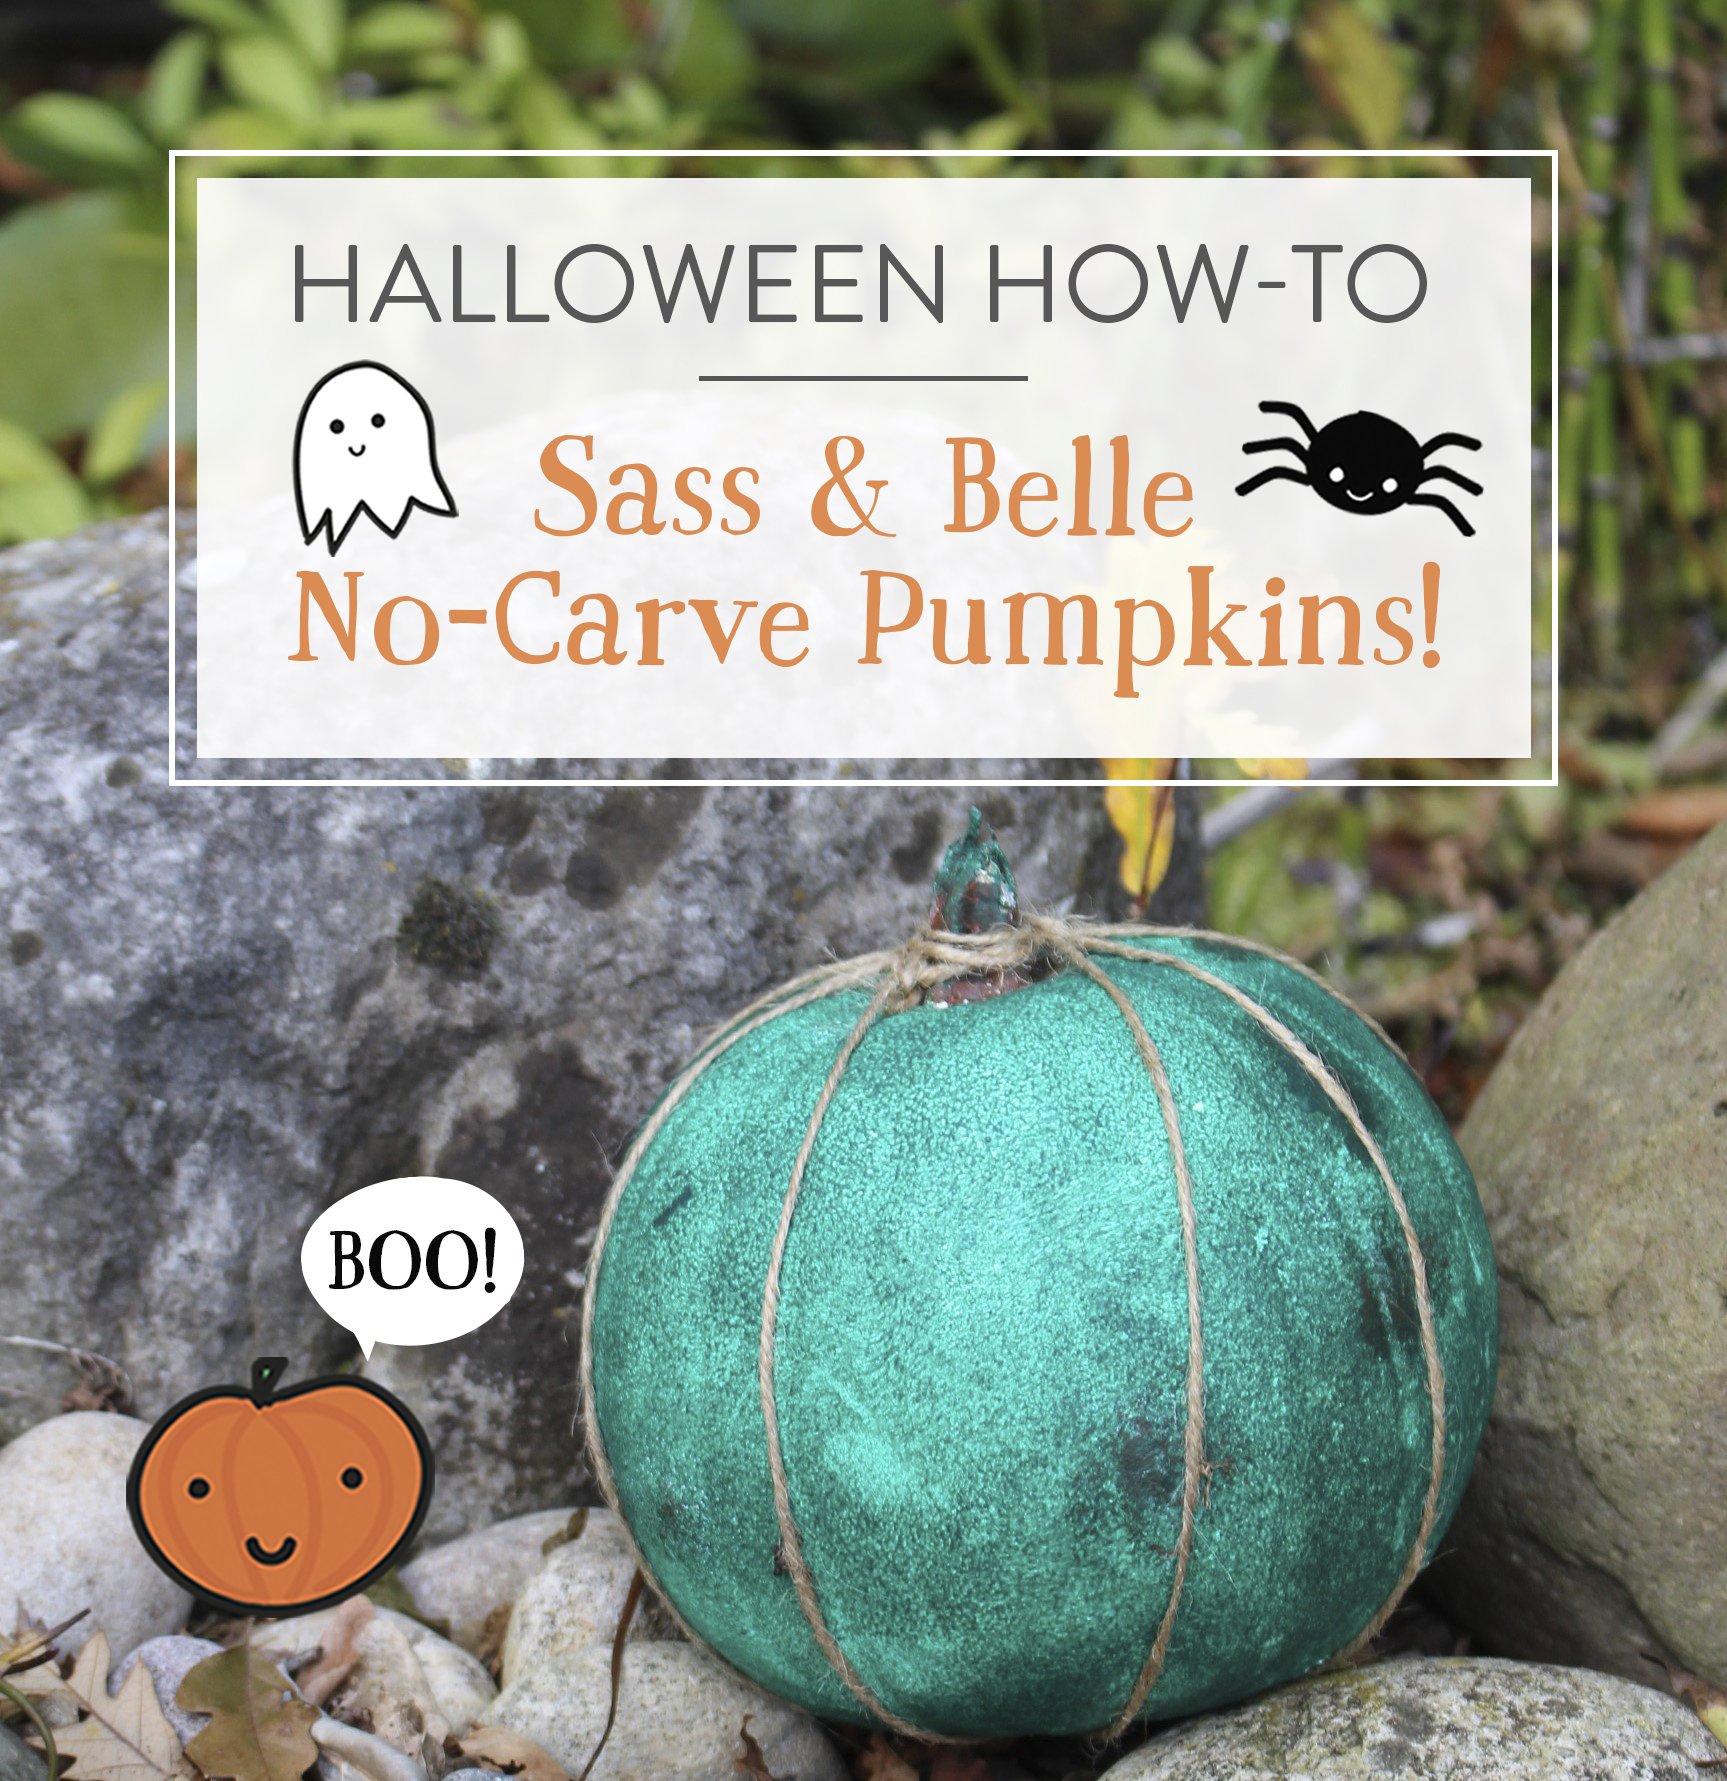
A Halloween ‘How to’: No-Carve Pumpkins
Step 1 – Picking your pumpkin
When picking your wonderful round canvas there are a few things to consider. The size and shape of your pumpkin should be suitable for your designs; the bigger it is, the more room for detail but small pumpkins can be a good size for sweet and spooky favours around the house. You also might want to consider any lumps or imperfections and how they will affect your design. An additional tip is to tap your pumpkin and to make sure it sounds hollow, this should ensure that it is ripe and ready… a professional-looking person told us that and therefore it must be true, right?
Step 2 – Inspiration and Preparation
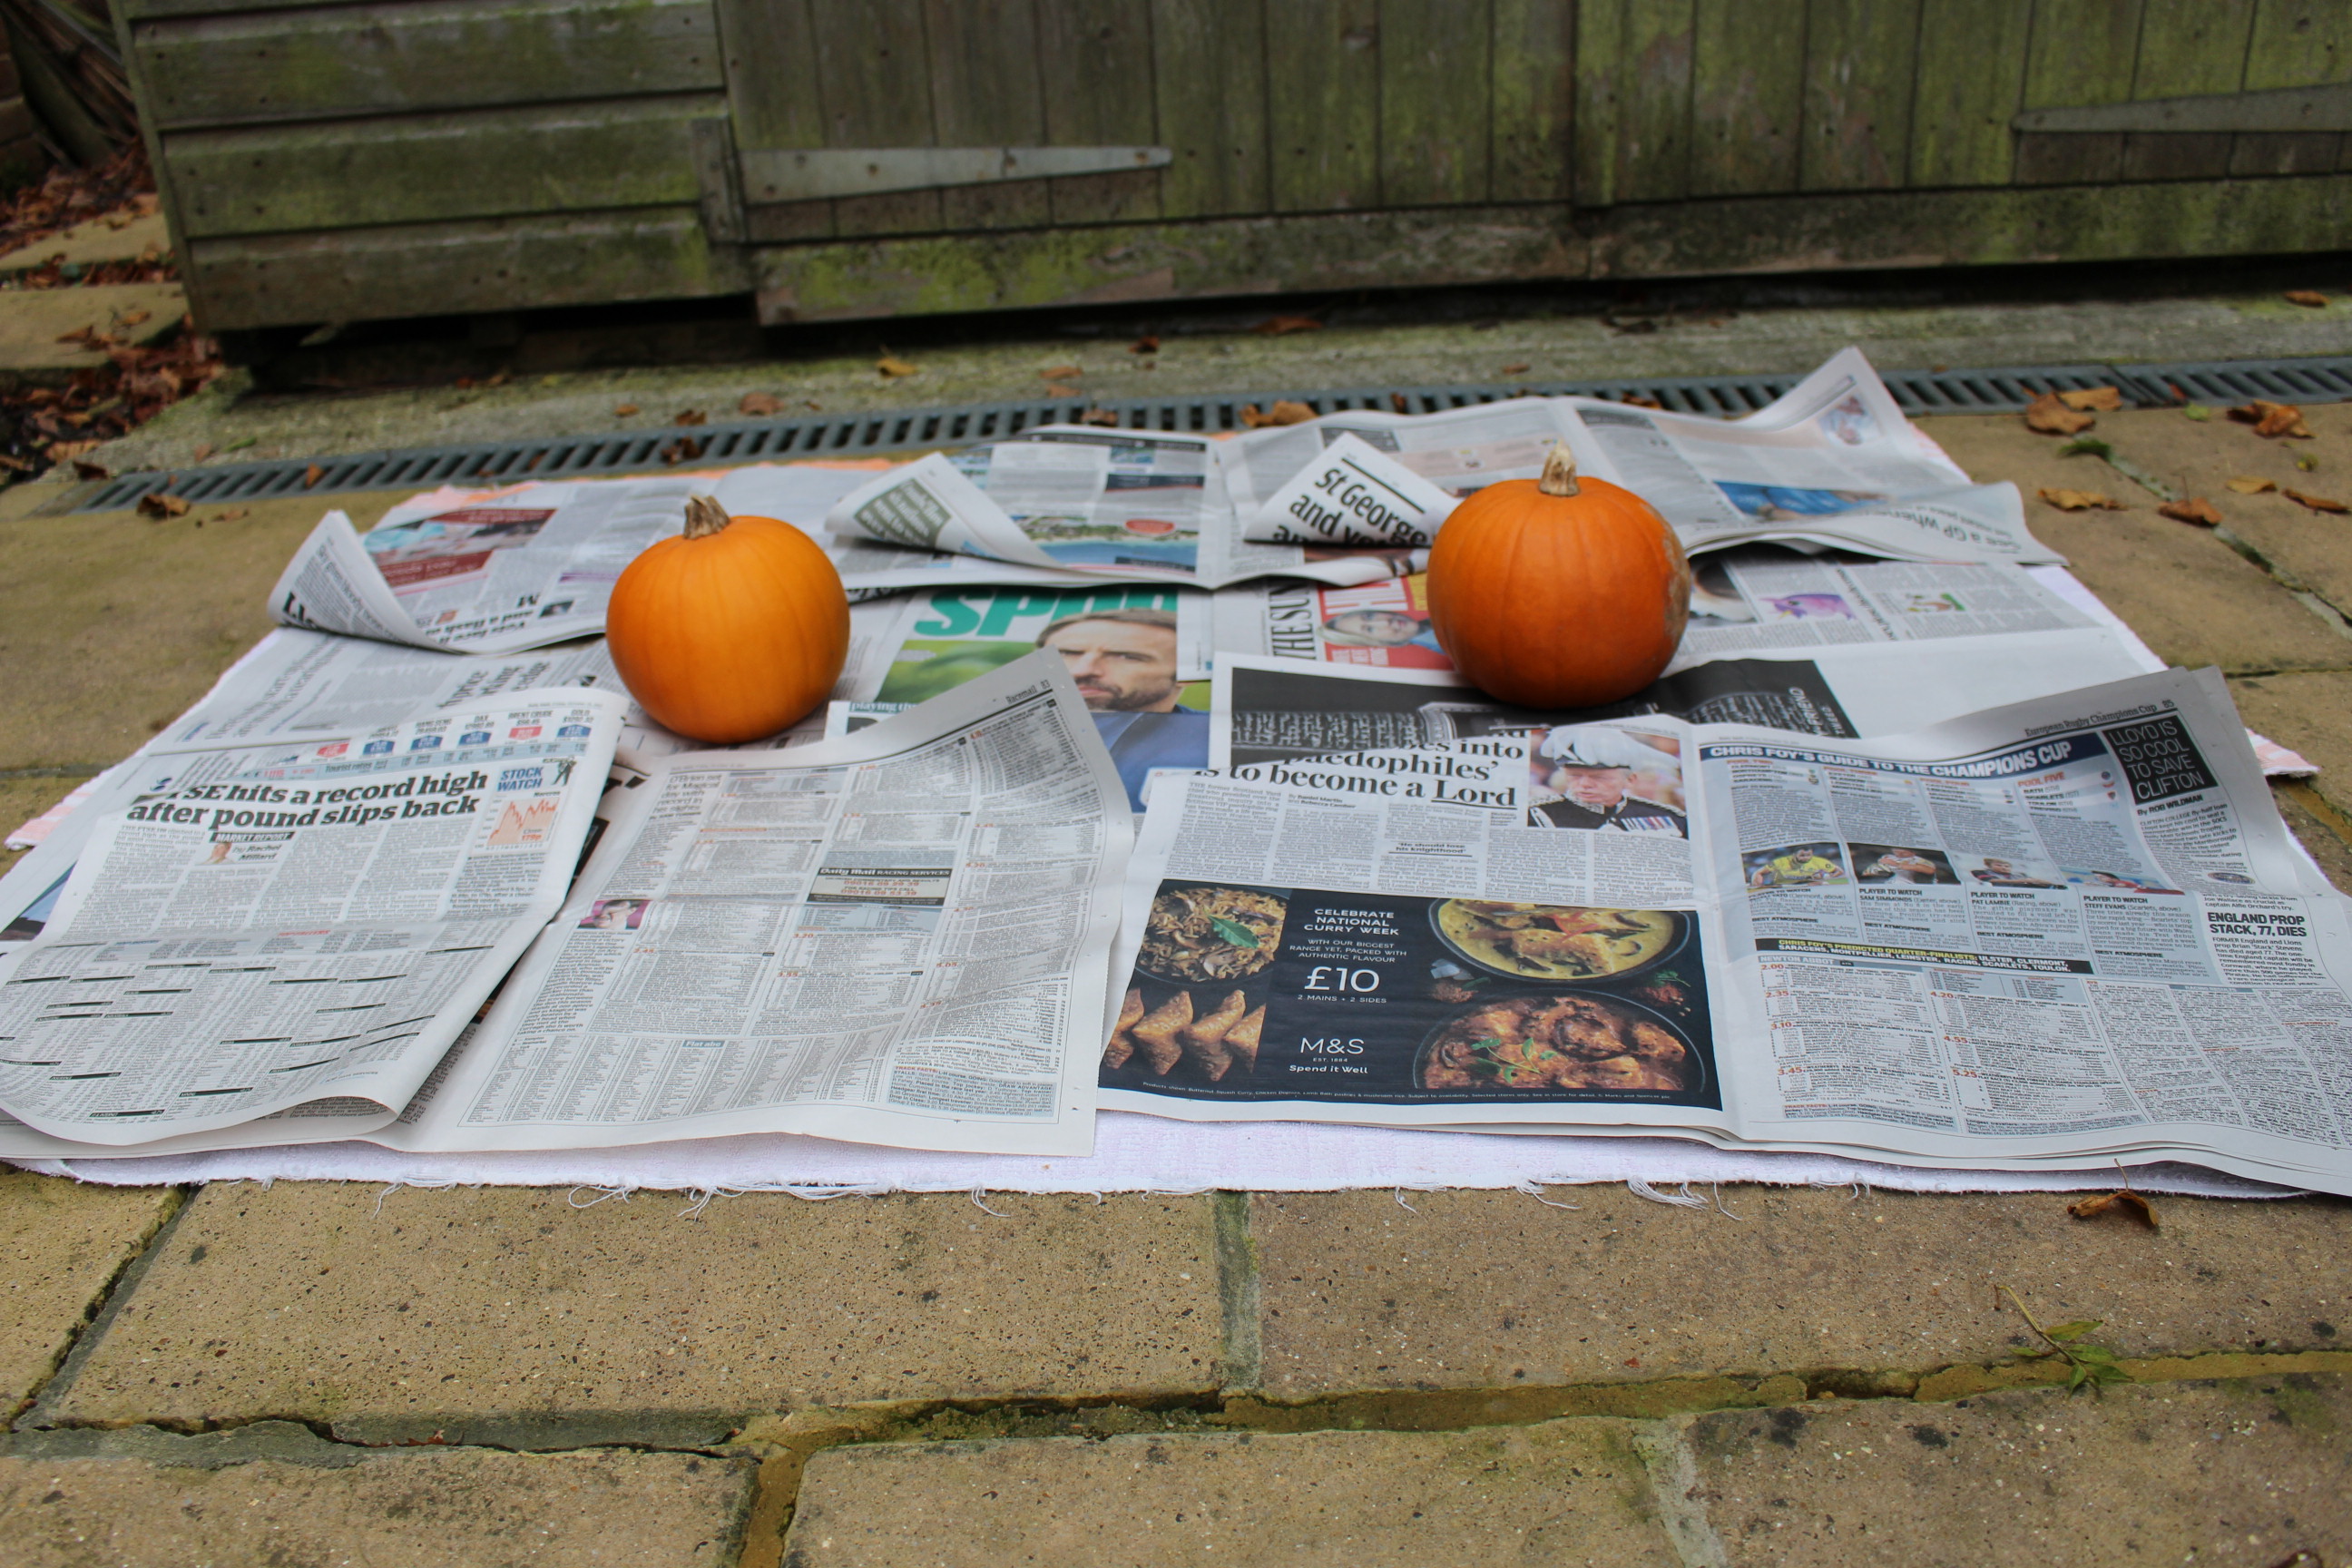
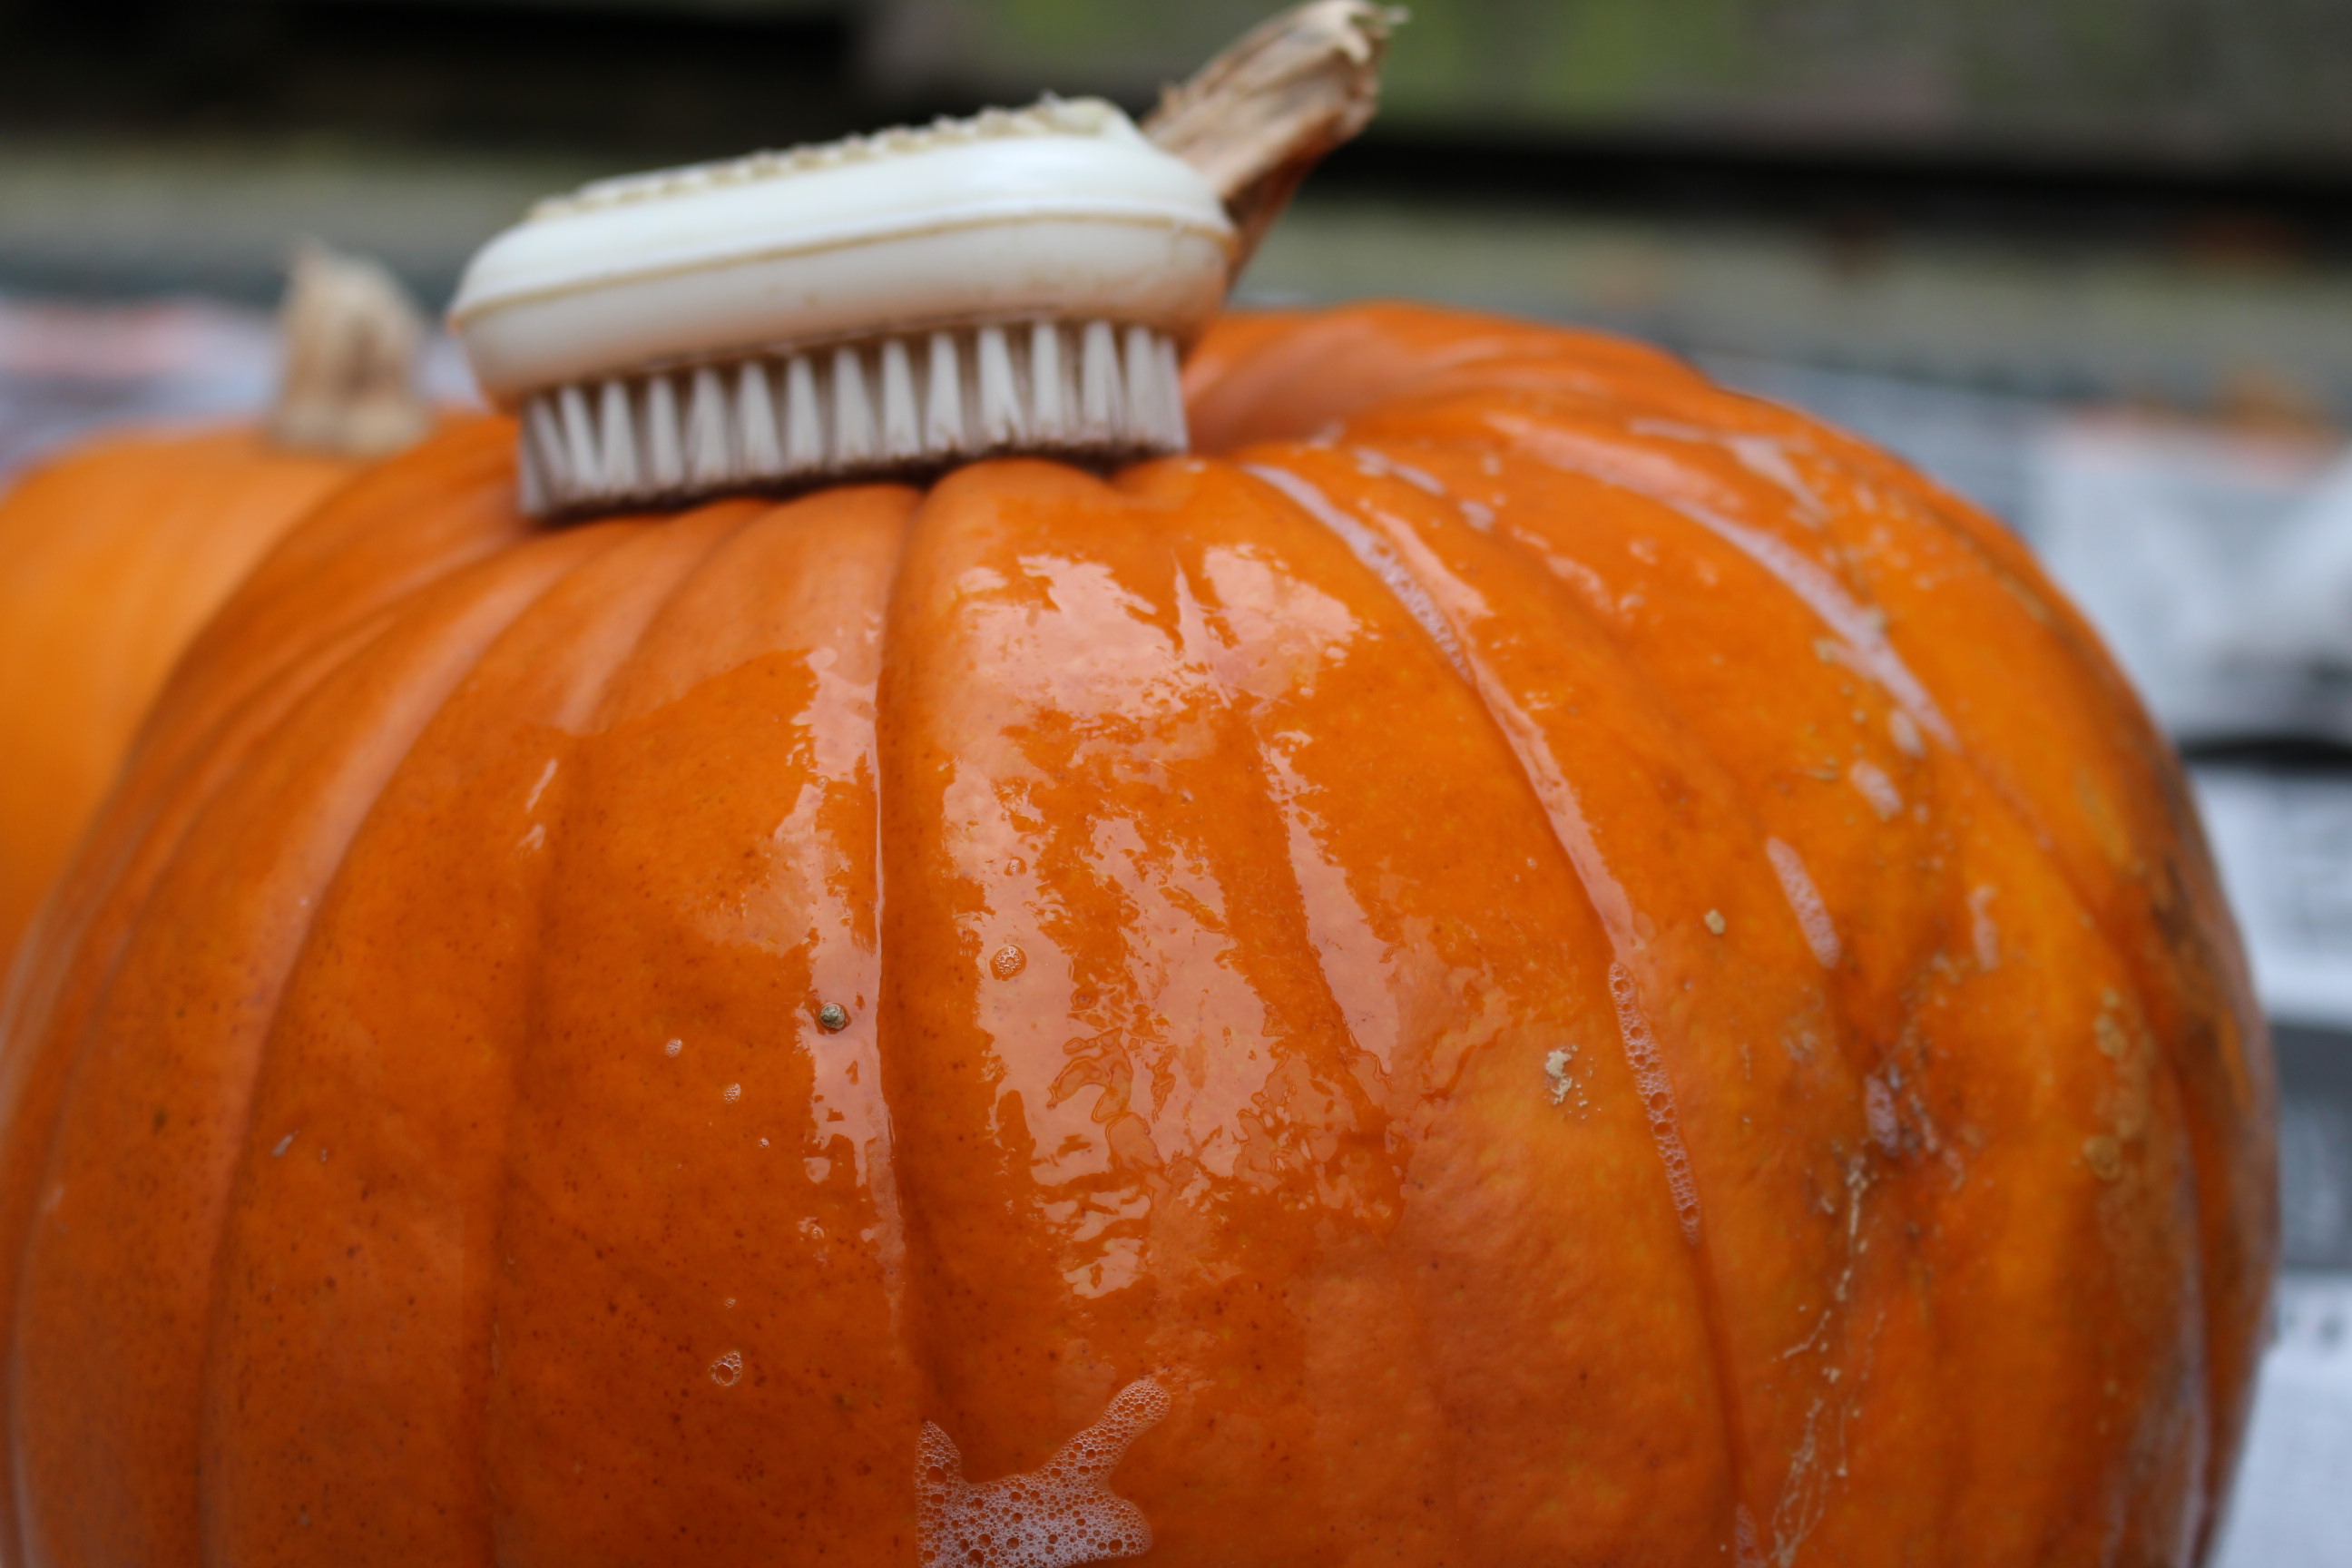
Inspiration can come from all around you, especially in the beautiful season of Autumn and it is worth planning before you begin to get the results you want. This will also help with knowing what additional materials you may need to help your amazing creations come to life! Prepare yourself a clean space, we suggest being outside if using spray paint and lay down old sheets and/or newspaper to protect your surroundings. Begin by cleaning the pumpkins to get rid of any dirt and to slightly smooth out the surface. Then leave to dry whilst you prepare your decorating equipment.
Step 3 – Getting Creative!
Once all your preparations are complete and you’re ready to become a Pumpkin Picasso, don’t be afraid to get stuck in! Enjoy getting your creative side flowing and don’t hold back. Here are our three Sass & Belle inspired pumpkin designs:
Minimal Botanical
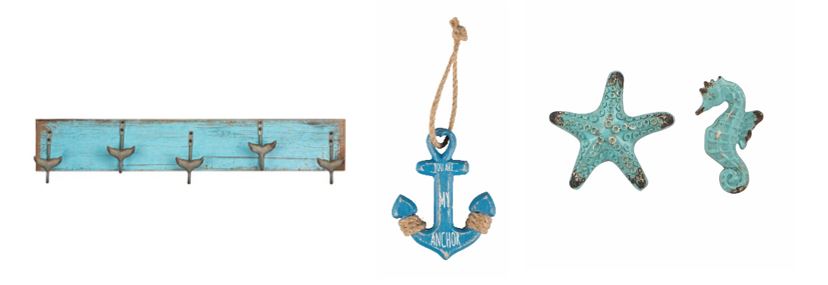
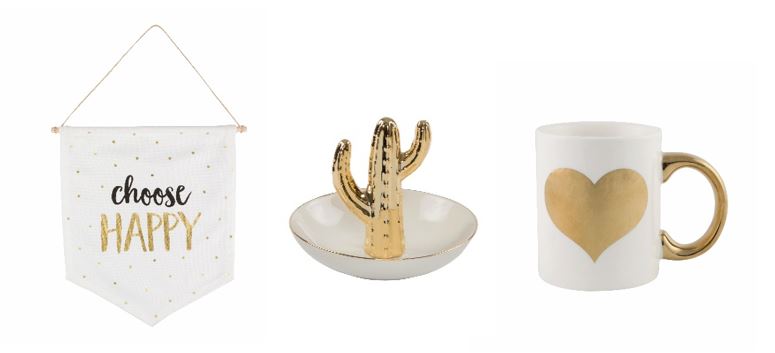
Designs don’t have to be complicated to remain on trend and eye-catching. For our first pumpkin we were inspired by the simple and minimal nature of these three products from our Botanical and Wildflower ranges:
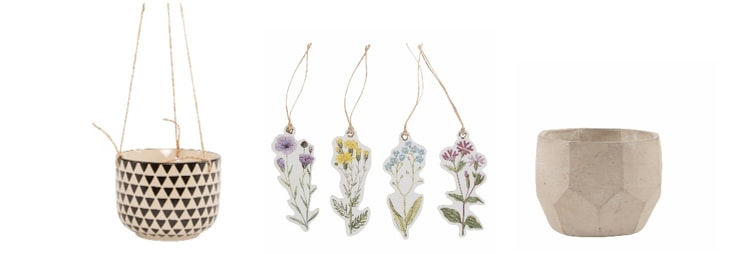
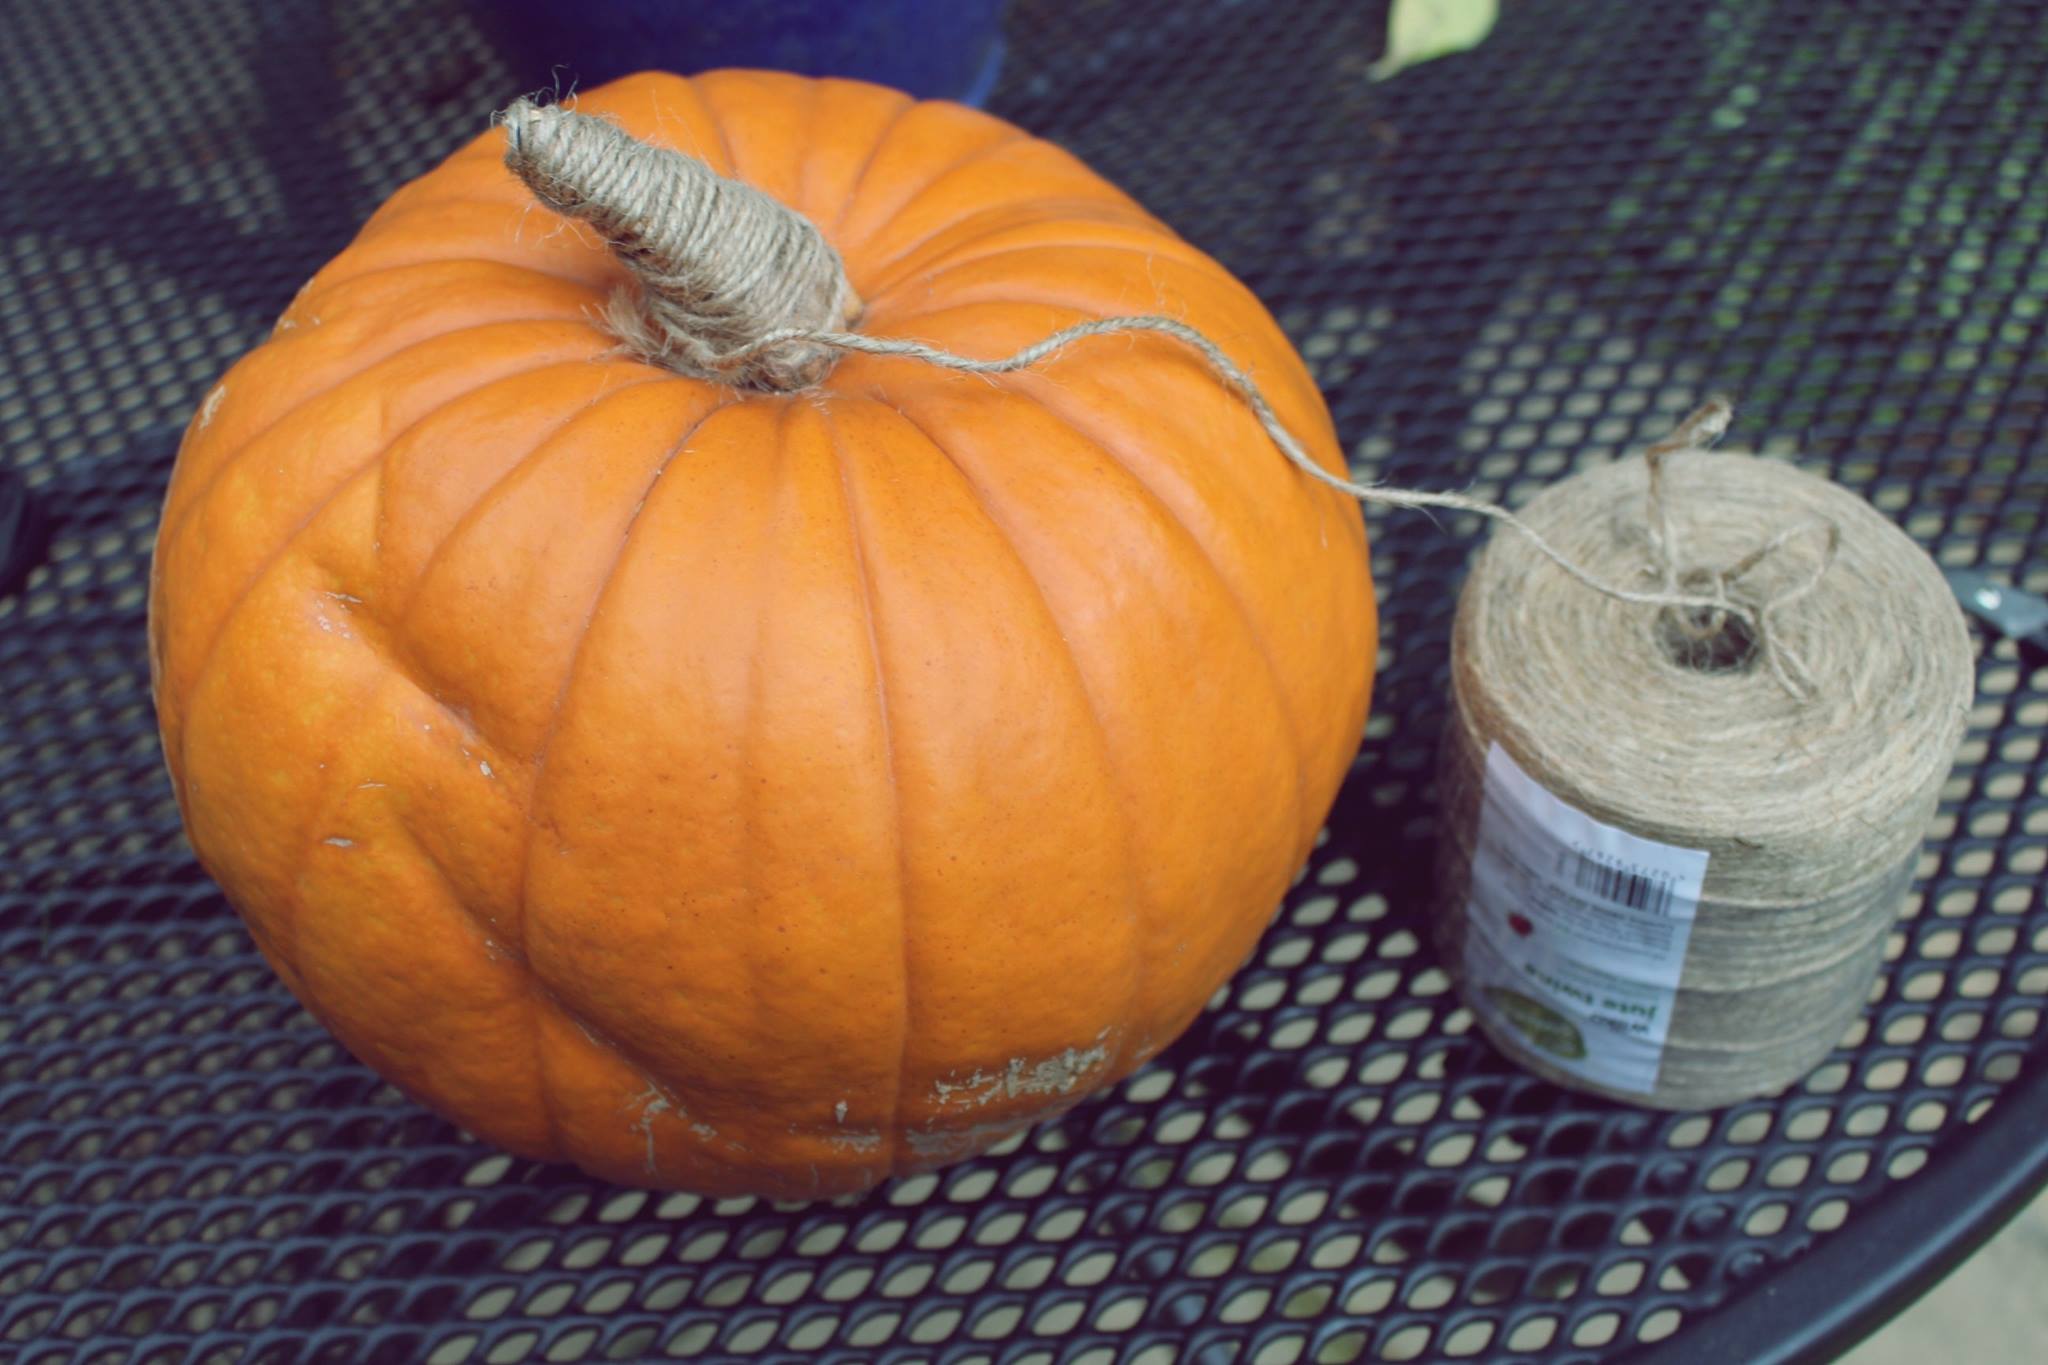
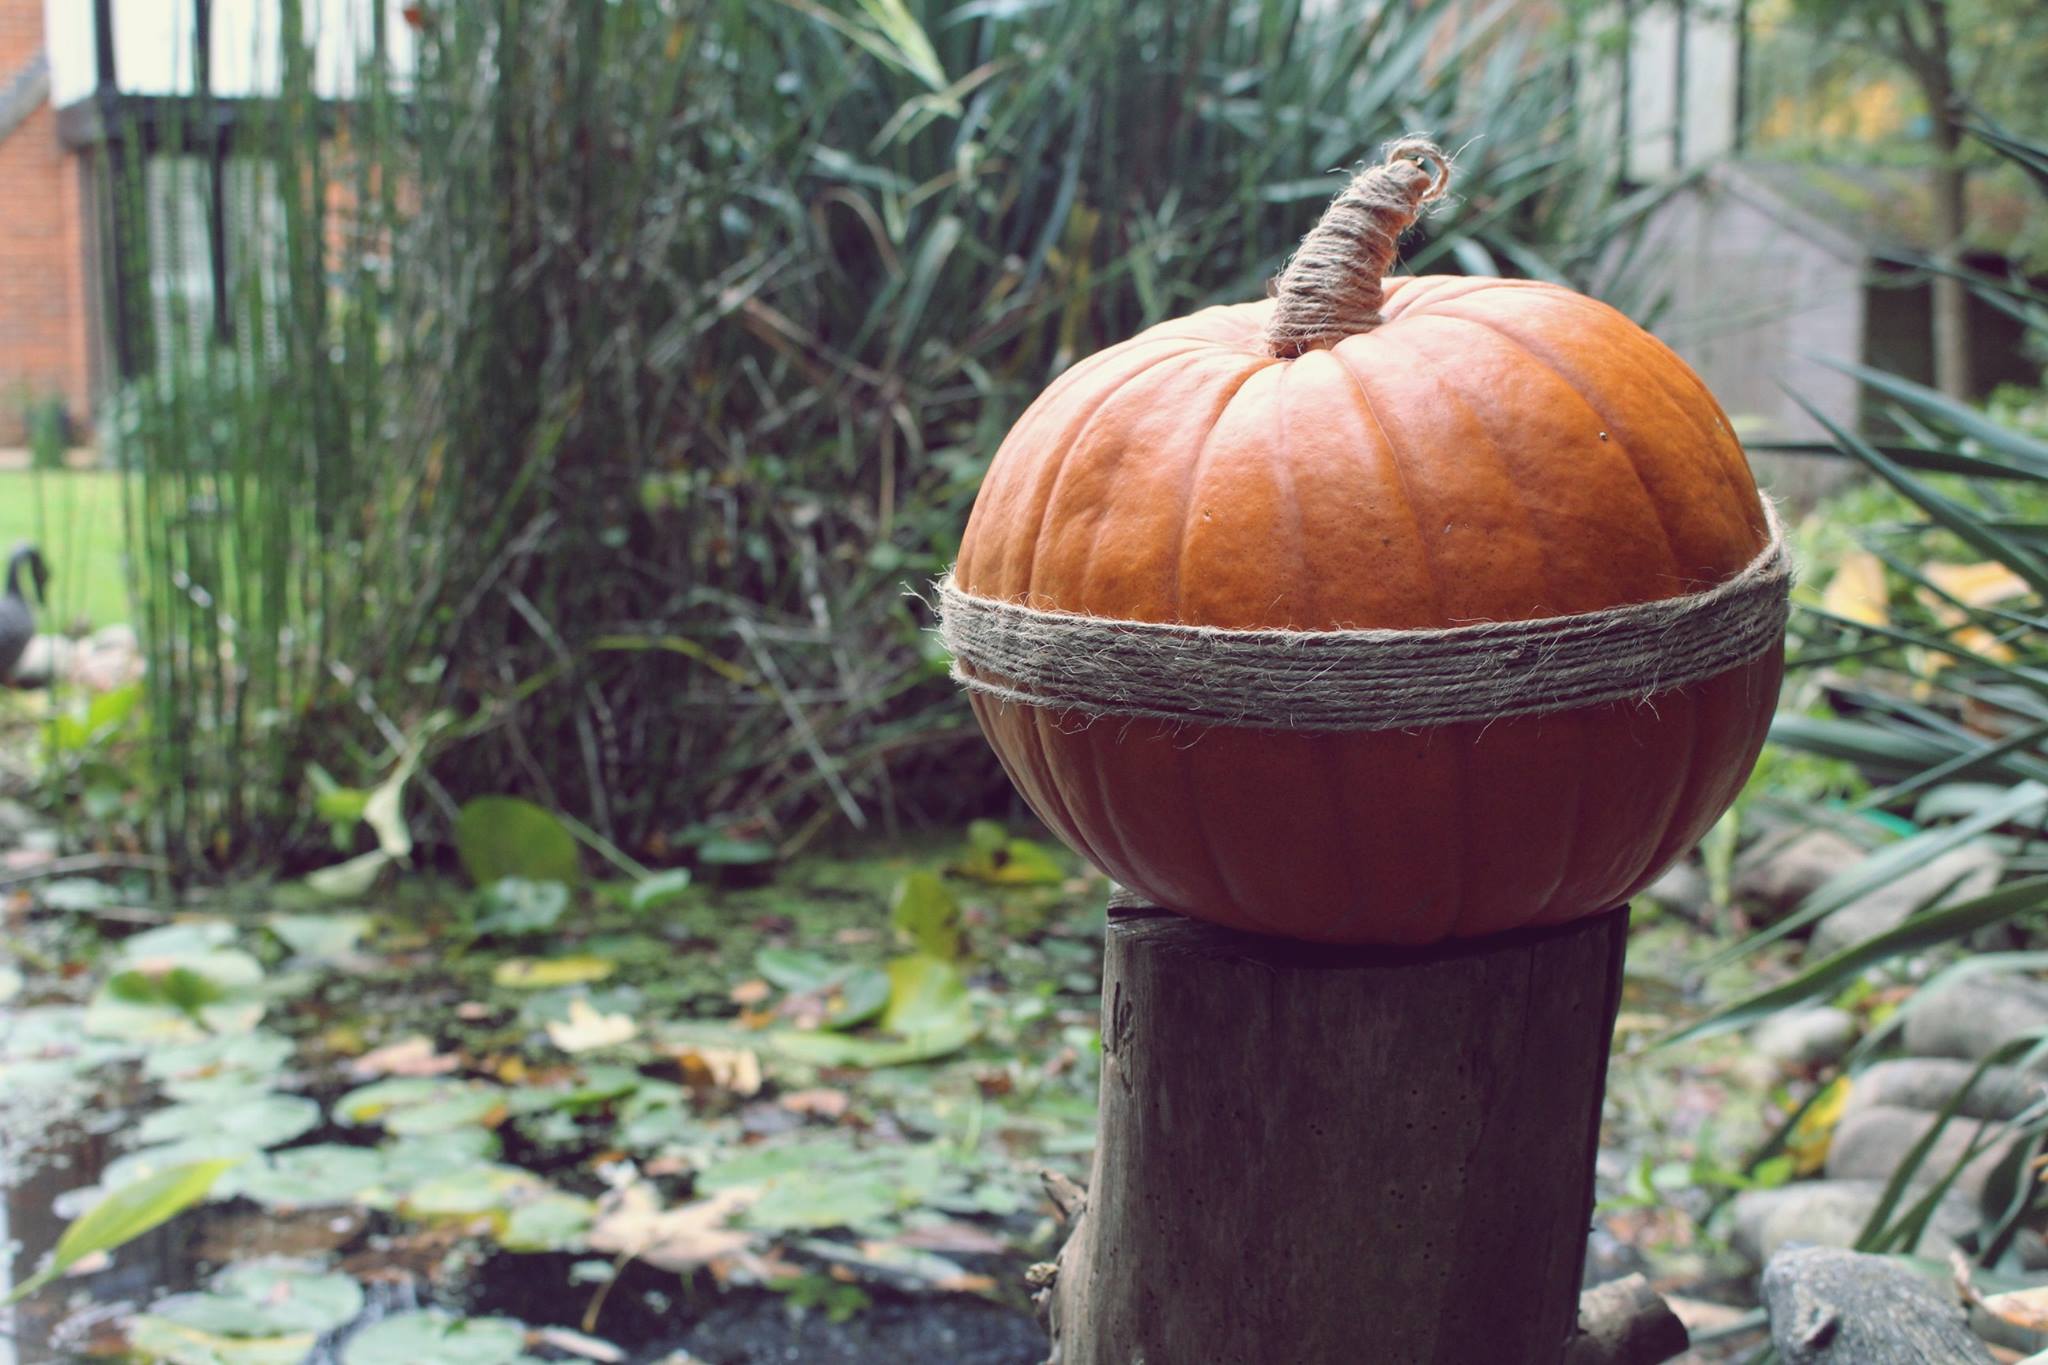
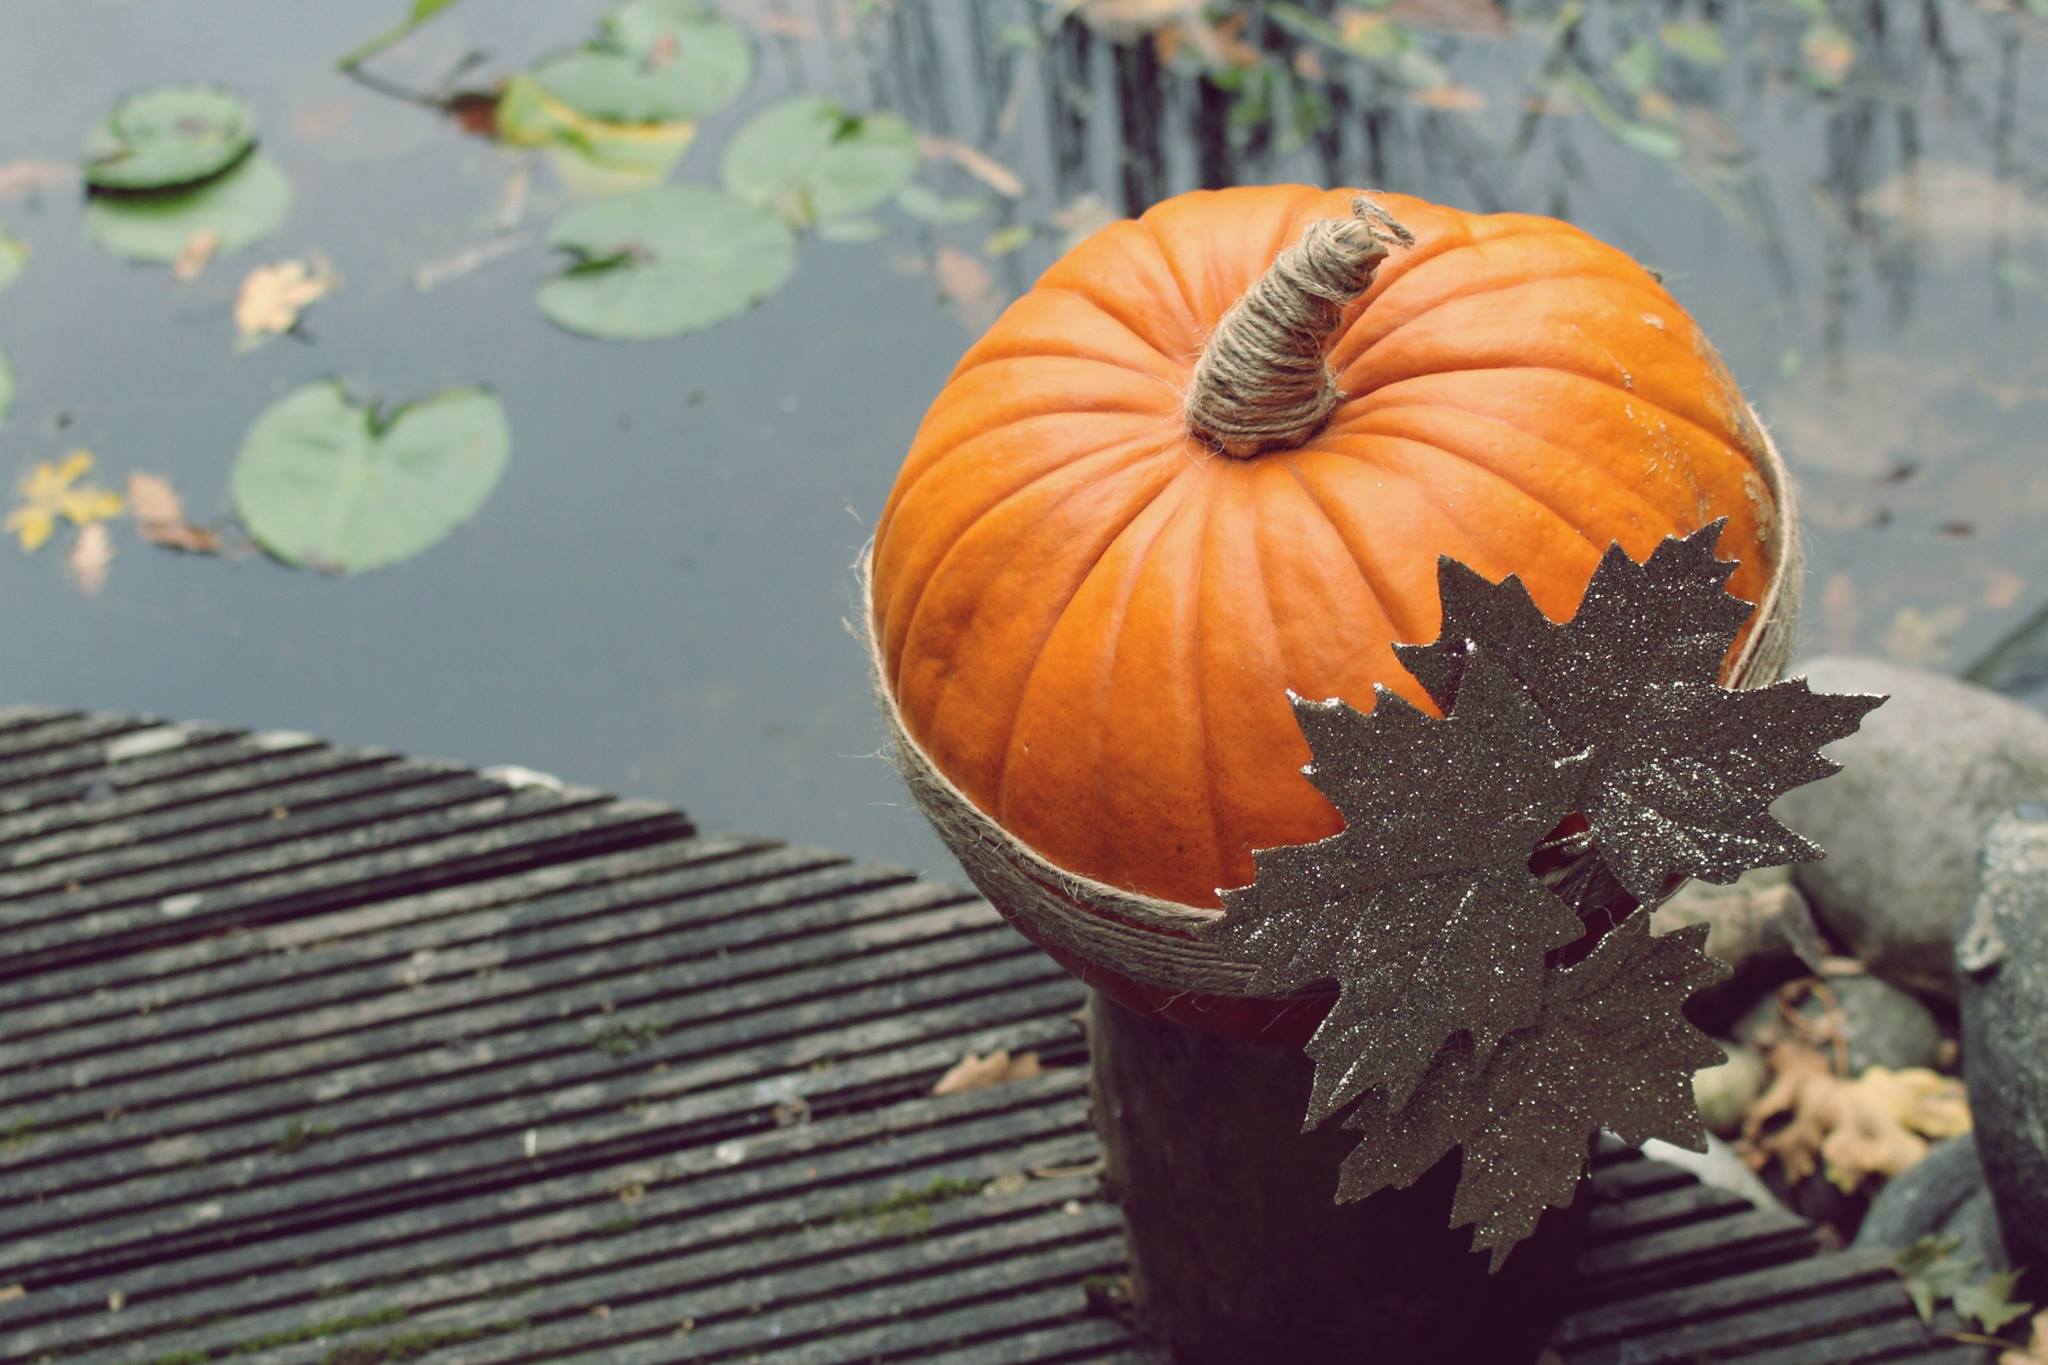
To create your own Minimal Botanical decoration, wrap some jute twine around the stork and body of the pumpkin for a natural yet modern feel. Then all you need to do is apply some glue to keep it secure and add some decorative leaves, and your autumnal botanical makeover is complete!
Coastal Rustic
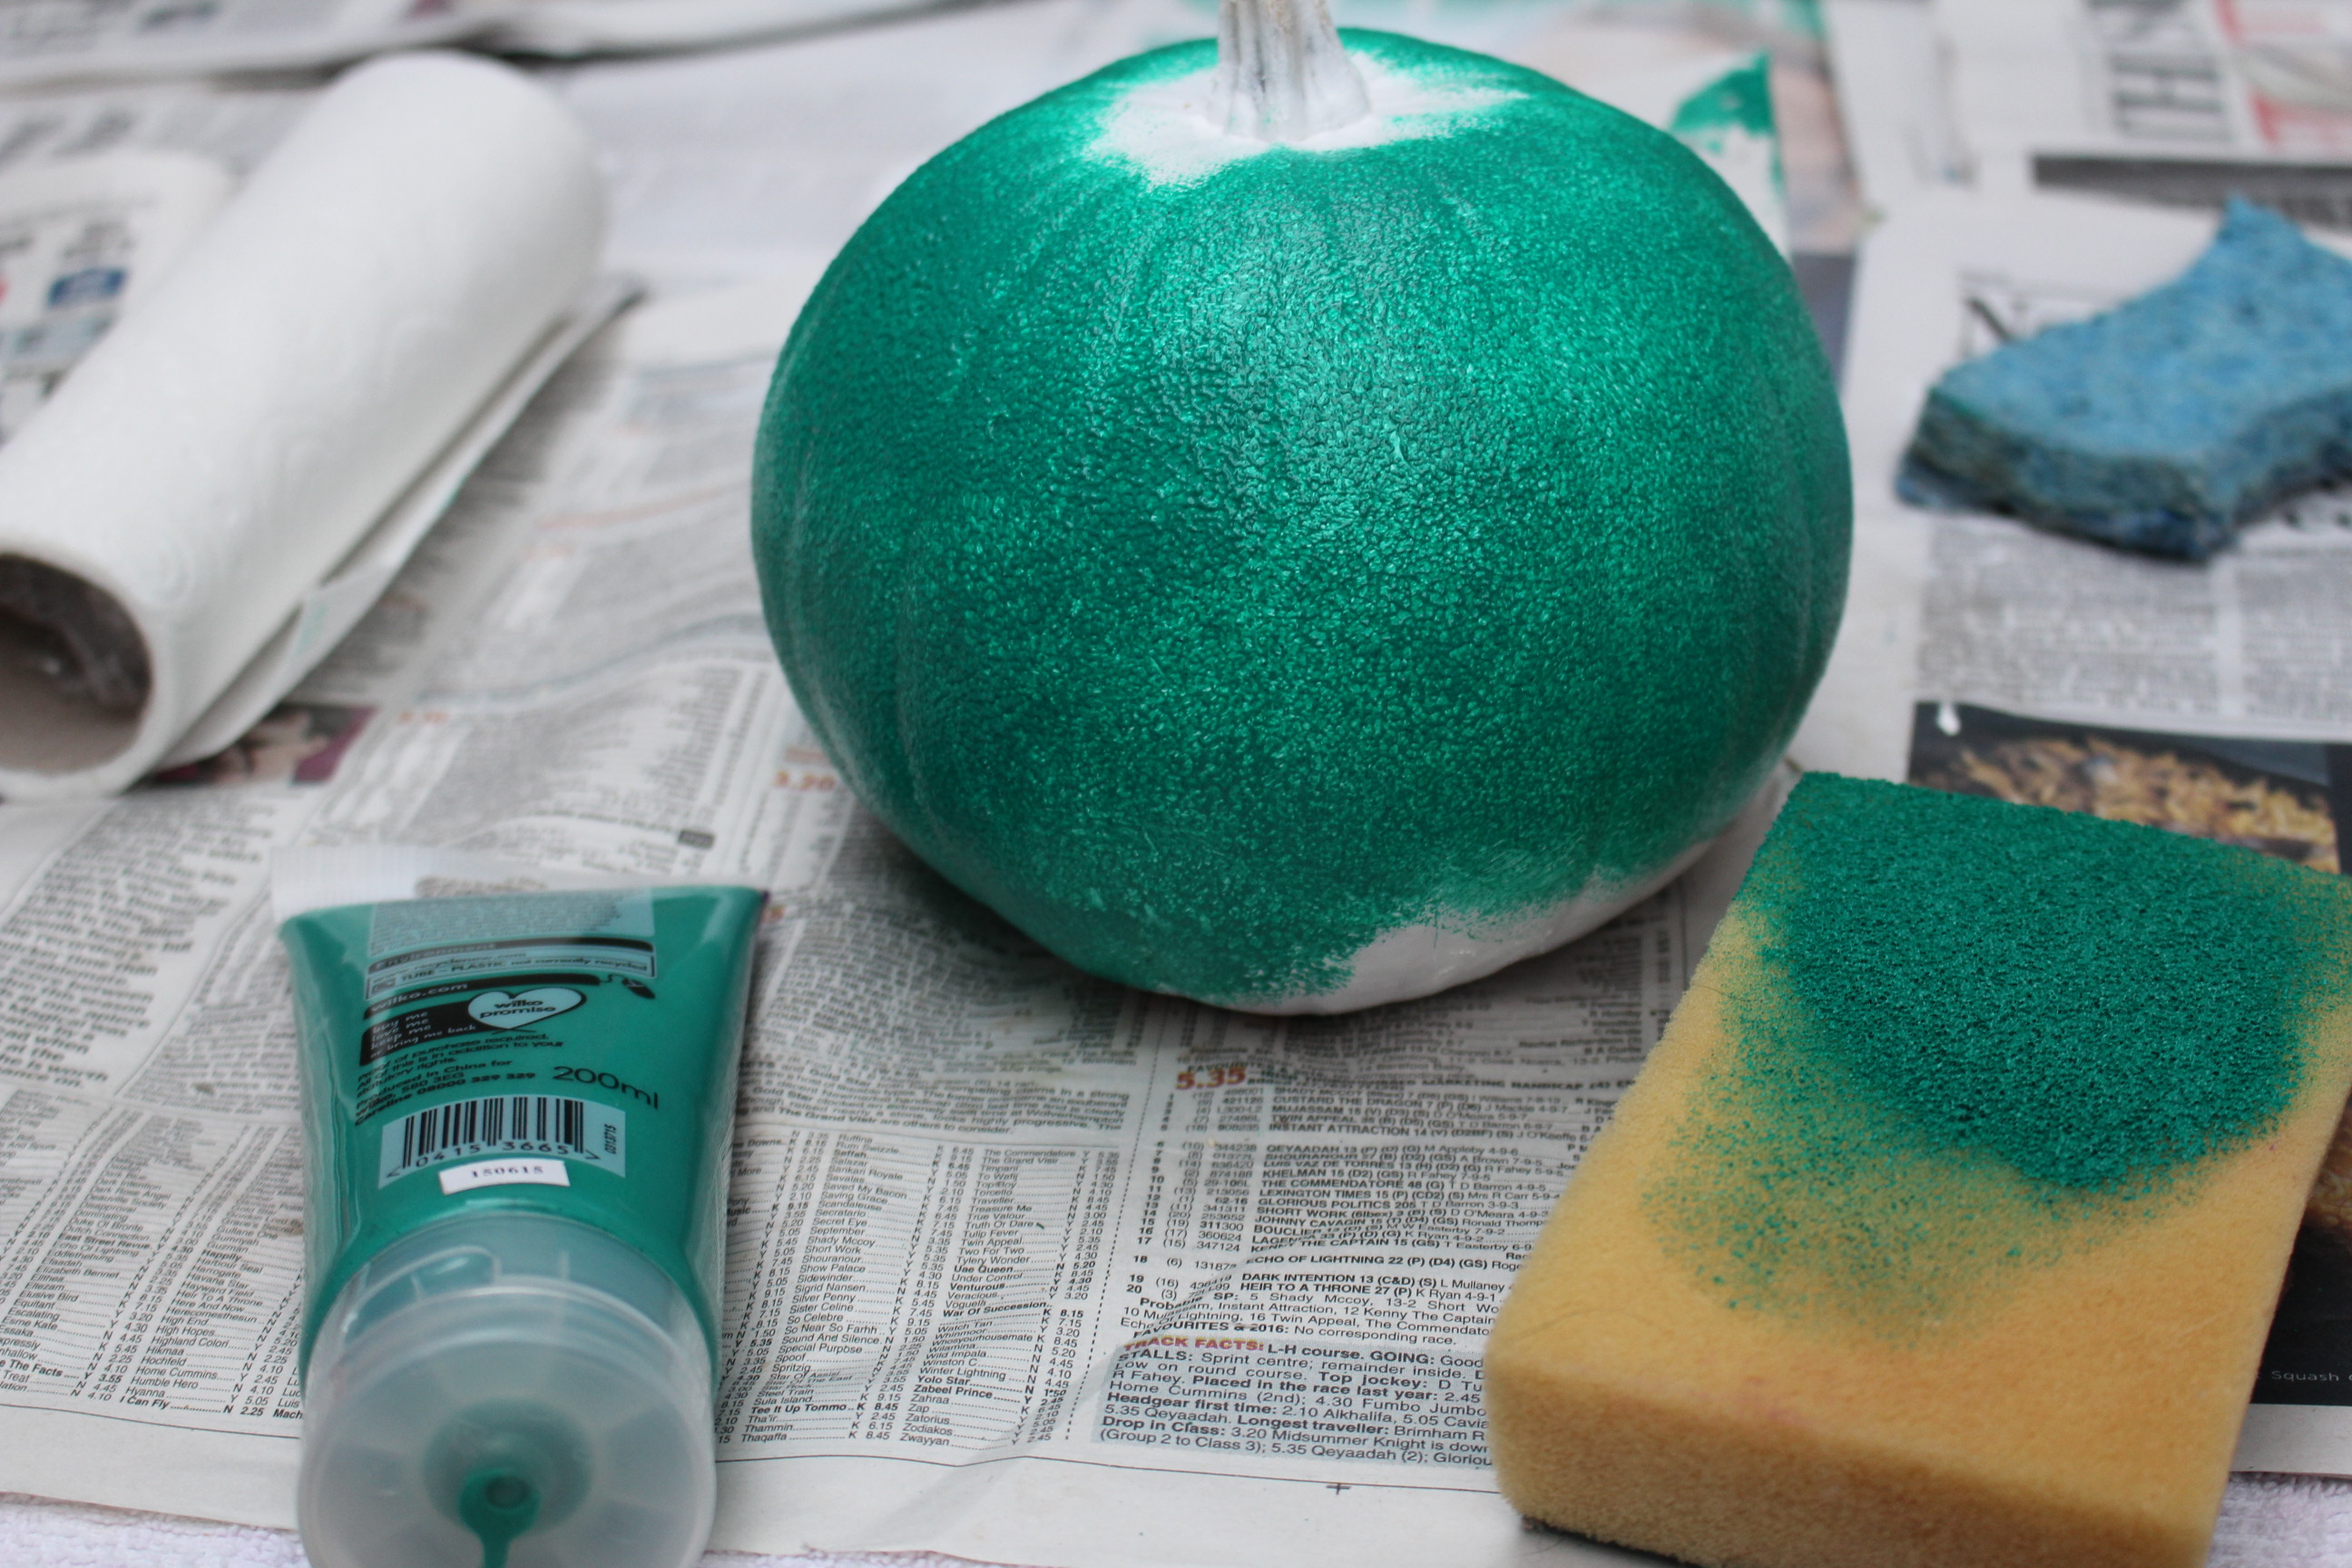
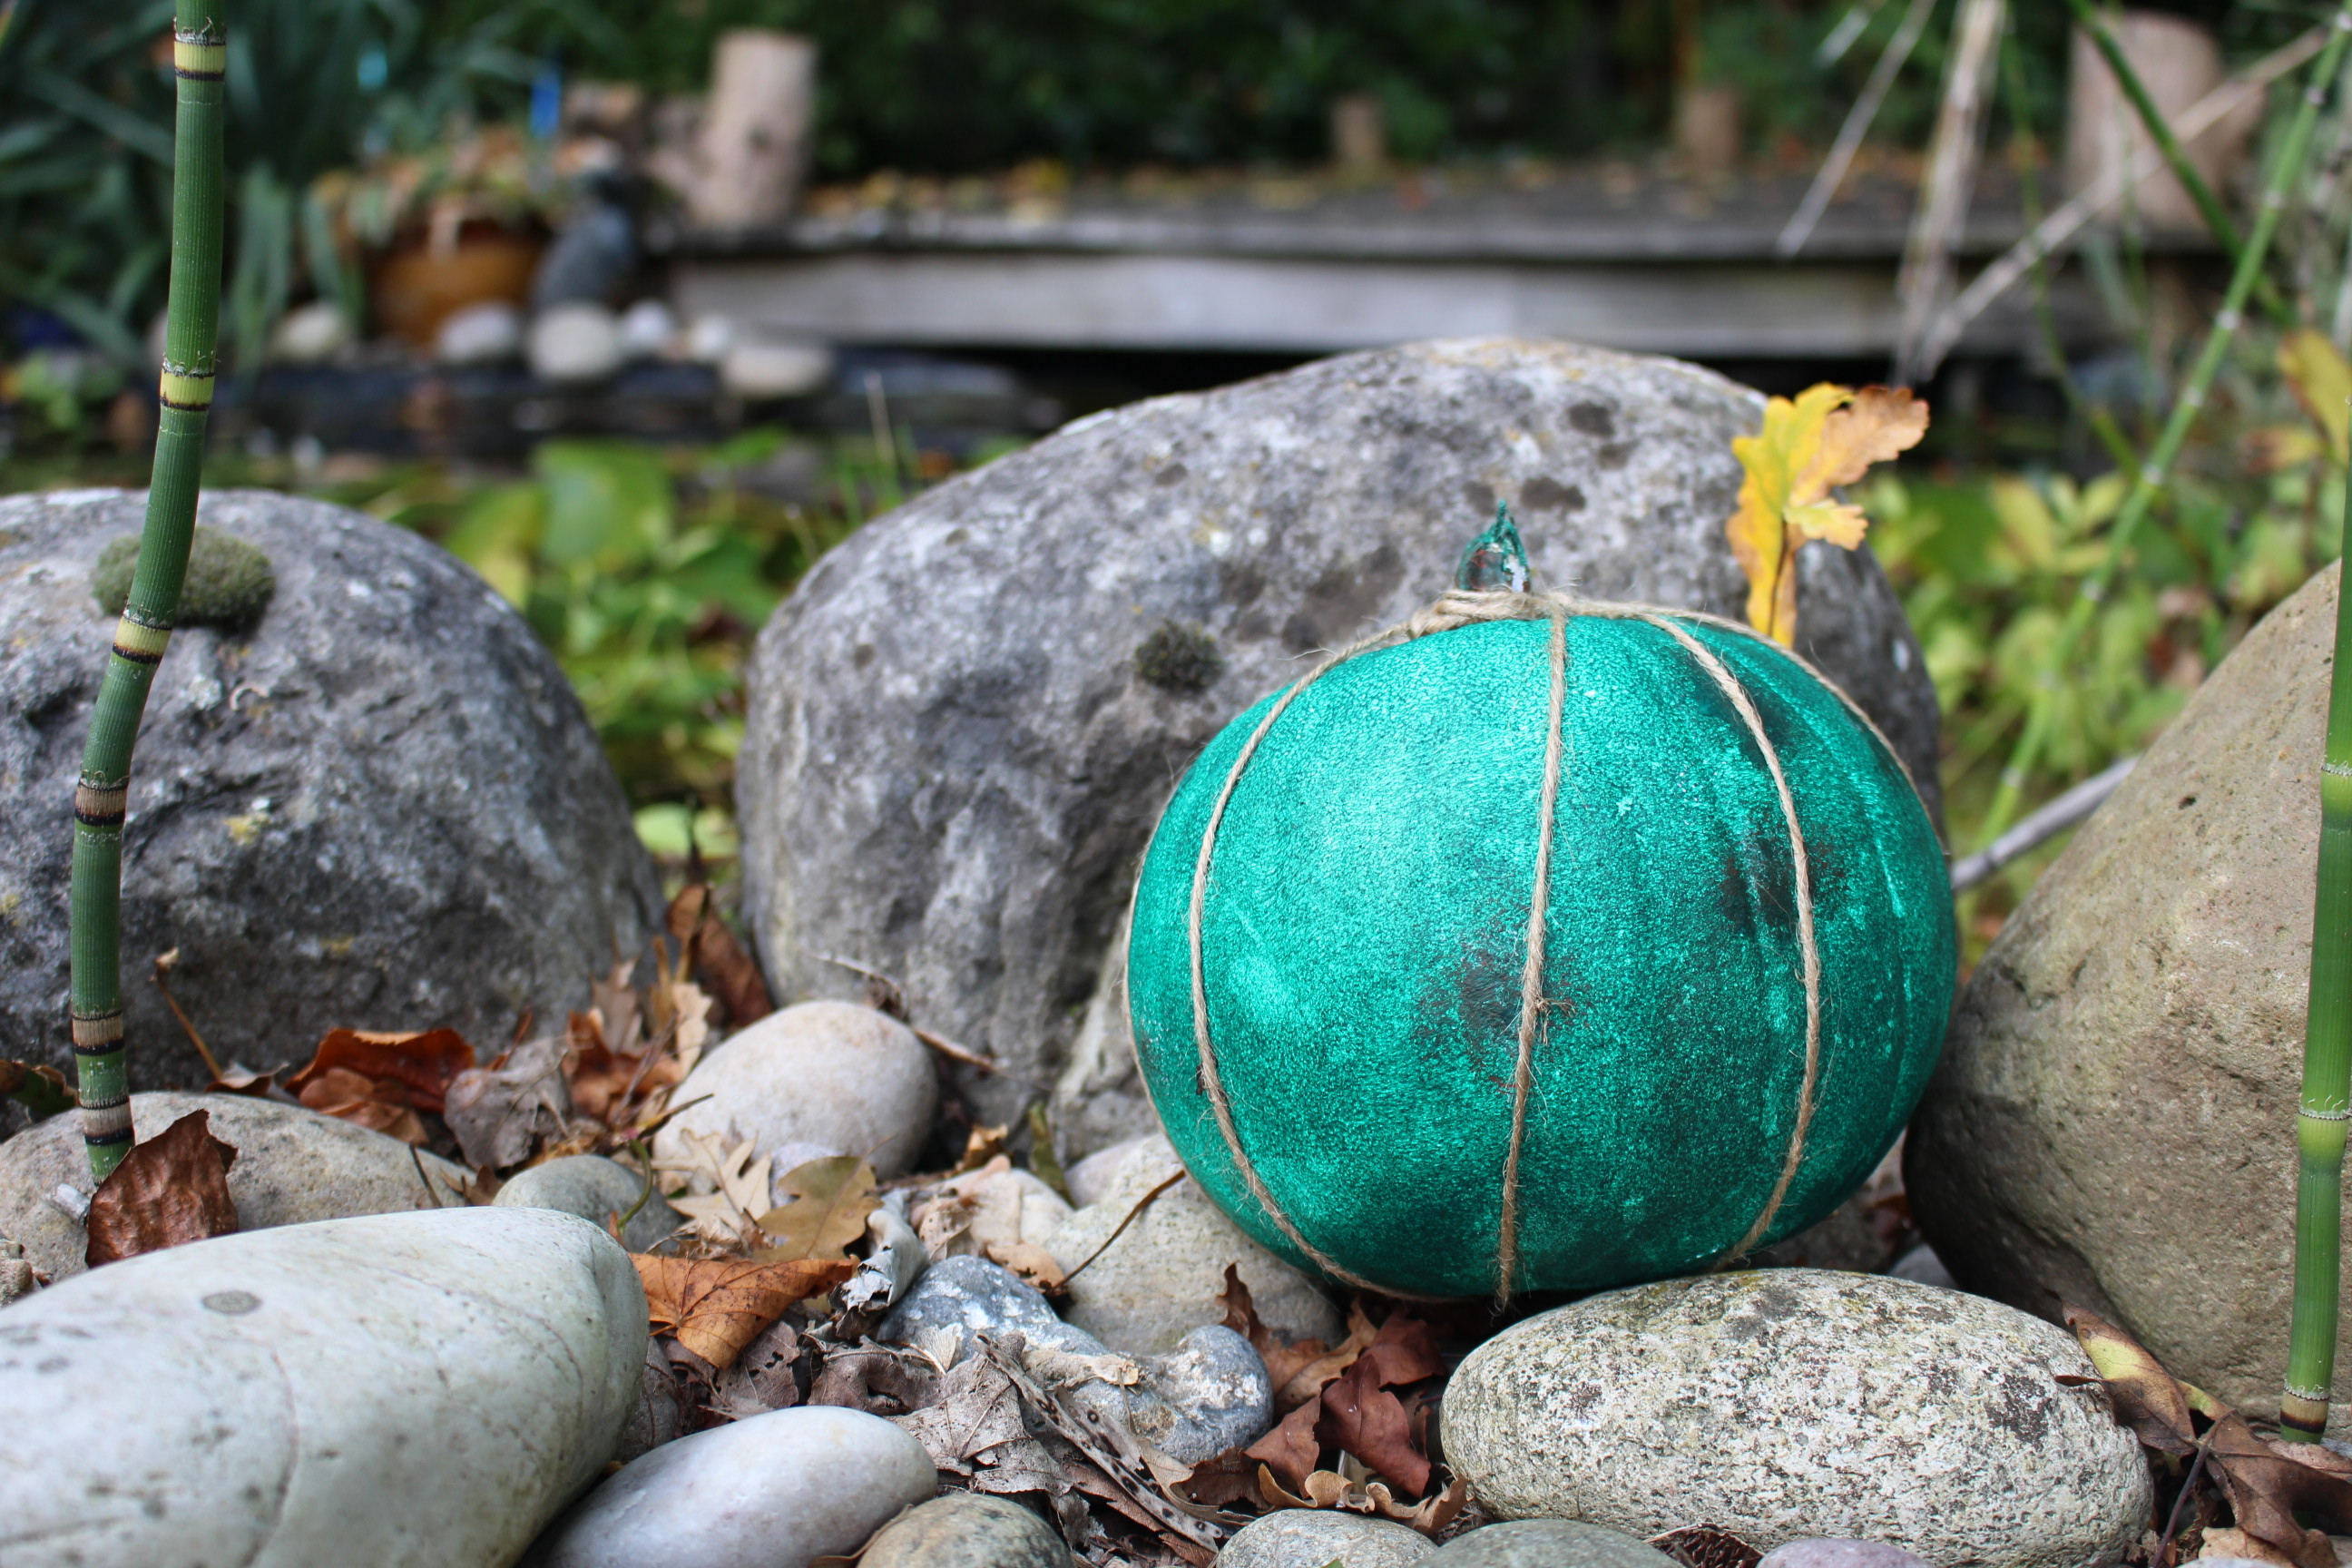
Our second design was inspired by our Nautical and Coastal collections. These products have just a touch of shabby chic and a colour scheme of washed-up vintage blue. The aim of this design is to make your pumpkin look like it just survived a stylish stormy shipwreck!
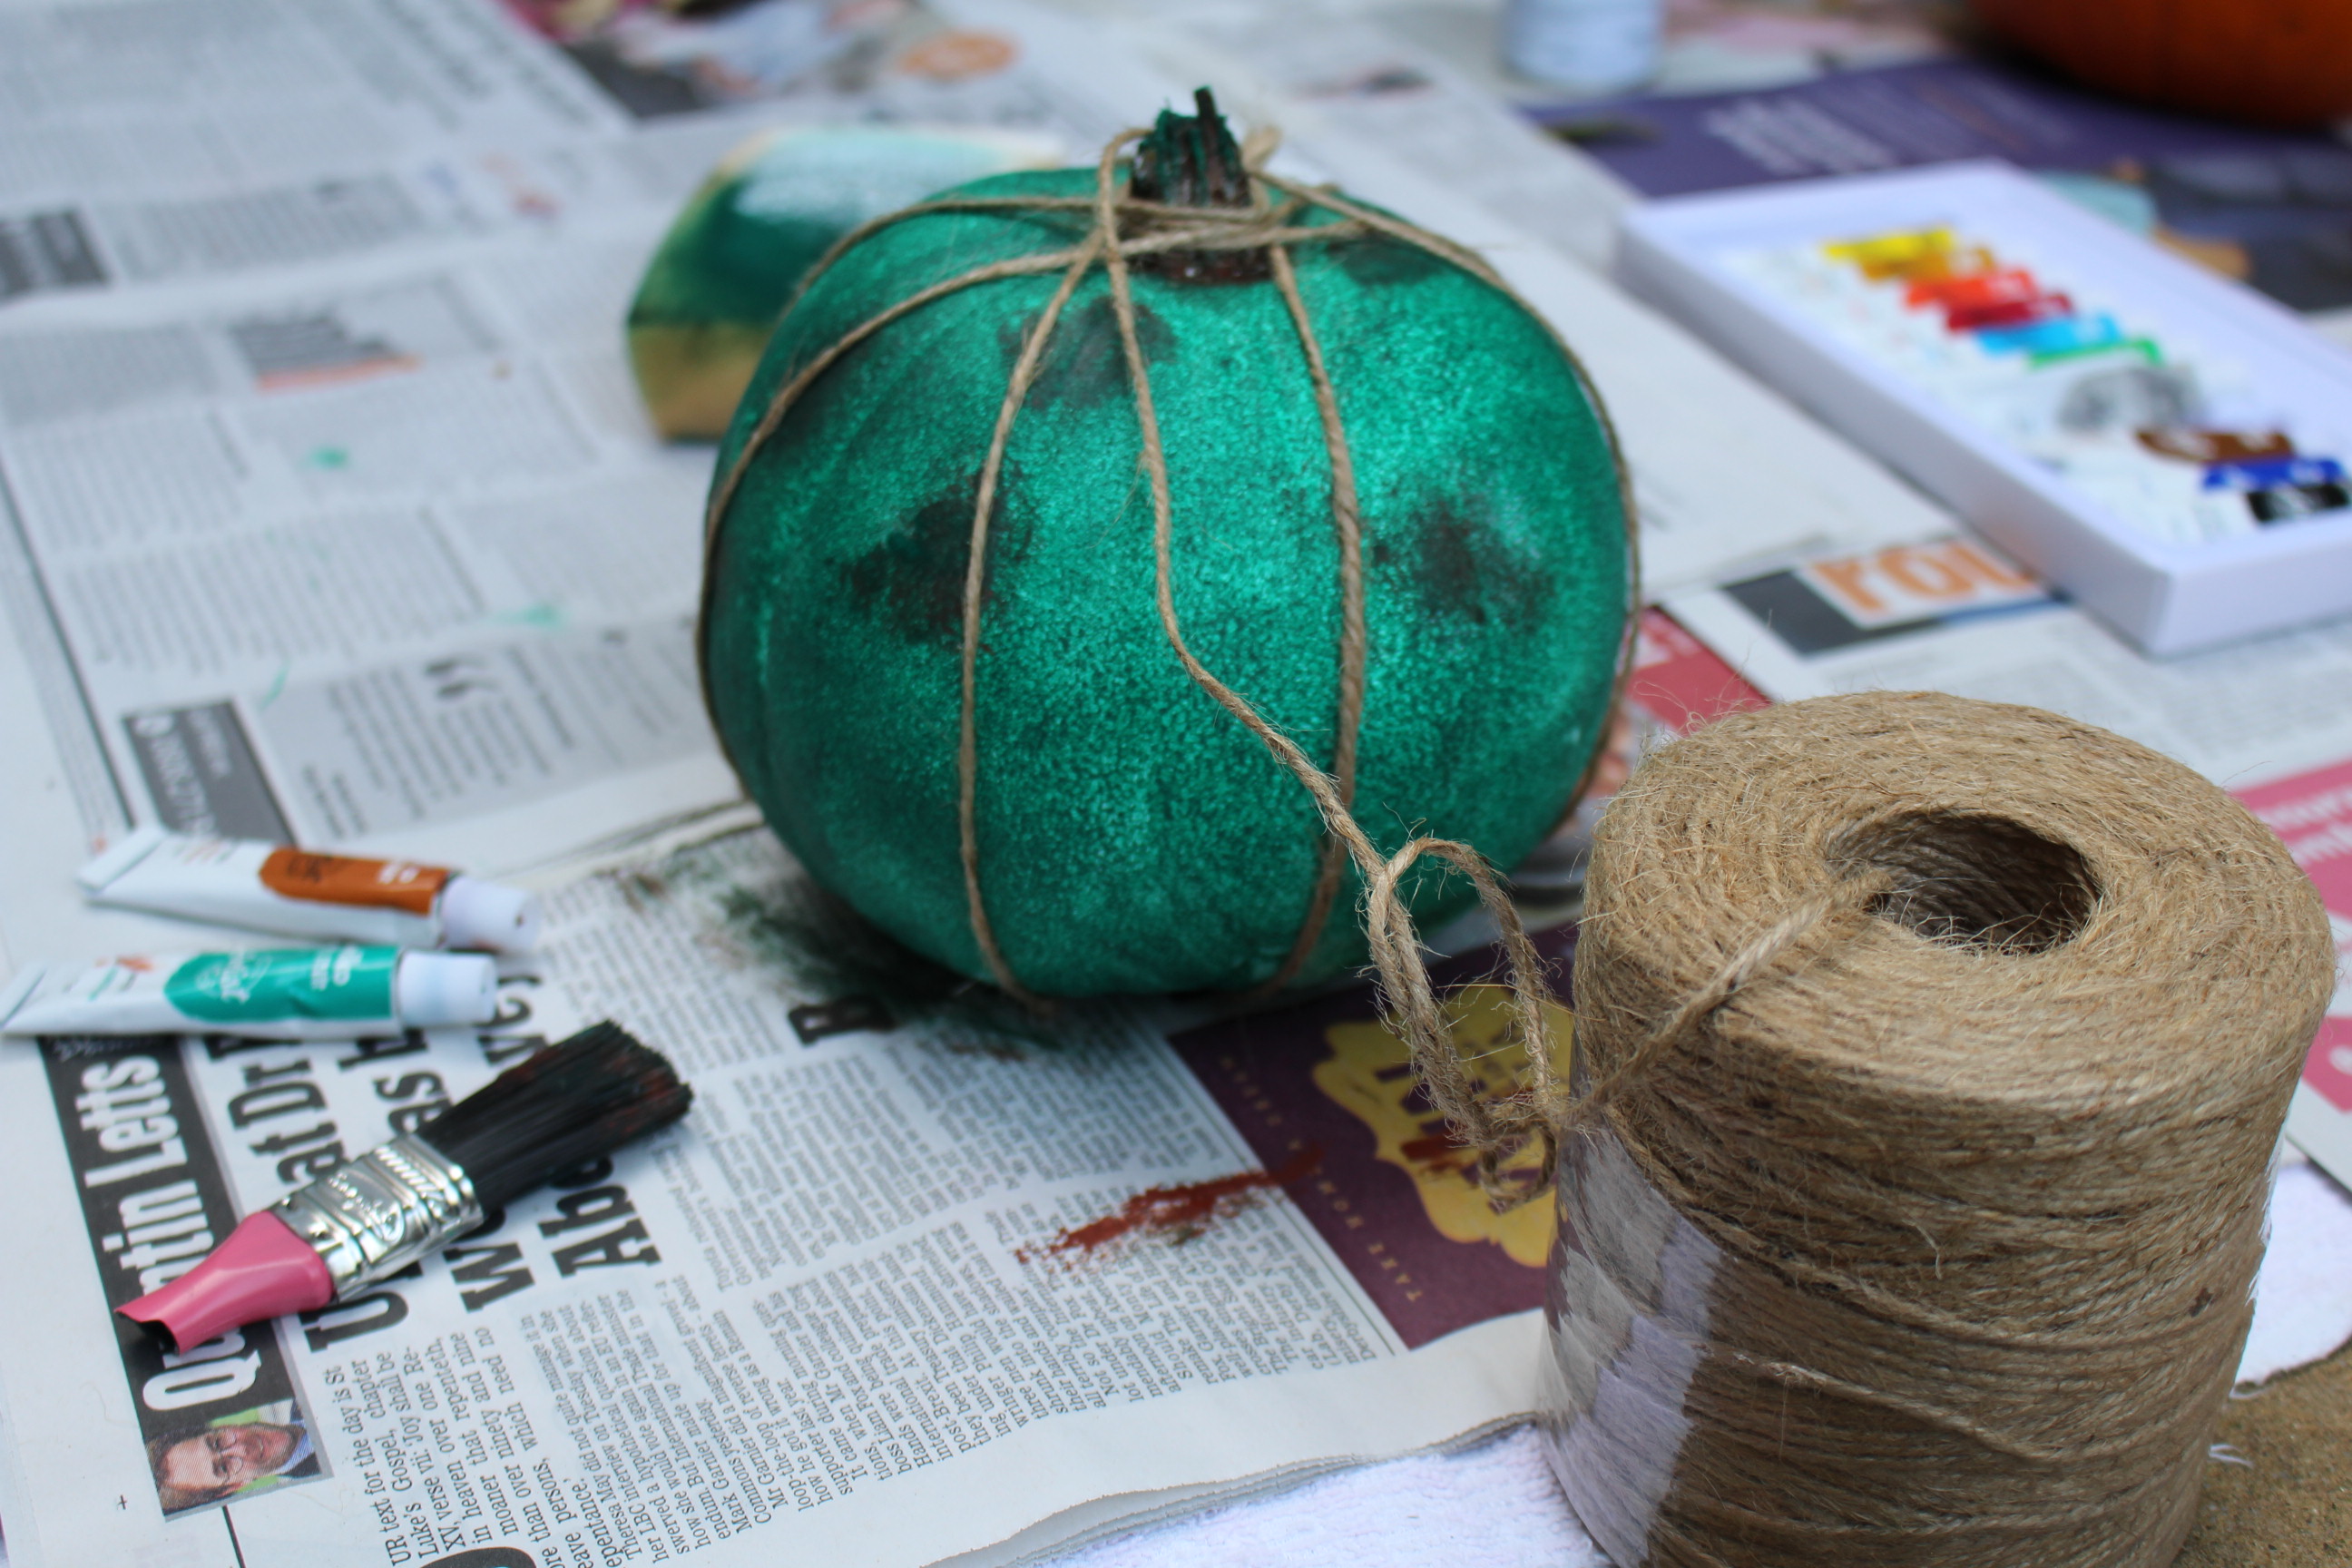
To begin, spray paint the entire pumpkin white to help the final colour pop. Next, dry coat the pumpkin in a viridian colour with added flicks of burnt orange to give an aged look. We recommend using acrylic paint as it is extremely effective and gives a nice full coverage. Complete this design with some jute twine for an additional rustic vibe.
Golden Metallic
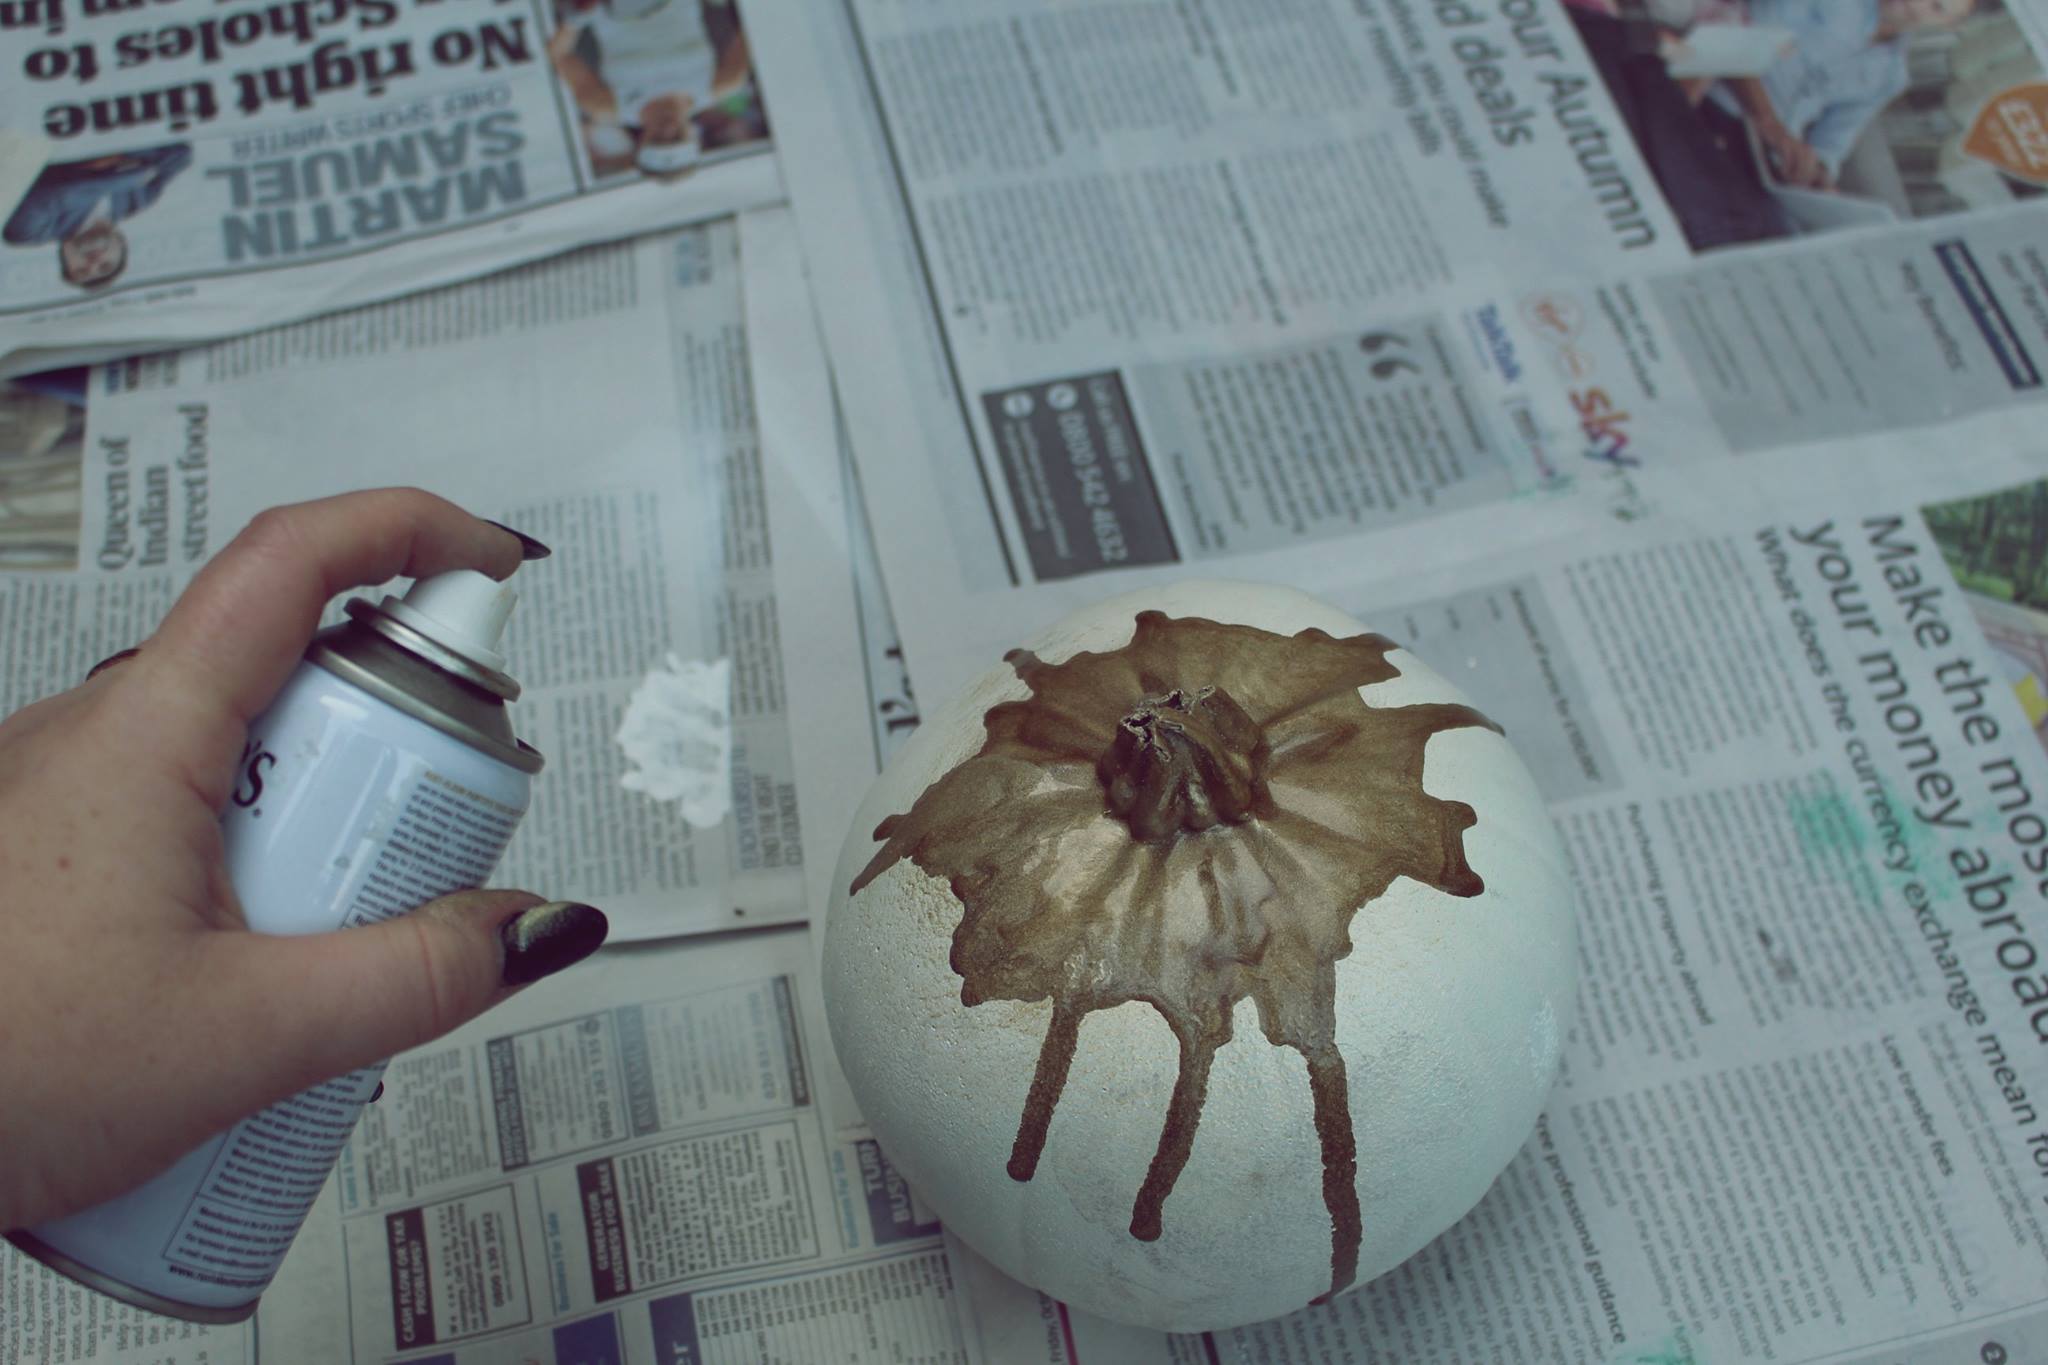
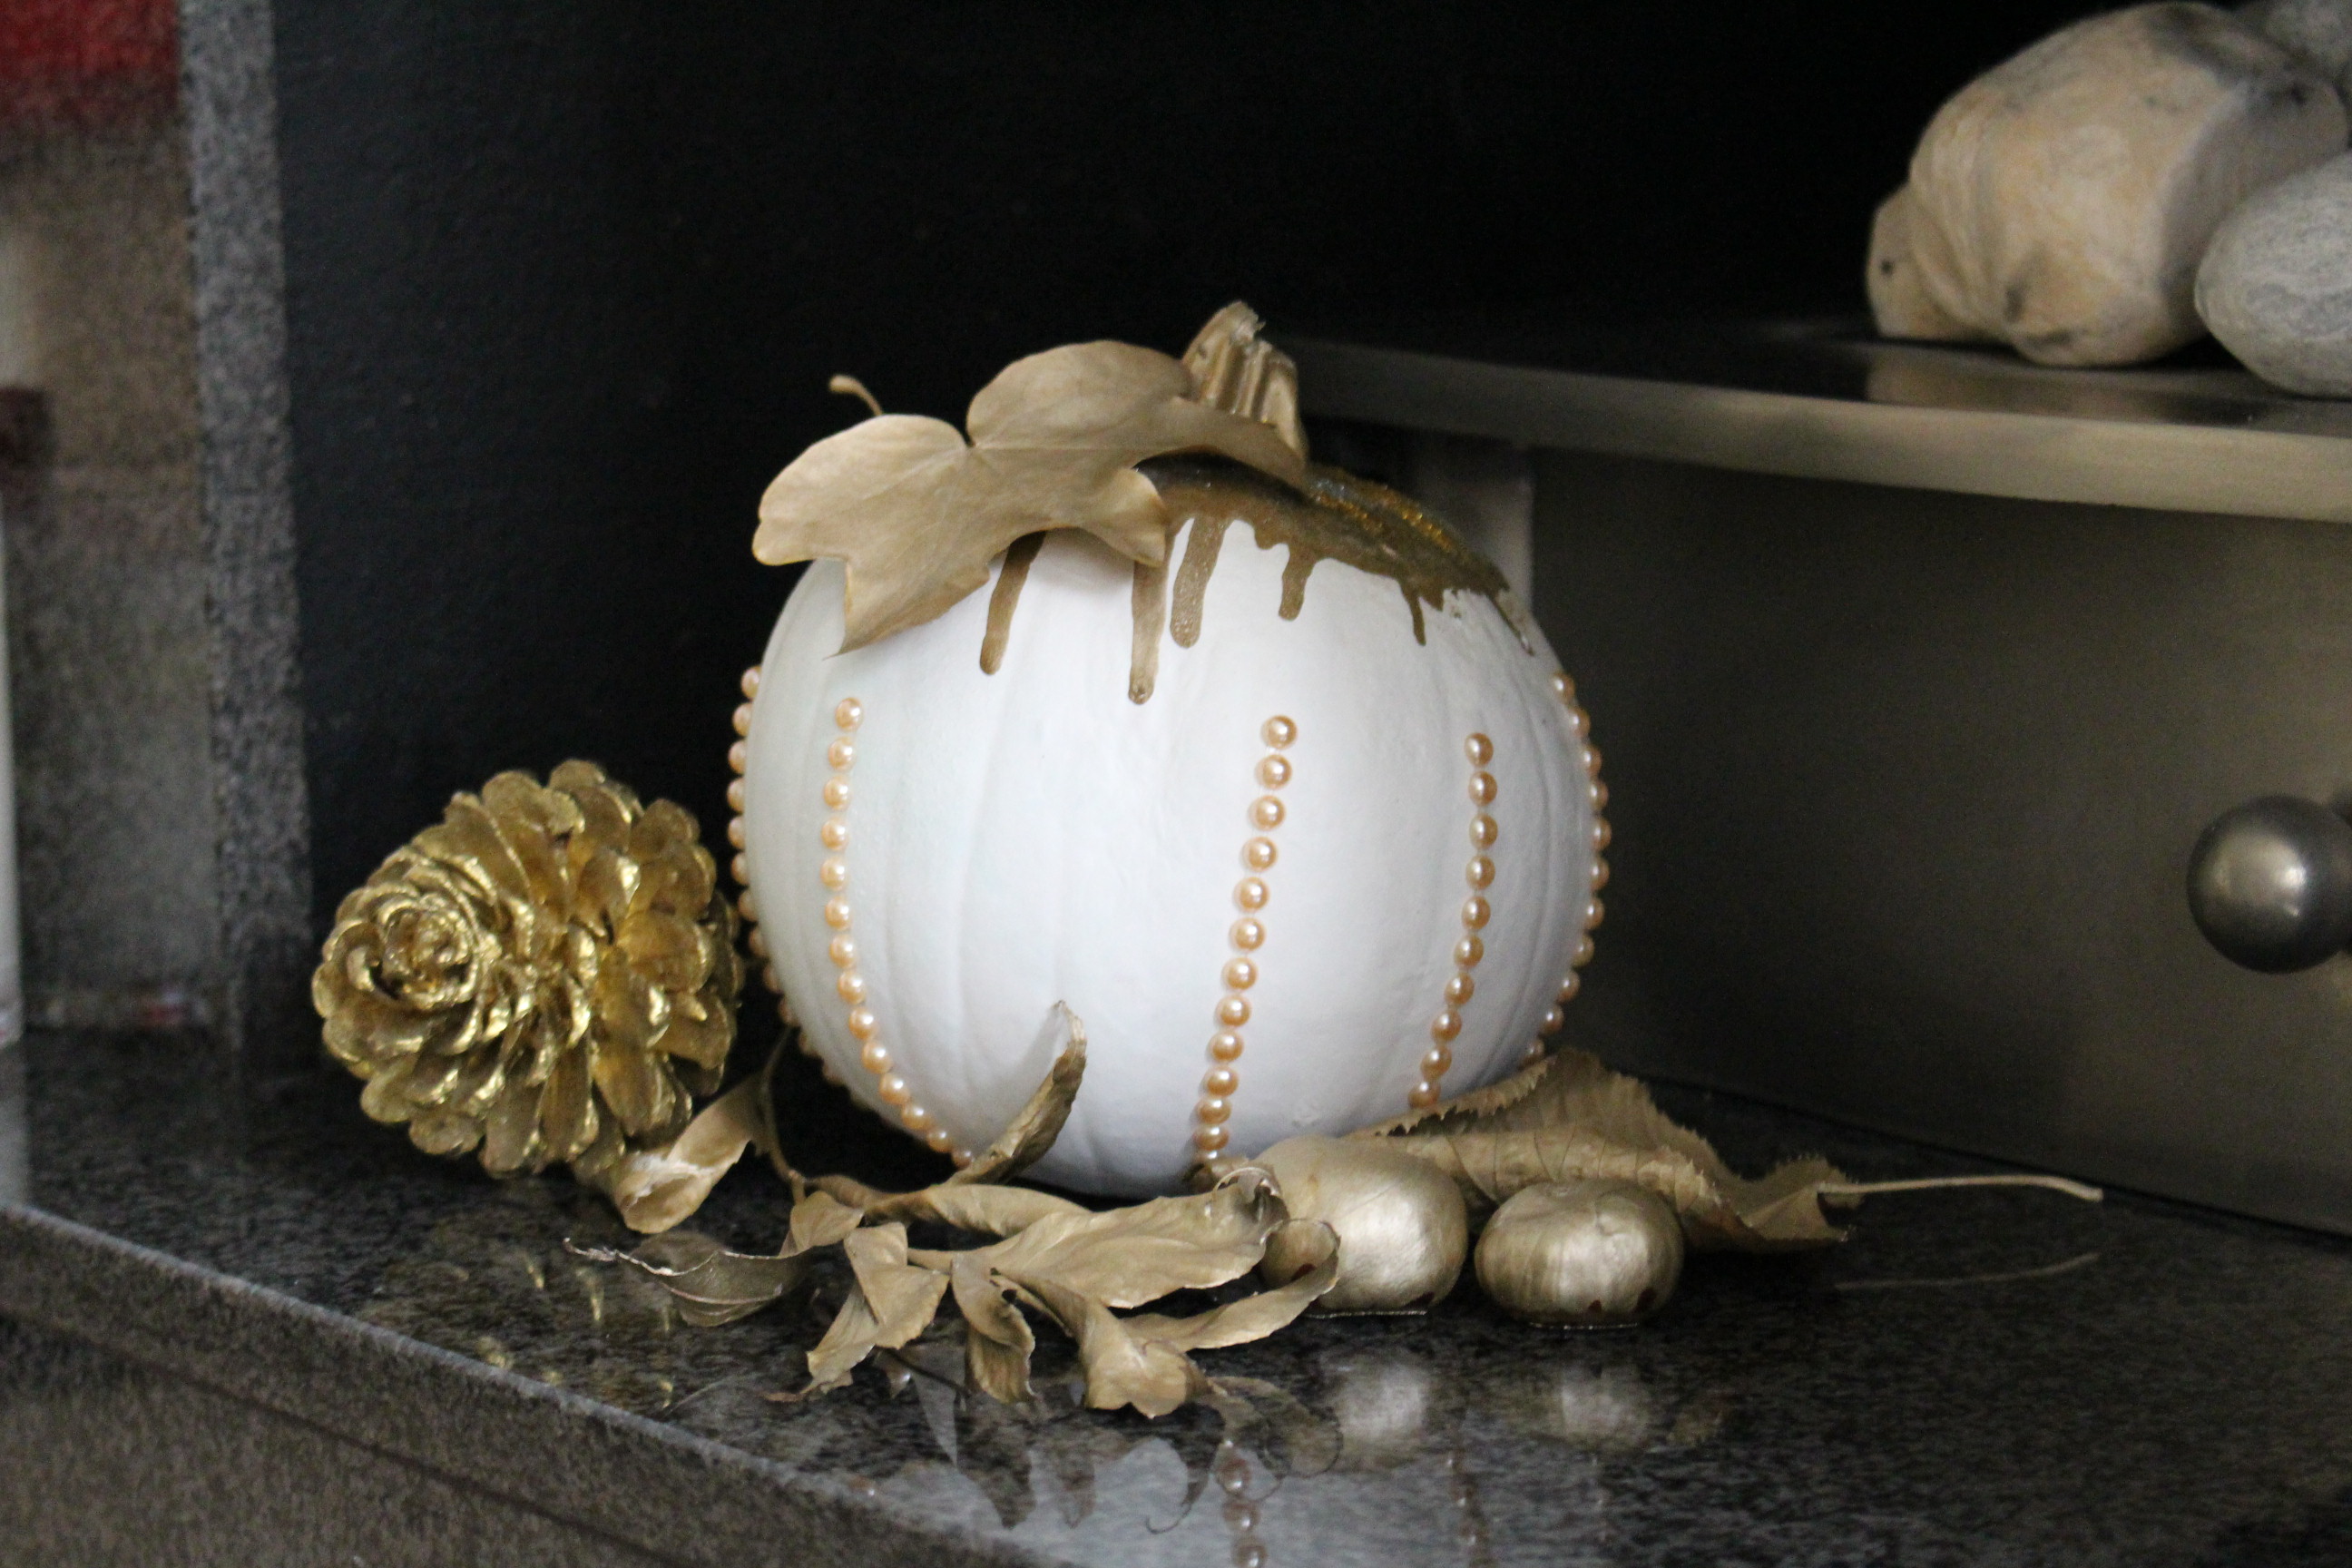
This final design is the burst of sparkle that Sass & Belle loves to add to the home. Our magical Metallic Monochrome treats are just what you need to show all the Halloween ghouls what a queen you really are.
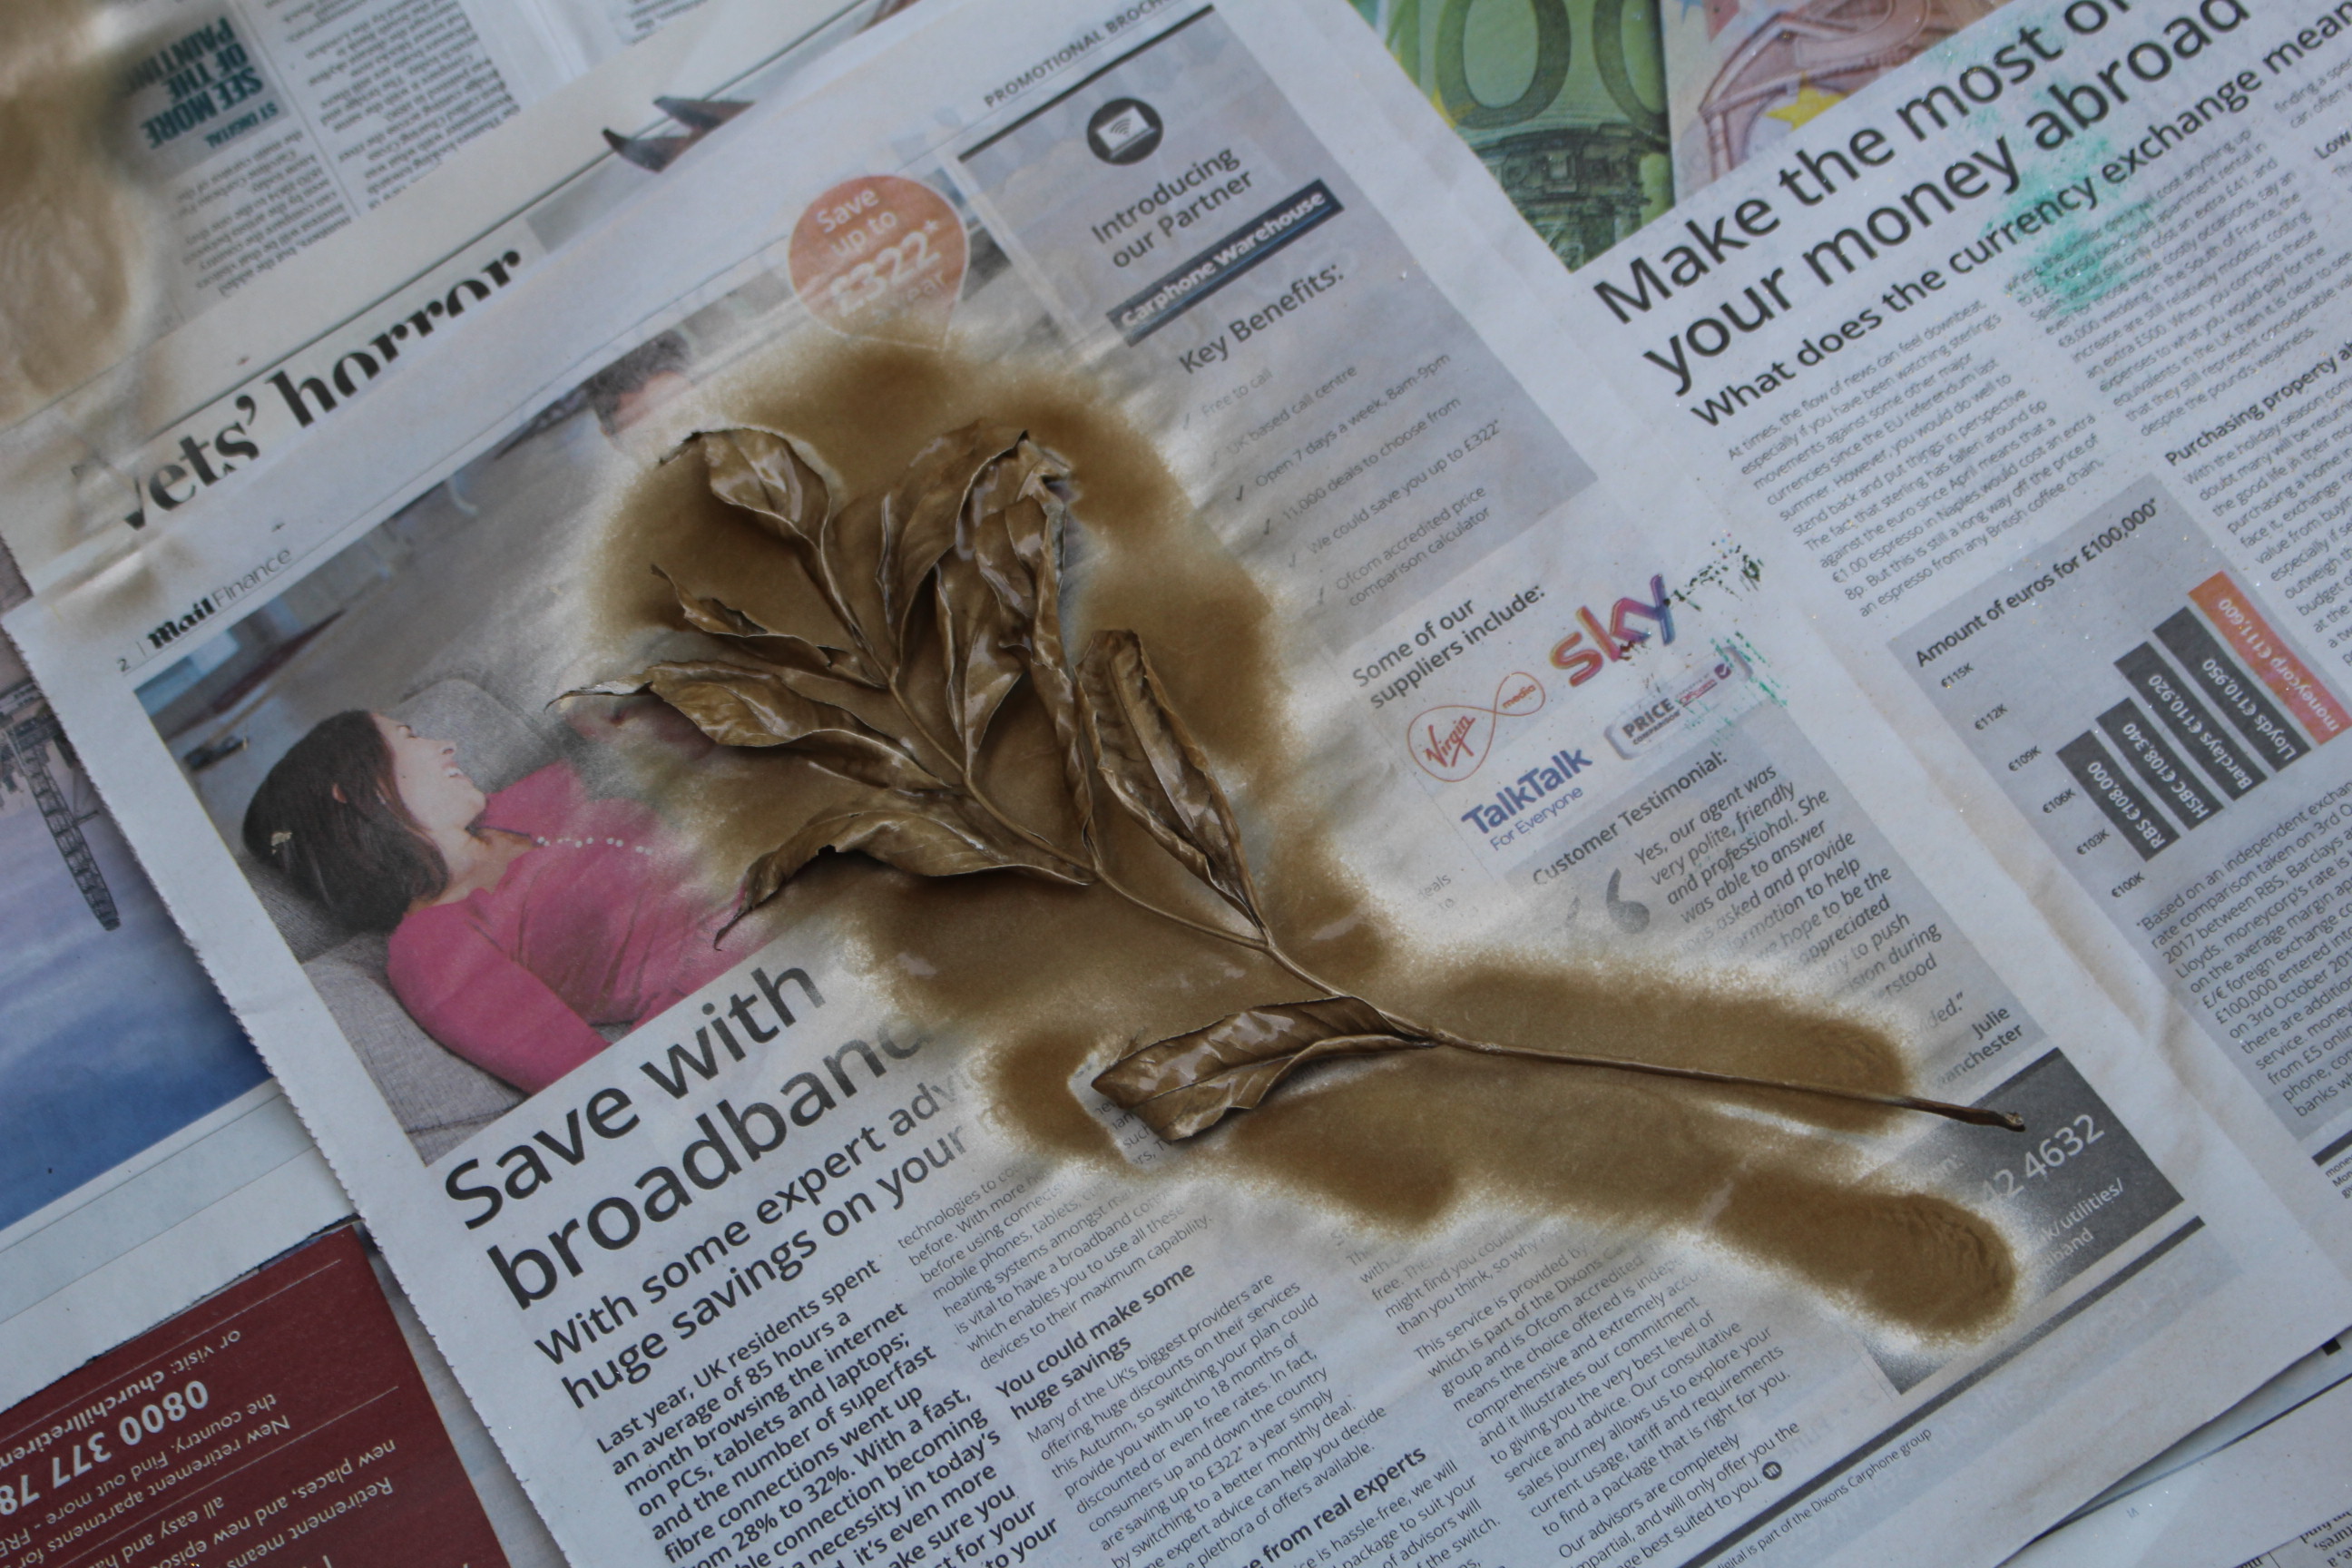
Once again, spray the pumpkin white to allow the rest of the design to stand out and to reflect the Metallic Monochrome colours. Next, create a gold dripping effect by spraying gold acrylic paint in one spot at the top of the pumpkin, then gently blow the paint in different directions to control the final design. But we aren’t done with the sparkle yet! Add extra glitter to the stork, using PVA glue to keep it in place. Stick-on pearl beads are a must to complete this look and adding gold-sprayed leaves and conkers around the pumpkin creates a gorgeous glimmering display!