Christmas // Mini Gingerbread Houses
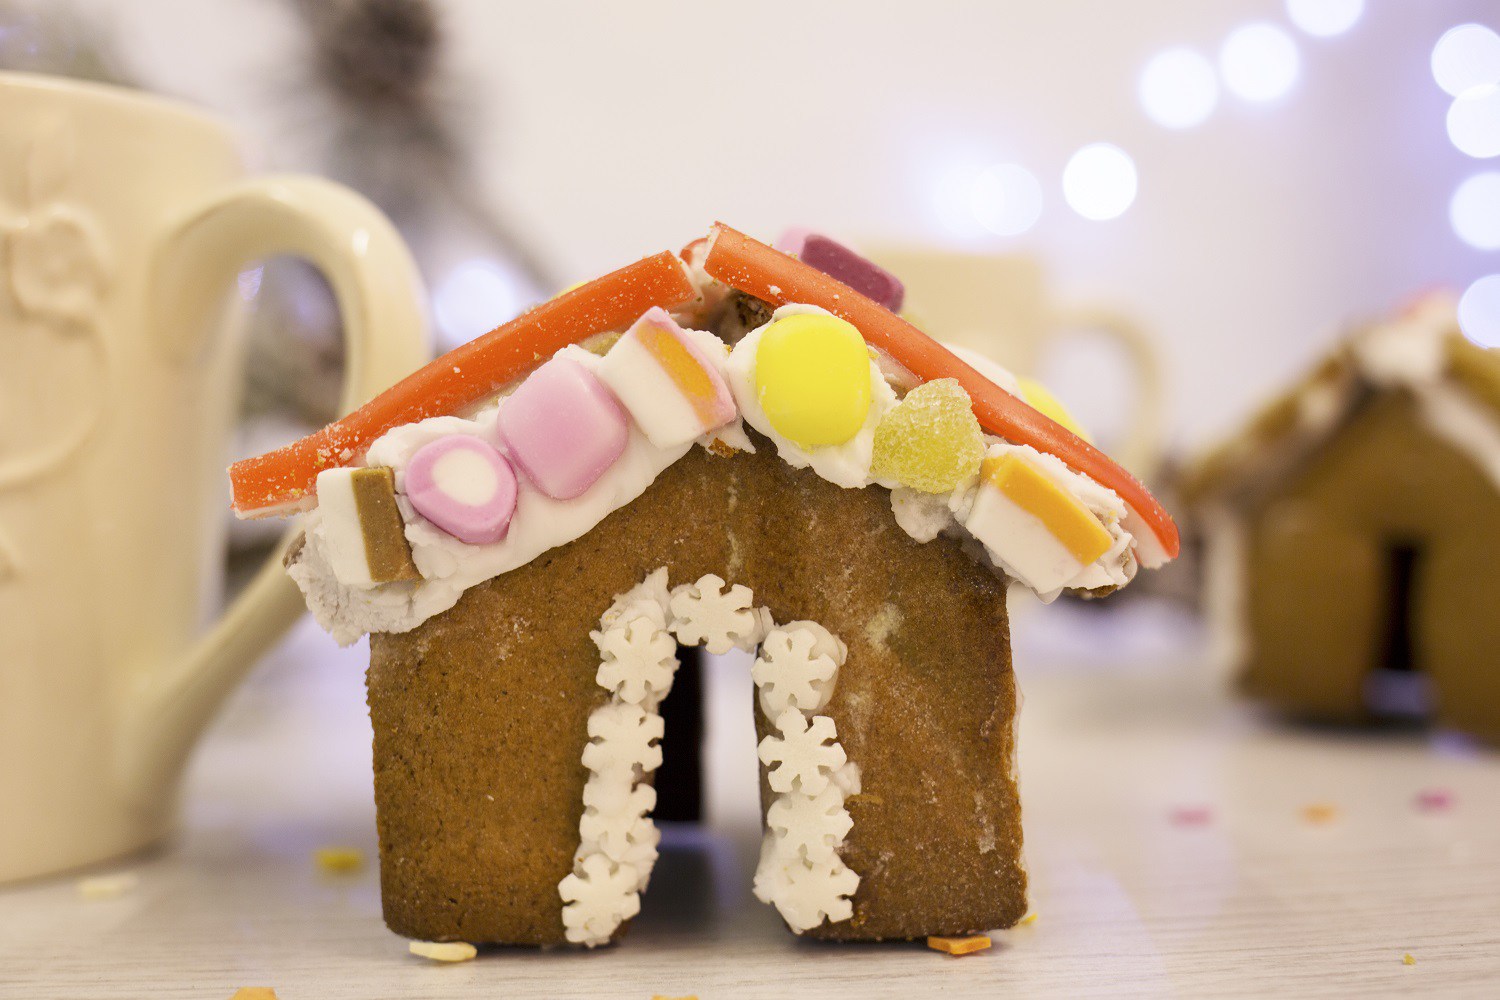
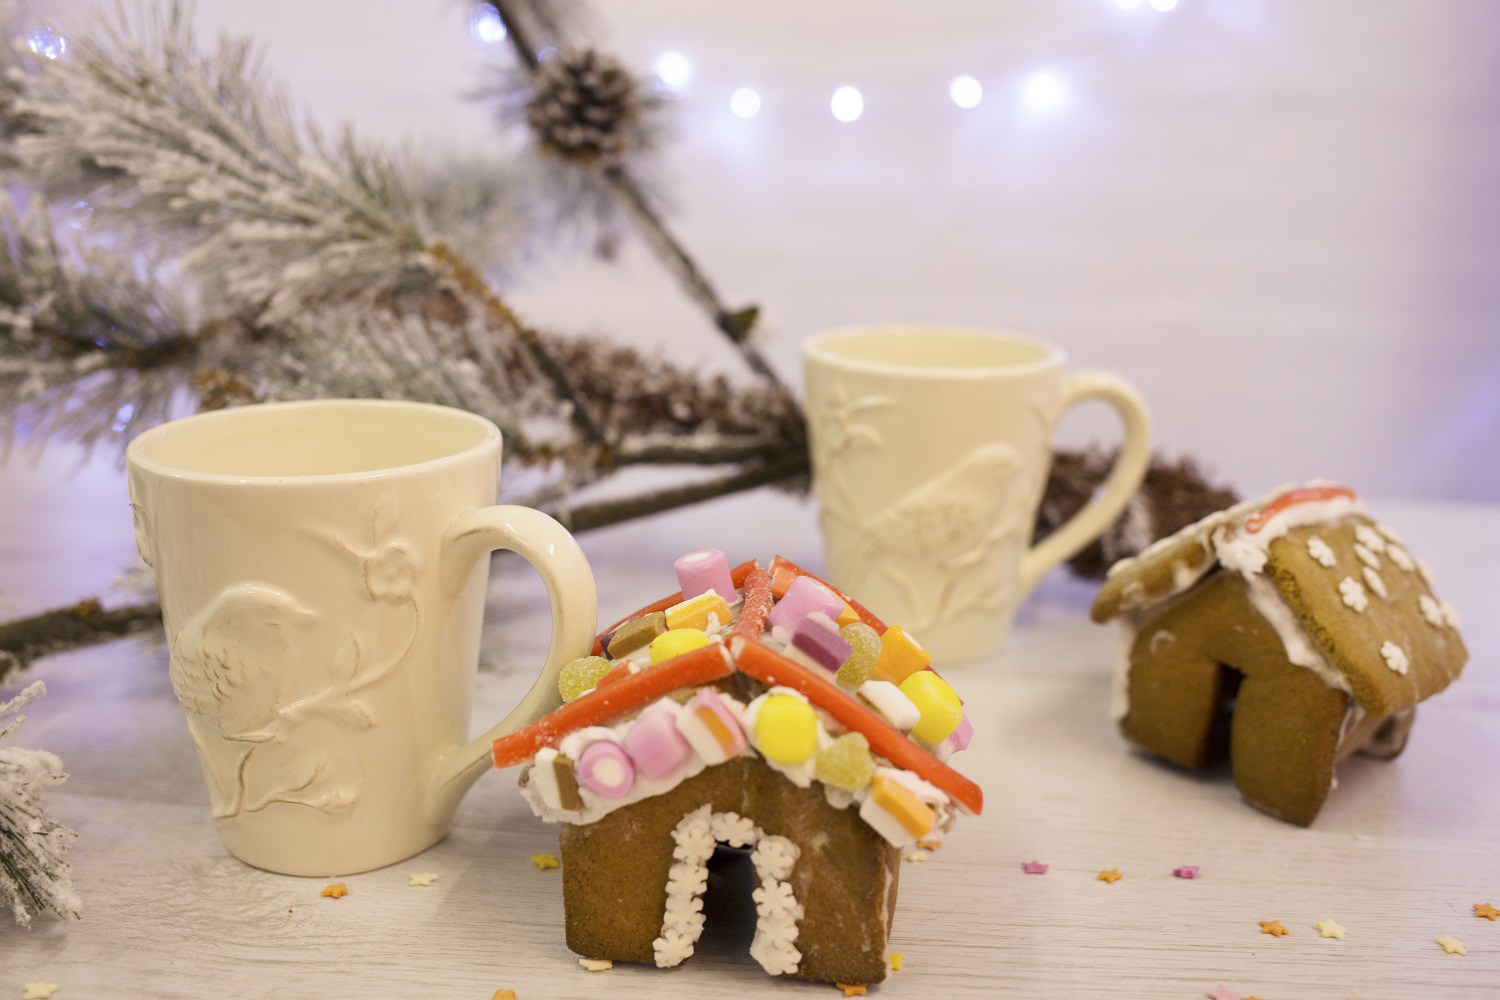
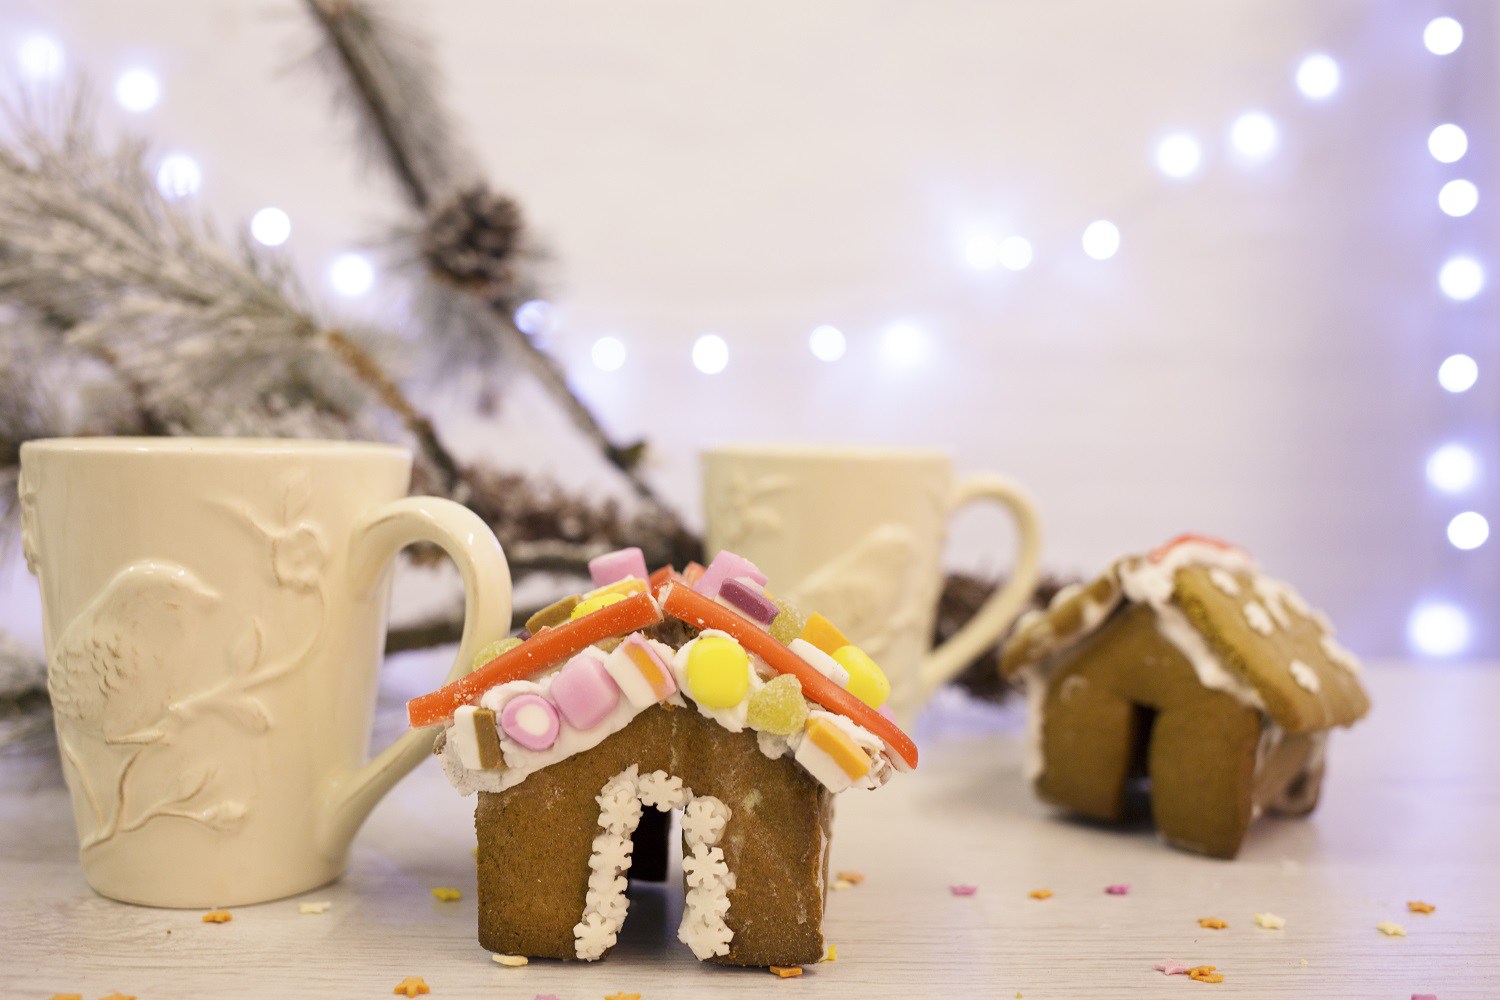 At Sass & Belle we like to make people smile and when we envisaged making gingerbread houses we thought we'd make you smile…in a different way. While we're rather good at making pretty giftware it appears we're not quite so good at making gingerbread houses. You can't deny they're charming but they certainly aren’t the Pinterest worthy beauties we hoped they would be. If you would like to follow suite and attempt to make gingerbread houses, then please read on. As they say, it's the taking part that counts, right??
First thing we’d like to assert is that the baking part is easy and if you’re just looking for a sweet treat and a fun time then this is the activity for you. We found the assembling and decorating part the hardest in terms of following instructions and replicating the delightful little treats you see on Pinterest. In terms of laughter when attempting to assemble? Well there was lots it. Remember, it doesn’t have to be perfect. If it has some homemade charm then so be it, you can always pretend it was made by someone much younger than yourself (we're joking of course).
This recipe was inspired by one from BBC good foods and has been edited with our own tips and tricks. This recipe makes a lots of dough (mix not money) which is great for reattempts or saving for later! Or if you’re ambitious you can probably make a whole street of houses.
What you will need:
- 1kg plain flour, plus a little extra for dusting
- 300g cold butter, diced
- 2 tbsp mixed spice
- 2 tbsp ground spice
- 1 tbsp bicarbonate of soda
- 450g light soft brown sugar
- 3 large eggs
- 225g golden syrup
For the icing:
- Royal Icing
- Piping bag or some food bags
- few ping-pong-size balls of regal icing, wrapped in cling film (these will help to secure the walls stick if it is struggling)
Timings: preparation takes 50 minutes, cooking takes 40 minutes and decoration and assembling take roughly 3-4 hours (please leave time for houses to set overnight).
Use this template here for the structure of the house! We recommend you print off three sheets of paper off in advance and cutout in the shape of the three templates so they are ready to use.
- Heat oven to 200C/180C fan/gas 6 and prep sheets of baking parchment. It’s best if you grease trays in preparation too.
- Rub the butter into half of the flour mixture until it resembles fine crumbs.
- Mix the remaining flour, spices, sugar and bicarb together with a pinch of salt.
- Tip both the floury mixtures into your largest mixing bowl and mix.
- In a separate bowl, whisk the golden syrup and the eggs and add to the flour mix, stirring with a wooden spoon.
- Using your hands, knead together into a smooth dough.
- Roll a quarter of the dough out at a time on a sheet of baking parchment, to the thickness of 2 x £1 coins.
- Use a small, sharp knife to cut around the house templates (here).
- Please note, you’ll need 2 x A, 2 x B and 2 x C for one house.
- Remove trimmings and lift the gingerbread, on its parchment, onto baking trays.
- When you’re laying out the pieces onto the baking tray, it is good not to put them too close together as they can expand and merge. Keep them evenly spaced.
- It’s useful to re-roll trimmings to cut out all the shapes you need.
- Bake the gingerbread one tray at a time on the middle shelf of the oven for 8-10 mins, until it is firm to touch and a rich brown colour.
- As soon as each tray is baked, carefully sit the templates back onto the relevant shapes and trim any edges to neaten. You want to make sure that all the pieces are the same size otherwise it will be a crooked house.
- Use a small, sharp knife to cut away any window or doors you may want to add.
- Once you have template shapes you’re happy with leave the biscuits cool completely.
- While the gingerbread is cooling it’s a good idea to make your icing. It’s really important that you have the right consistency. It must resemble the consistency of PVA glue as this is what will be used to stick the house parts together and decorate the house as you wish.
- To make the icing, sieve the royal icing sugar into a bowl. Slowly add water and stir until you have your desired consistency.
- It’s a good idea to decorate the house before you assemble. Spoon some into a food bag (cover the rest), snip the tiniest bit off the corner and pipe some pretty icing decorations on to the templates.
- Leave to dry.
- Arrange the wall biscuits as you are going to assemble them, then pipe icing along the side edges and stick the walls together.
- Pipe extra icing where the walls join each other on the inside of the house, and support the sides using your icing balls.
- Leave for a couple of hours to set.
- Once dry, stick on the roofs, as above – you may need to hold the biscuits on firmly for a few mins until the icing starts to set – or shape your icing balls to support the edges of the roof.
- Set overnight, then use any remaining royal icing to help you decorate your houses with sweets and sprinkles or anything you like!