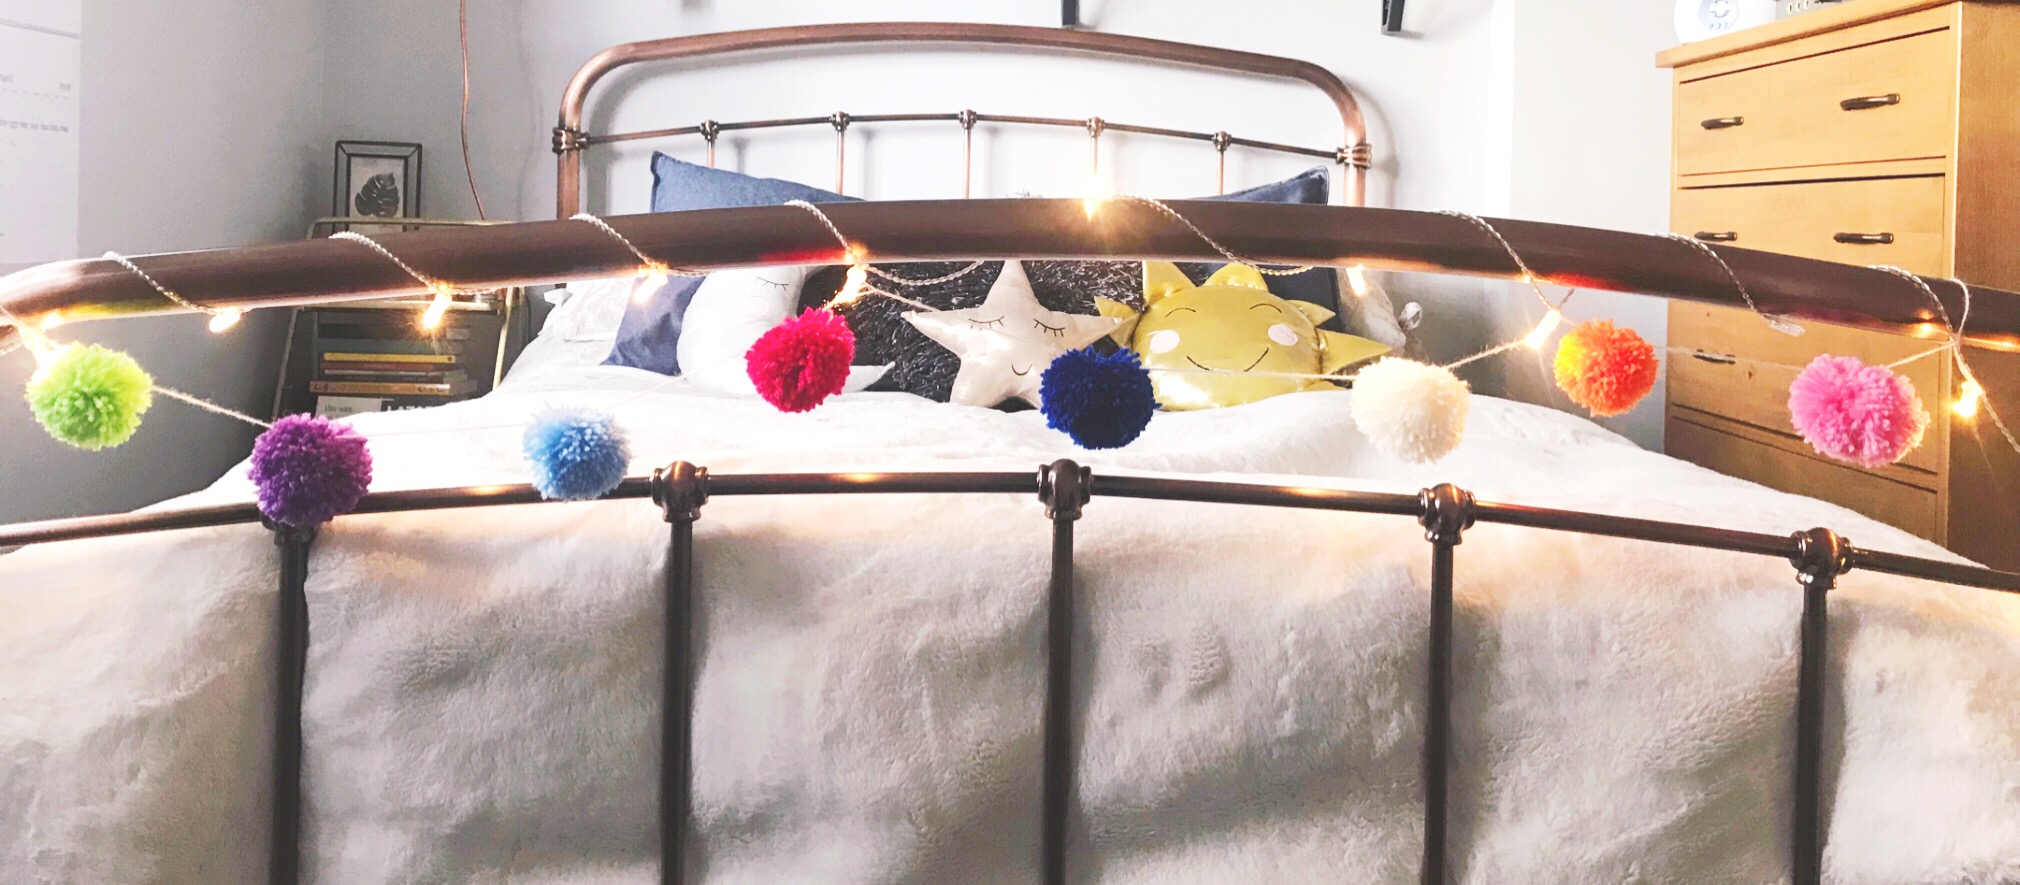
DIY Home: Pom Pom Garland!
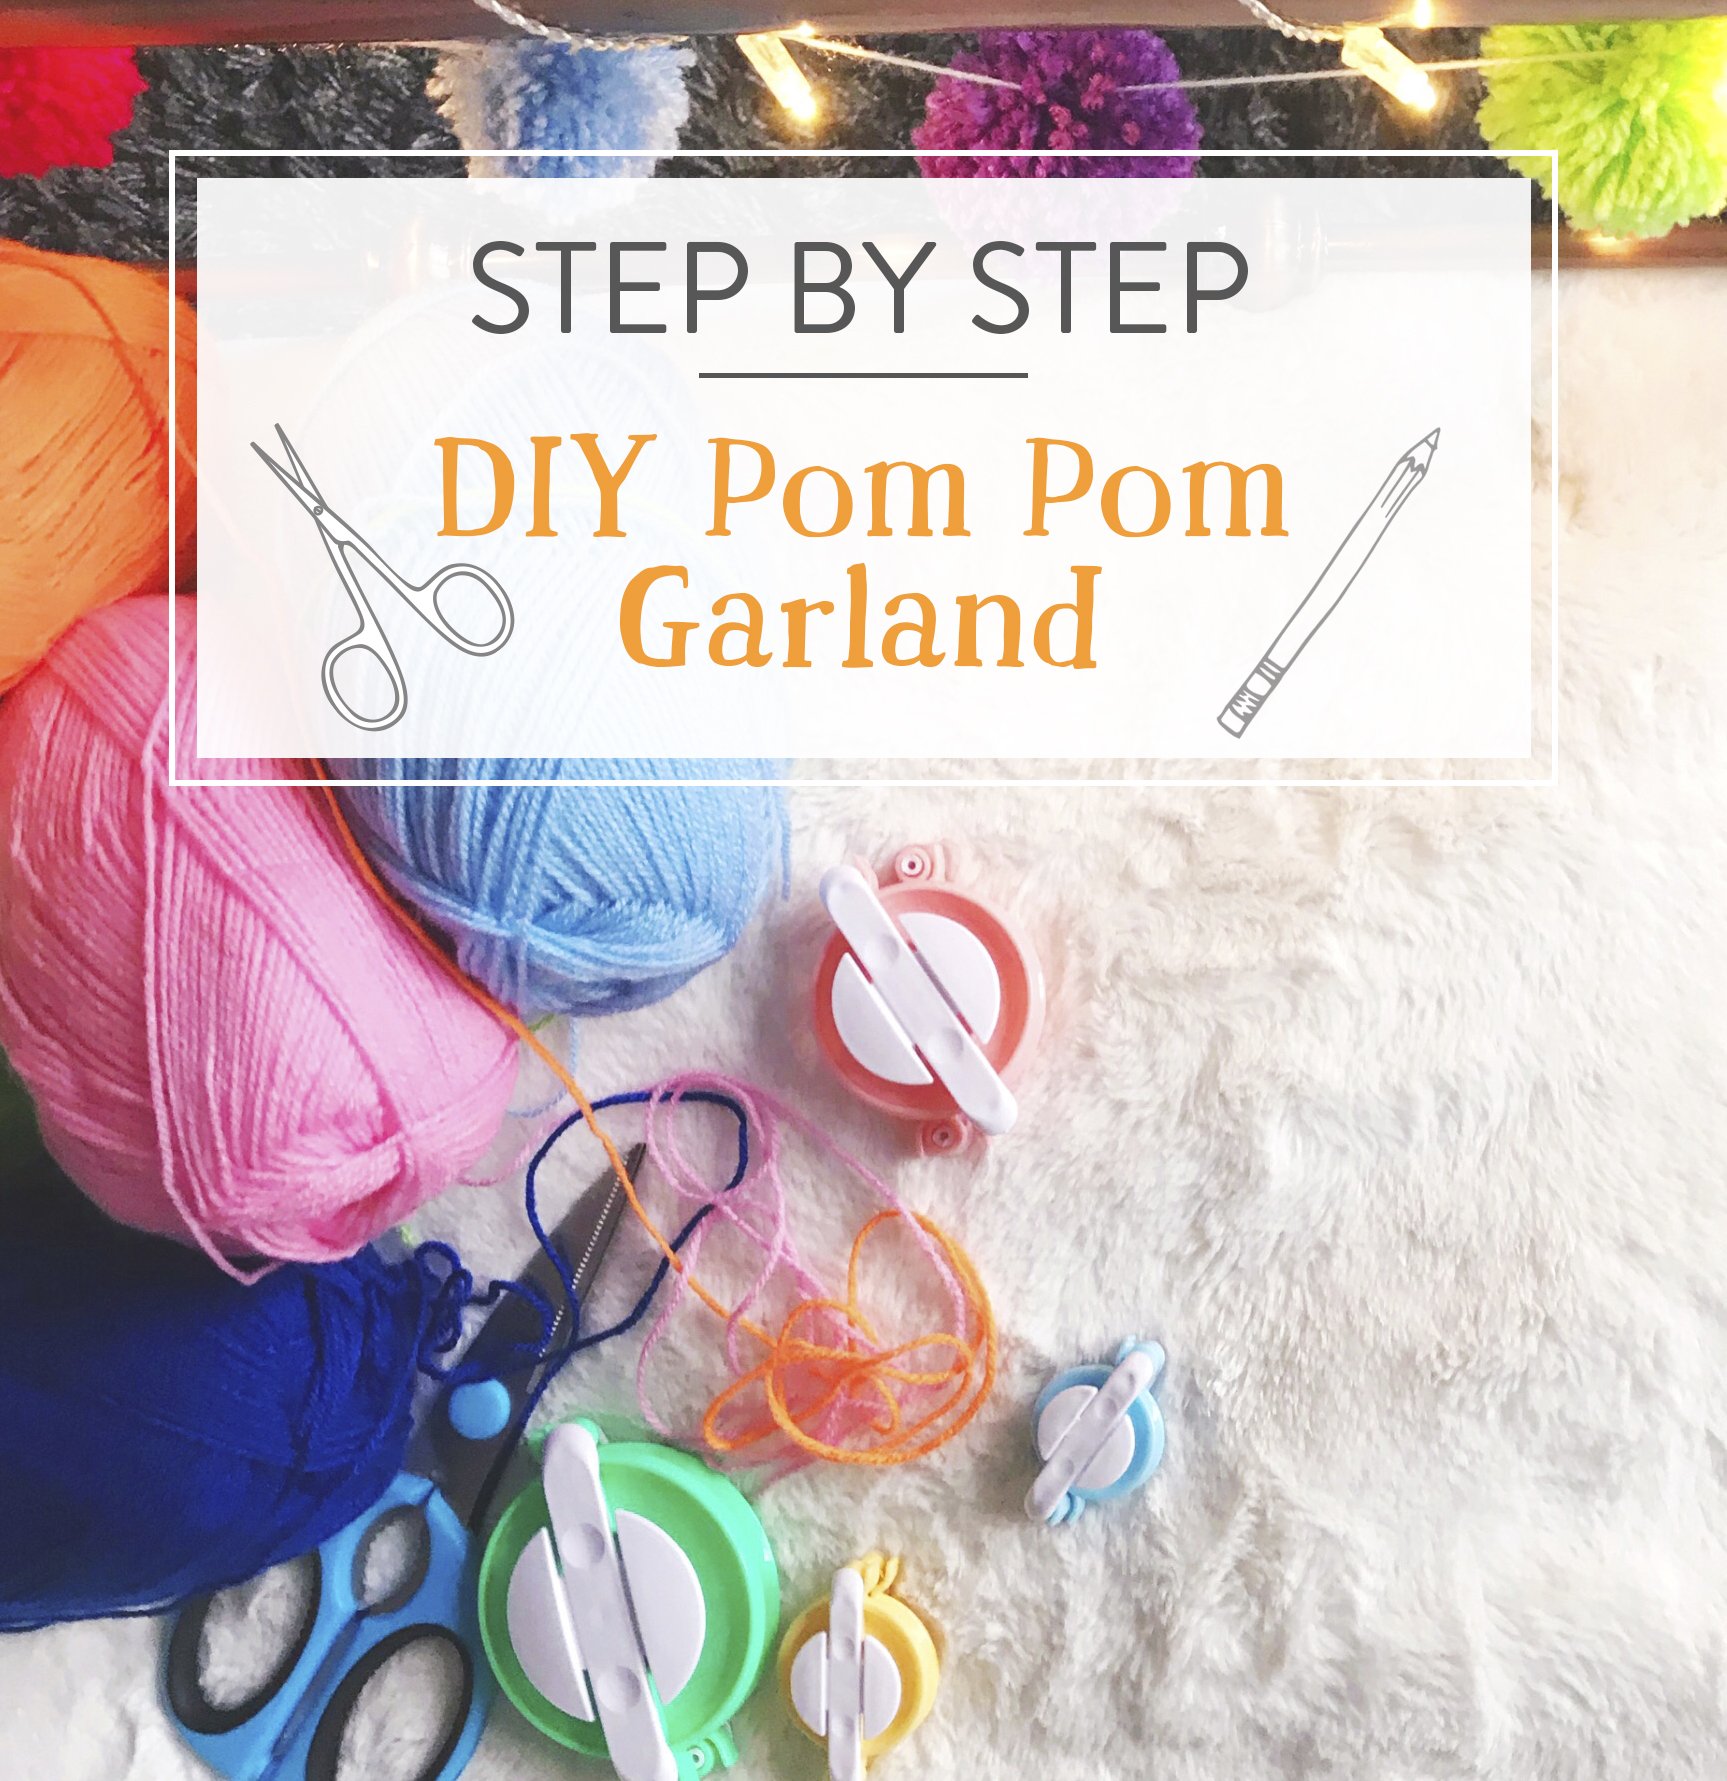
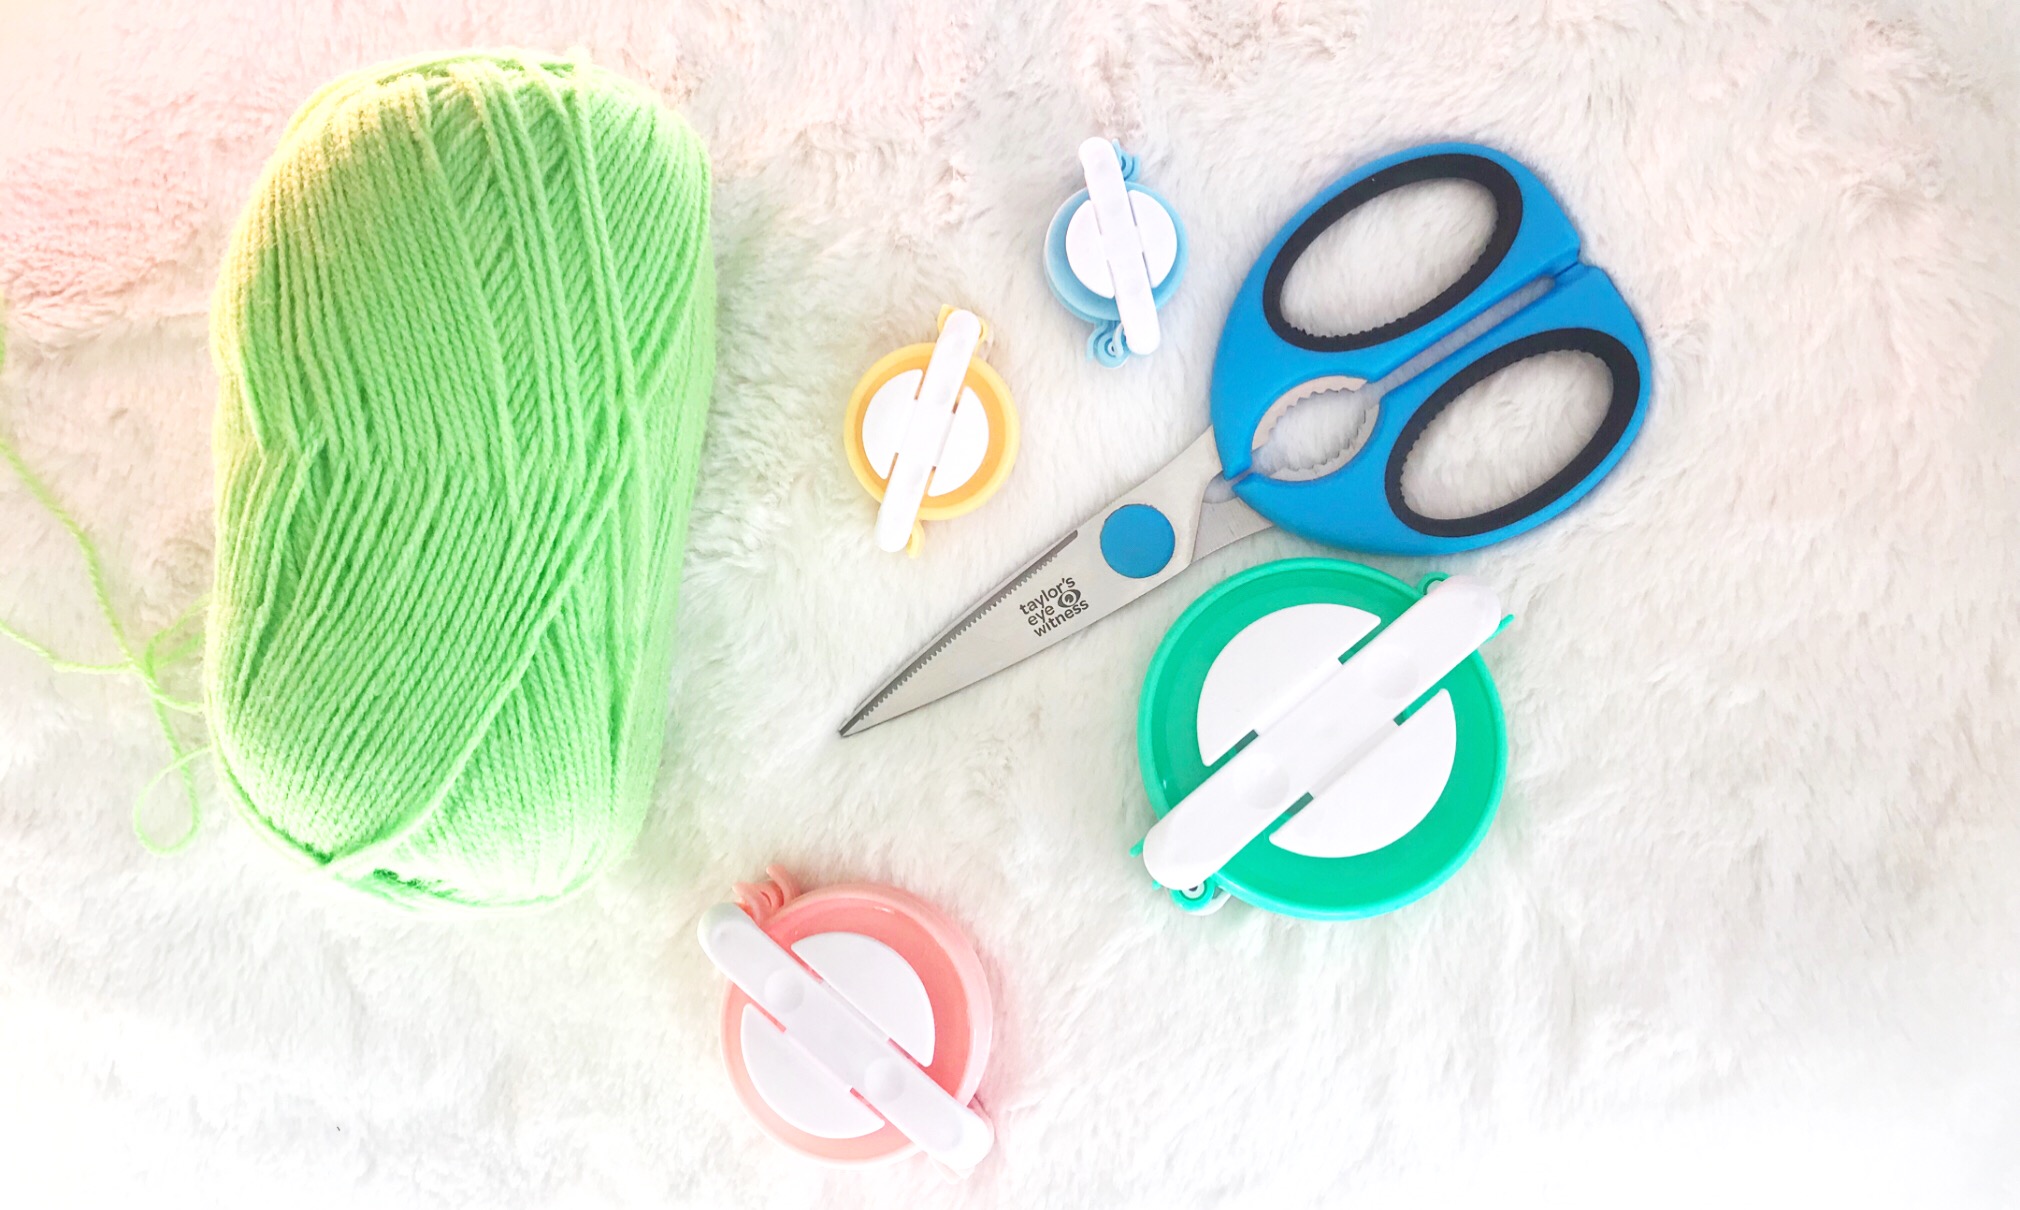
Things you'll need:
- Yarn
- Sharp scissors
Pom Pom Maker(s)
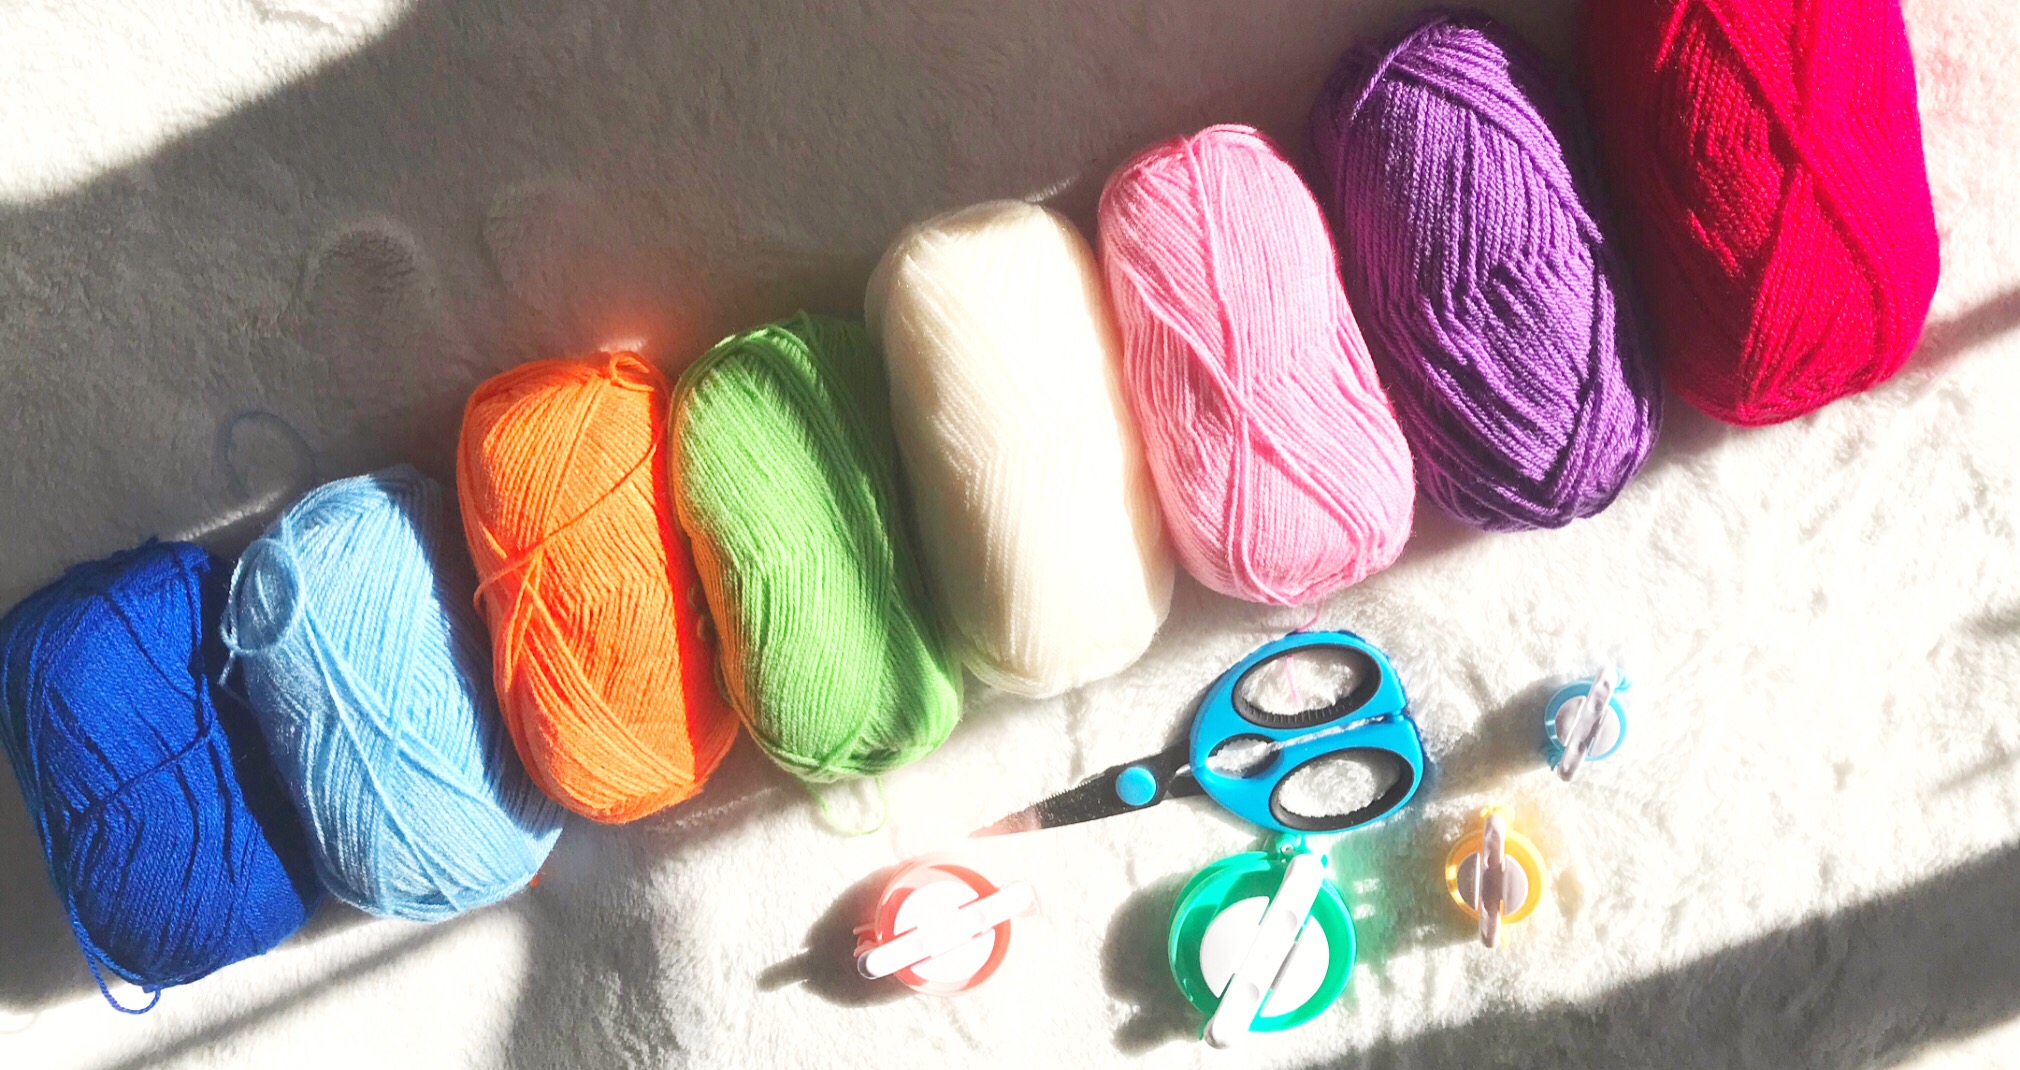
Step 1: Choose your colours!
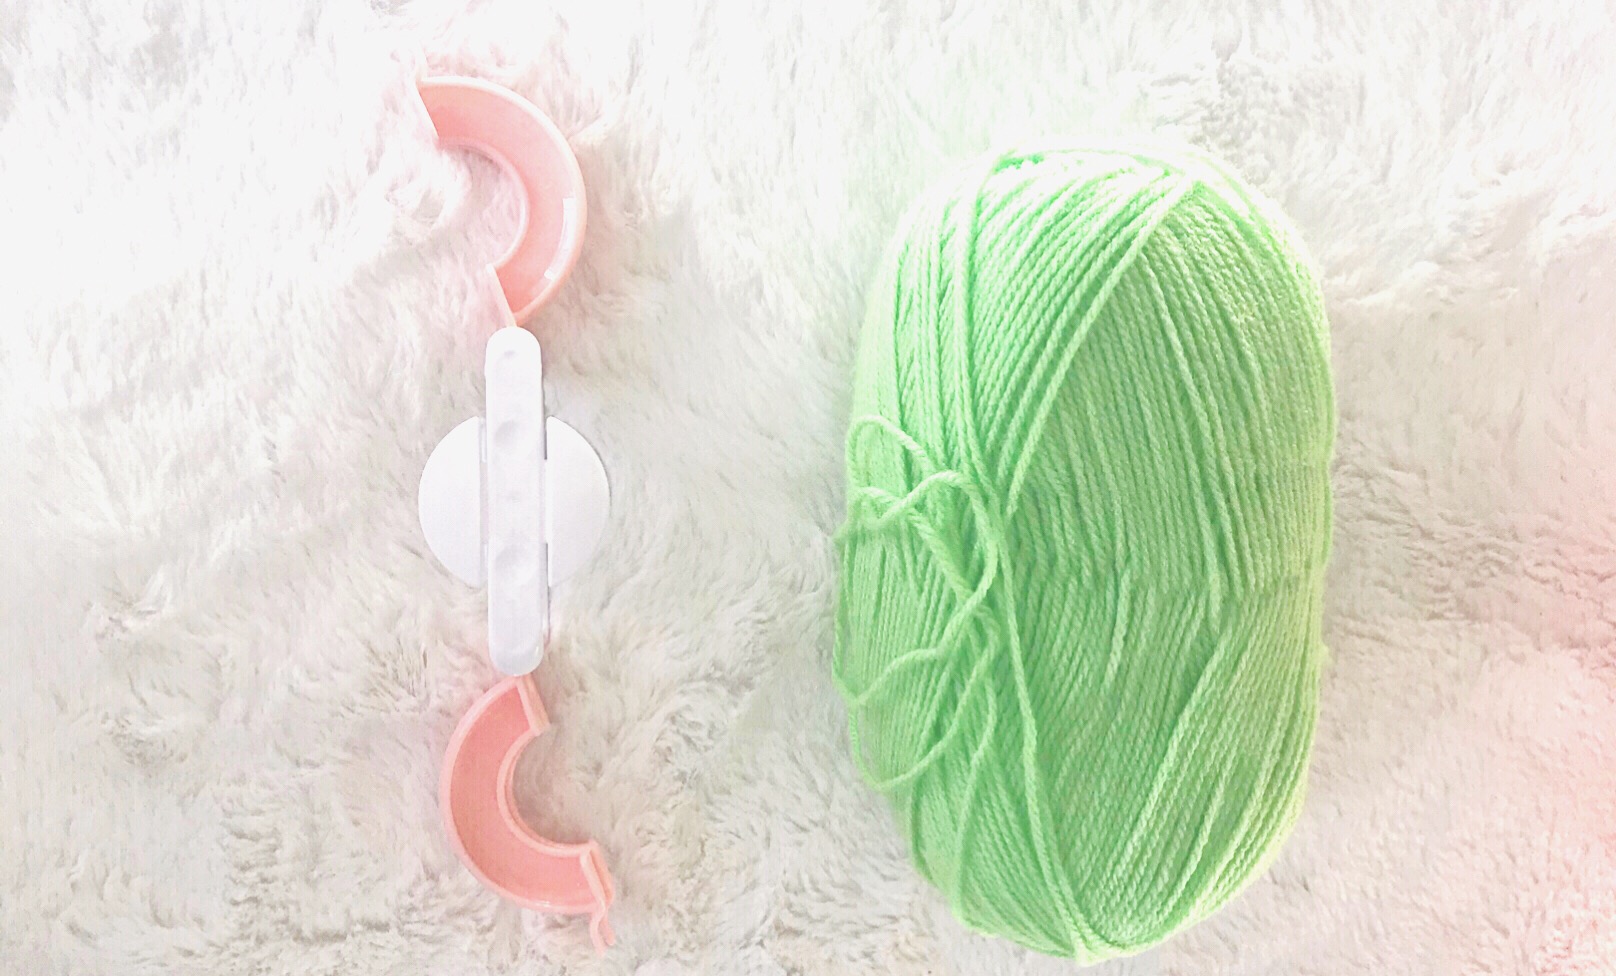
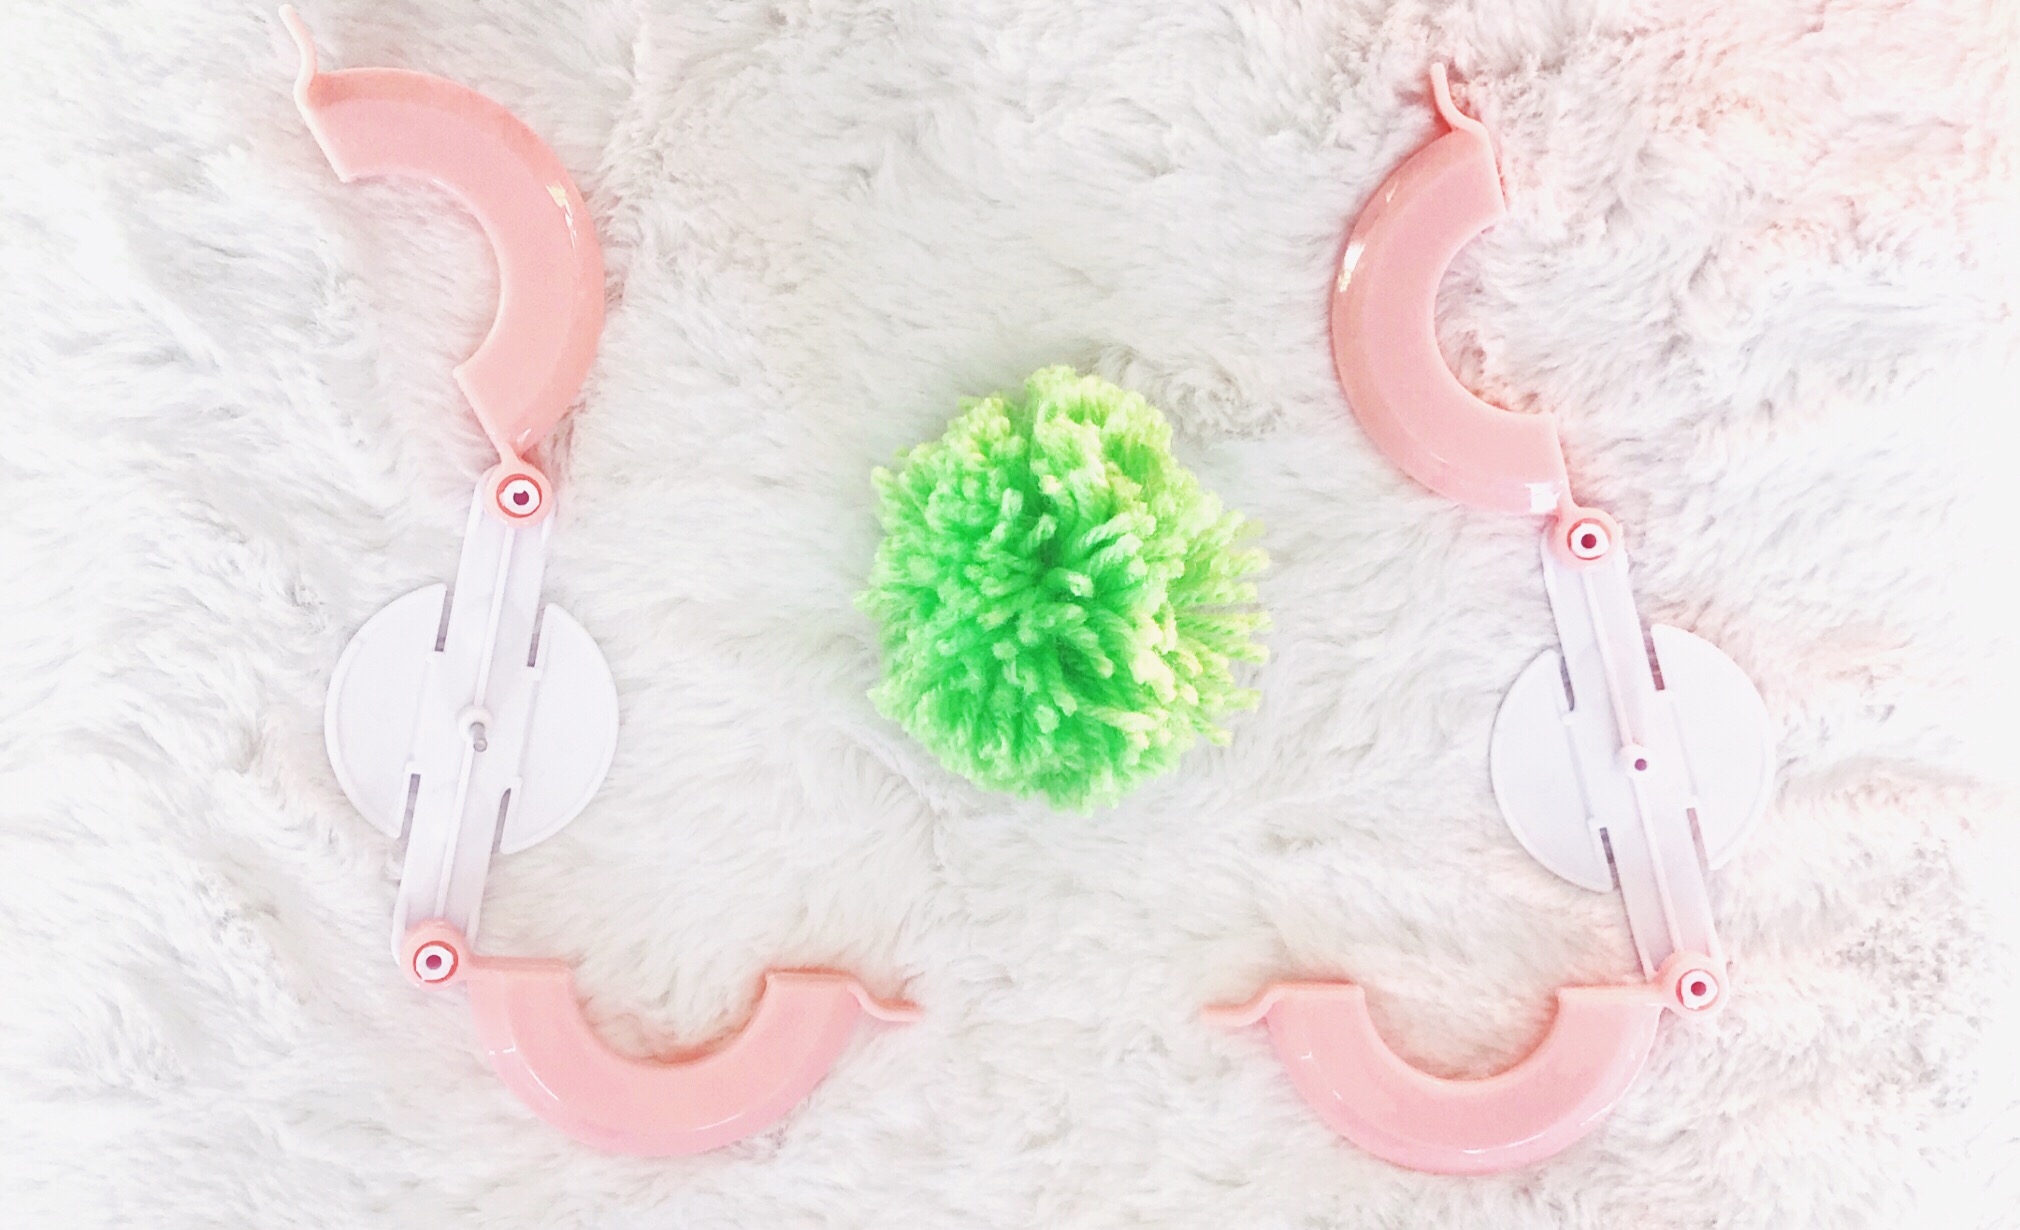
Step 2: Prepare your Pom Pom Maker!
These are super easy to use so don’t worry. You can also get them in many different sizes. We’ve used a medium sized one for our garland, but the larger ones are perfect to create crib mobiles or key rings! The little ones are great to make a key ring or hanging decoration with three different coloured pom poms
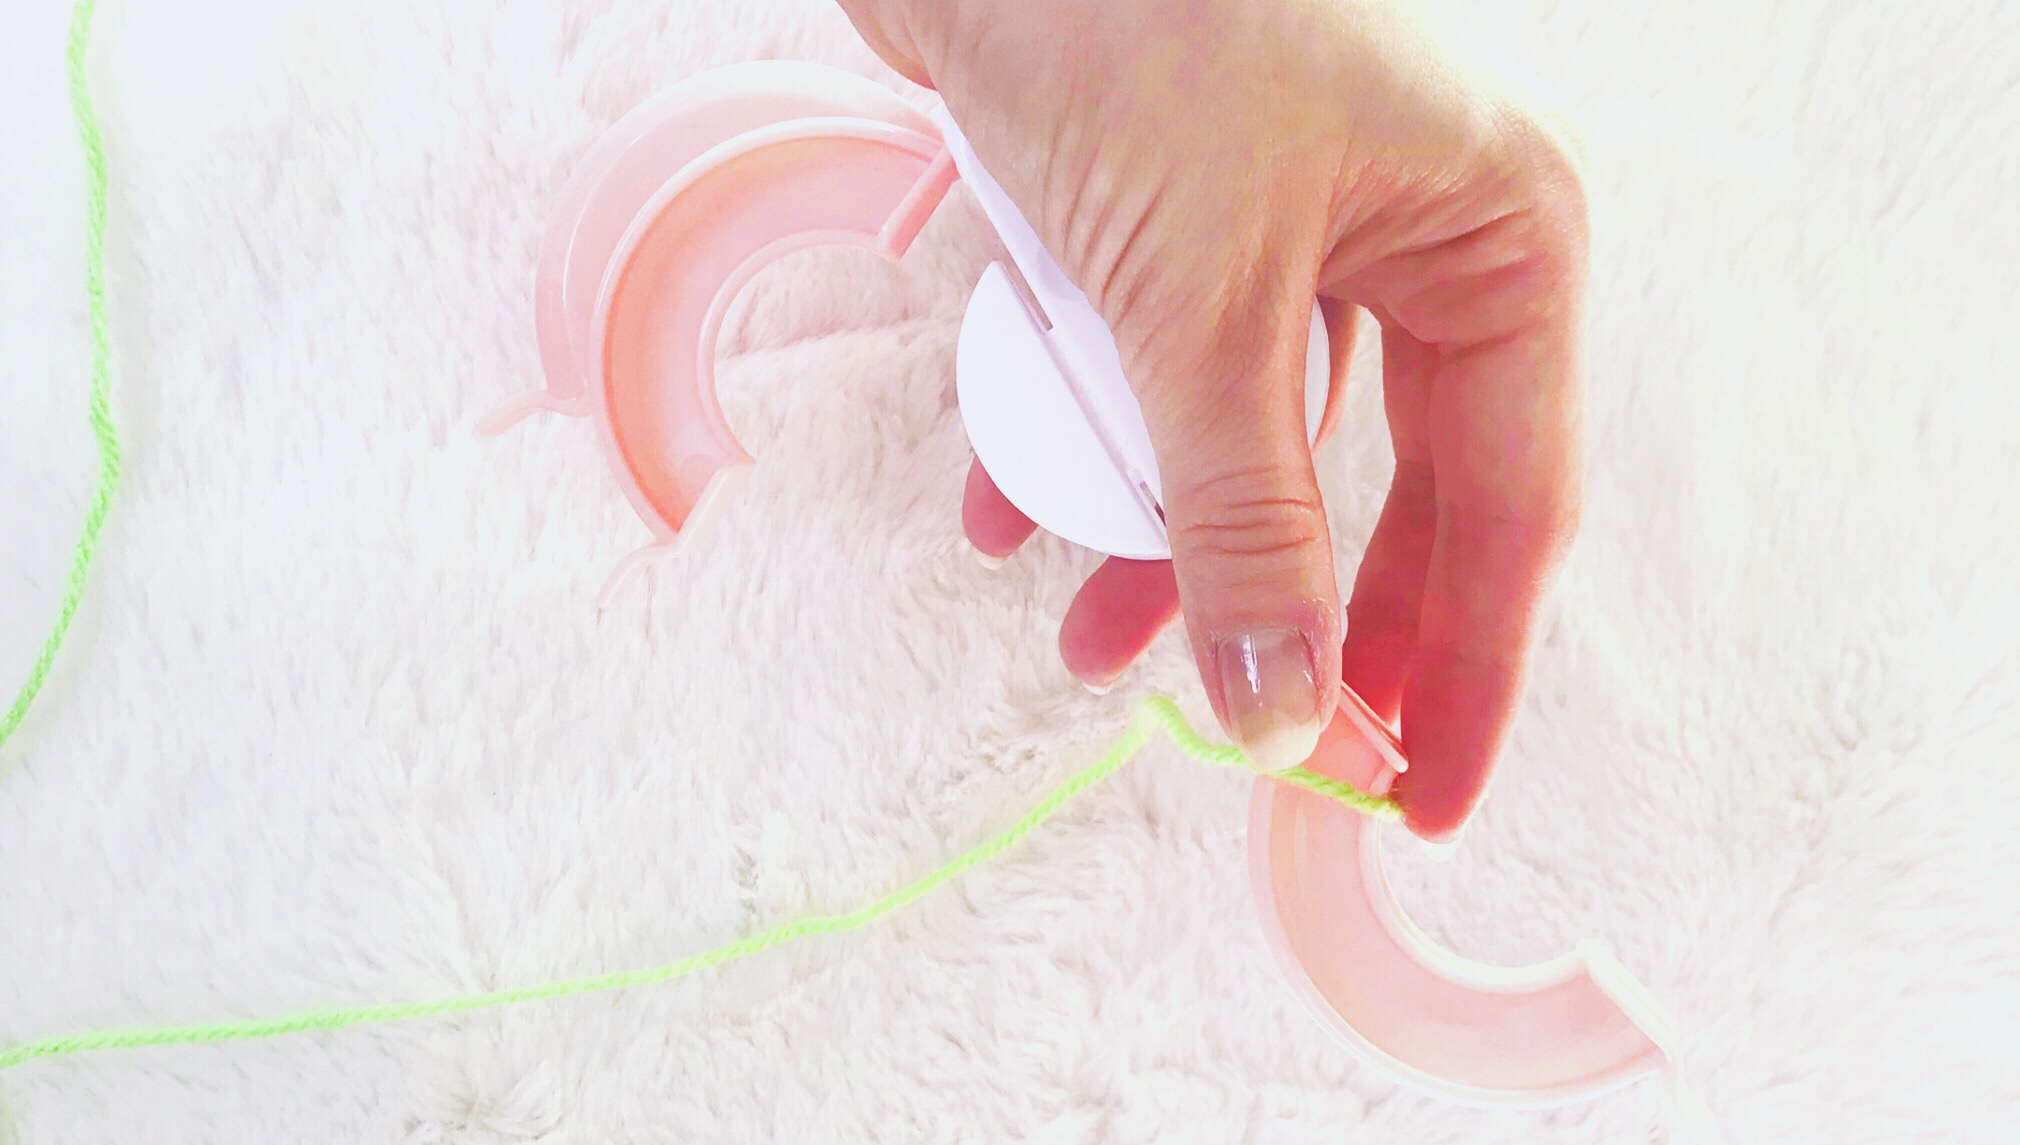
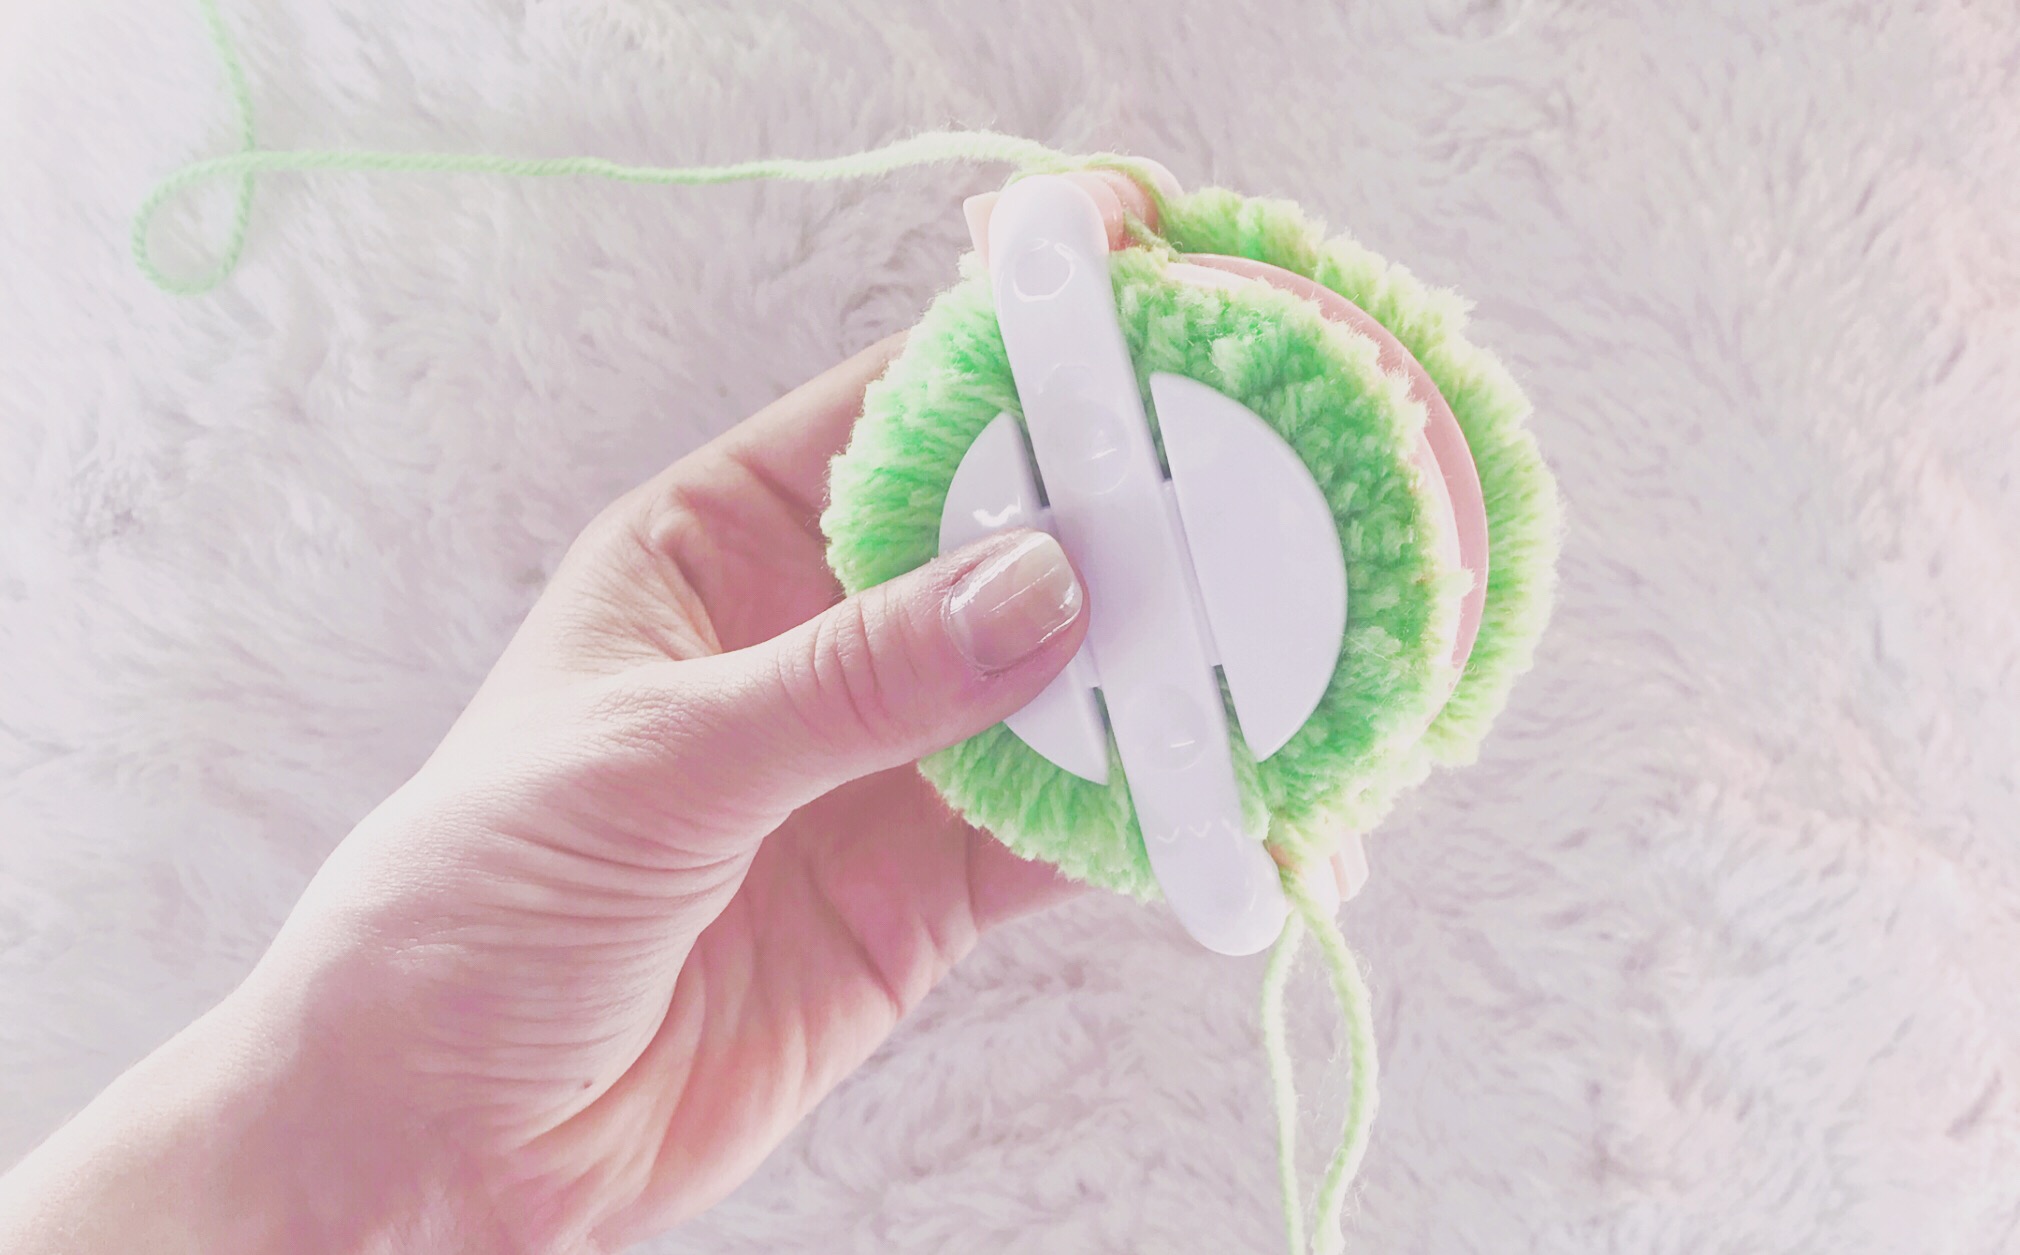
Step 3: Wrap away!
Begin to wrap the yarn in your chosen colour around one side of the maker. Make sure the plastic is totally covered by pushing down the yarn as you go along. The more layers you create while wrapping, the thicker and fluffier your
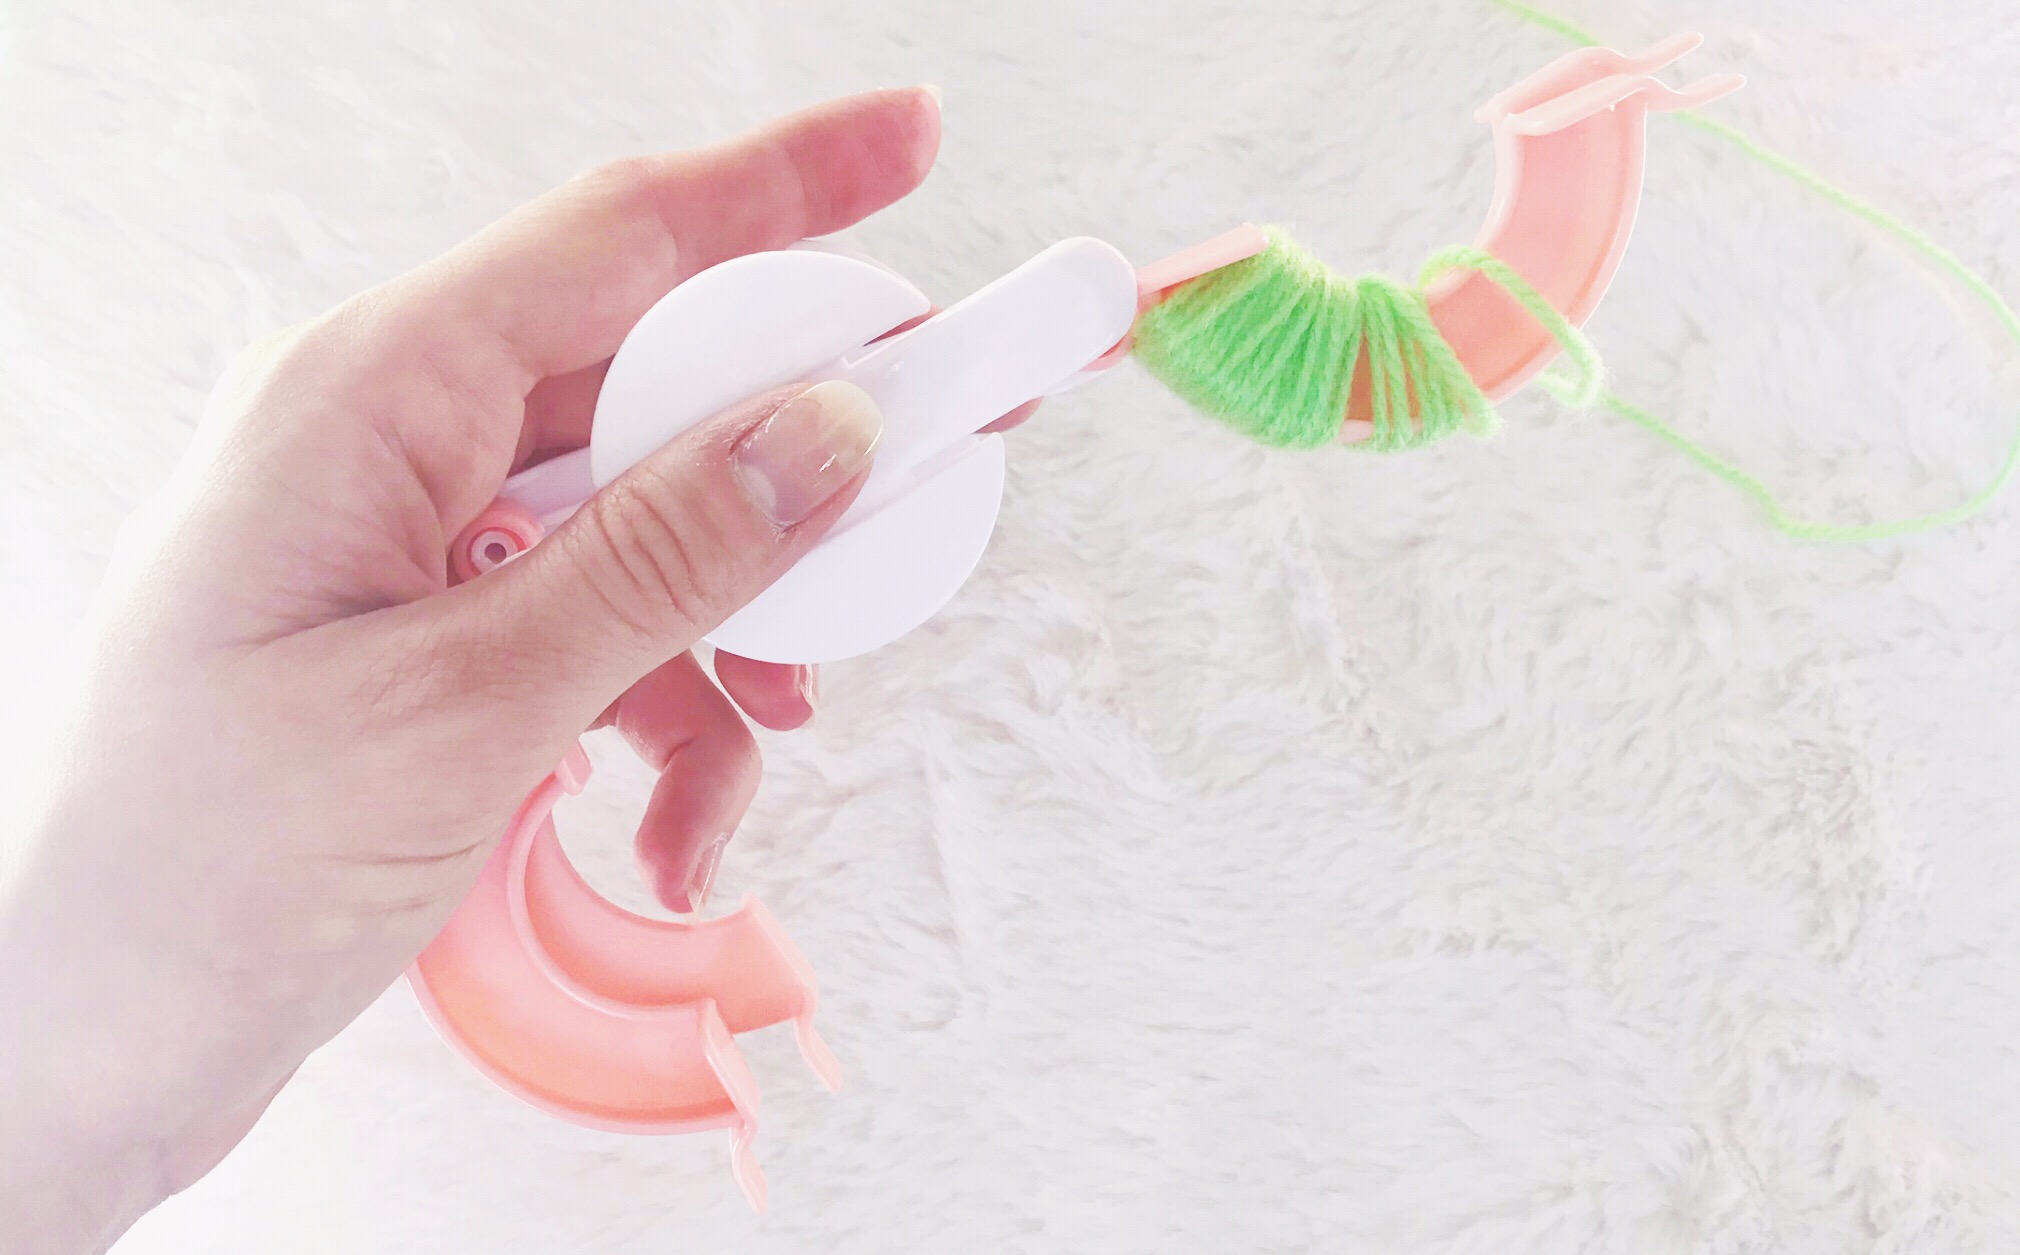
Step 4: Thread through
Once the yarn is completely covering the plastic of the maker and you’ve layered up as many times as you wish, thread your yarn through the gap as seen in the below image. This allows it to be free to begin wrapping on the other side!

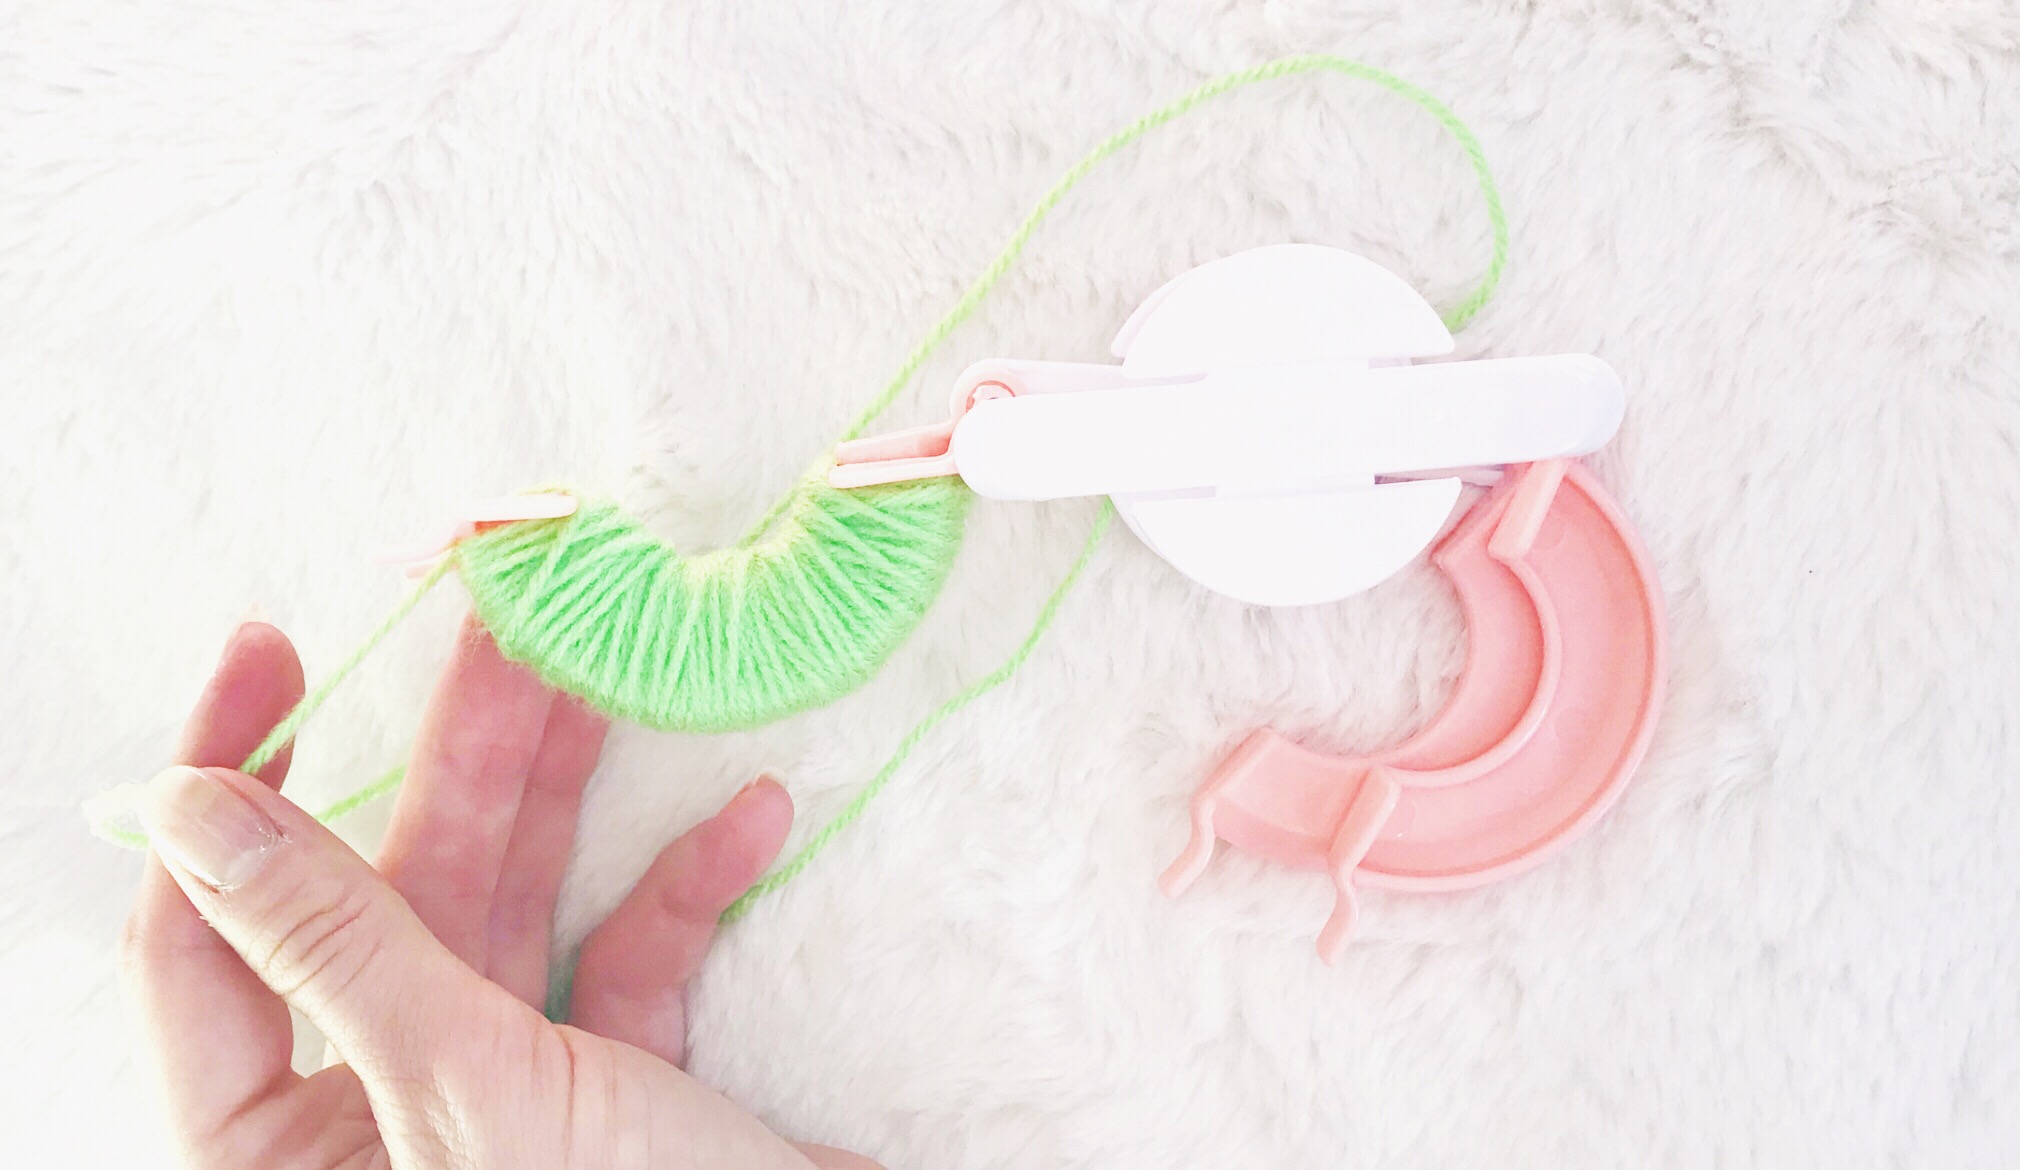
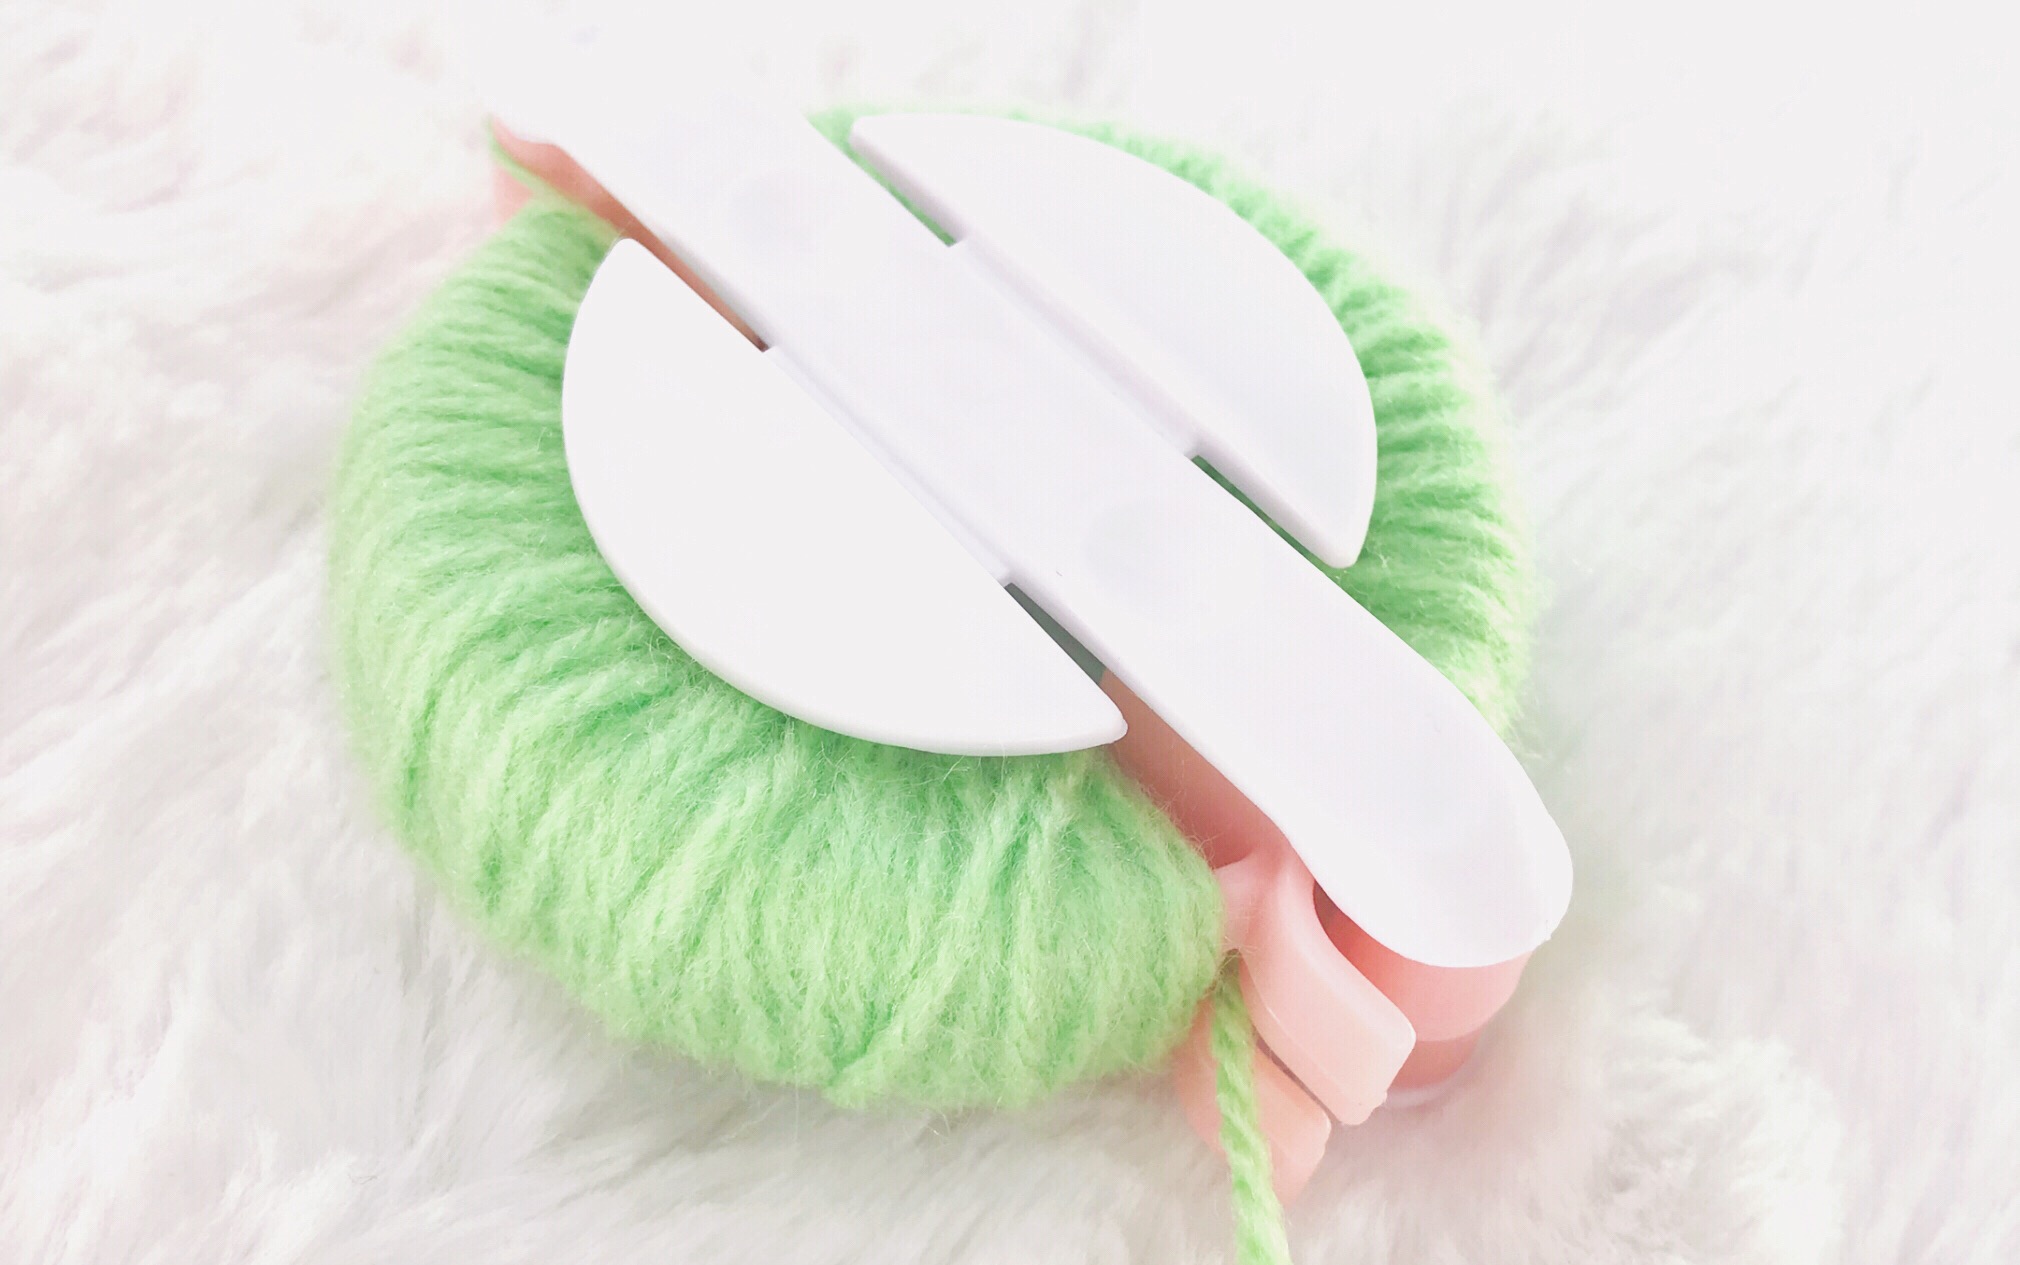
Step 5: Let’s go round again!
Close the finished side and begin to repeat the exact same process on the other side of the maker until the whole thing is completely wrapped up with yarn. Repeat the threading technique to finish as before to secure, and make sure both sides are closed in preparation for the next step.

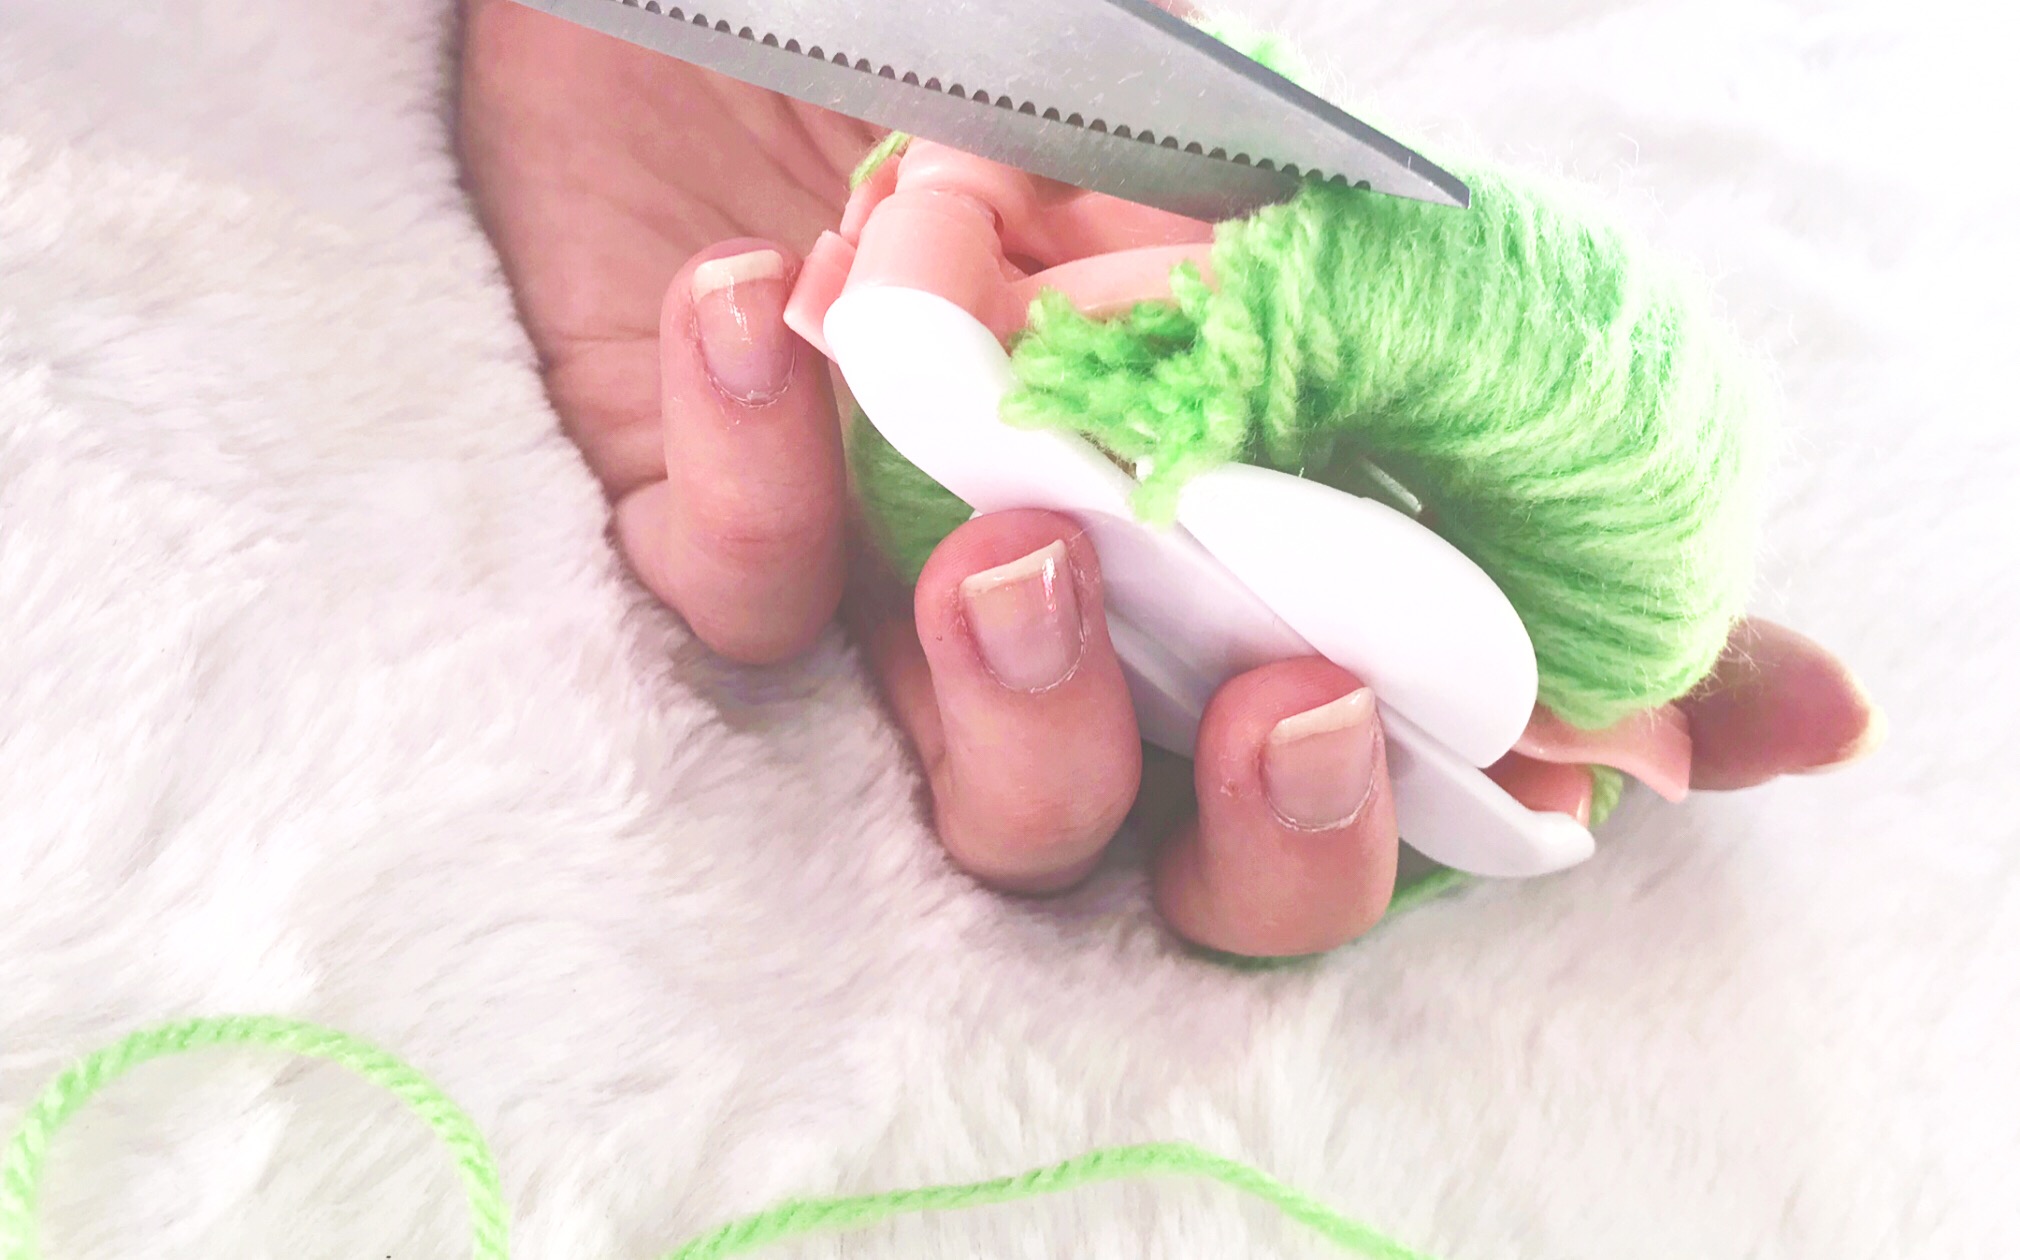
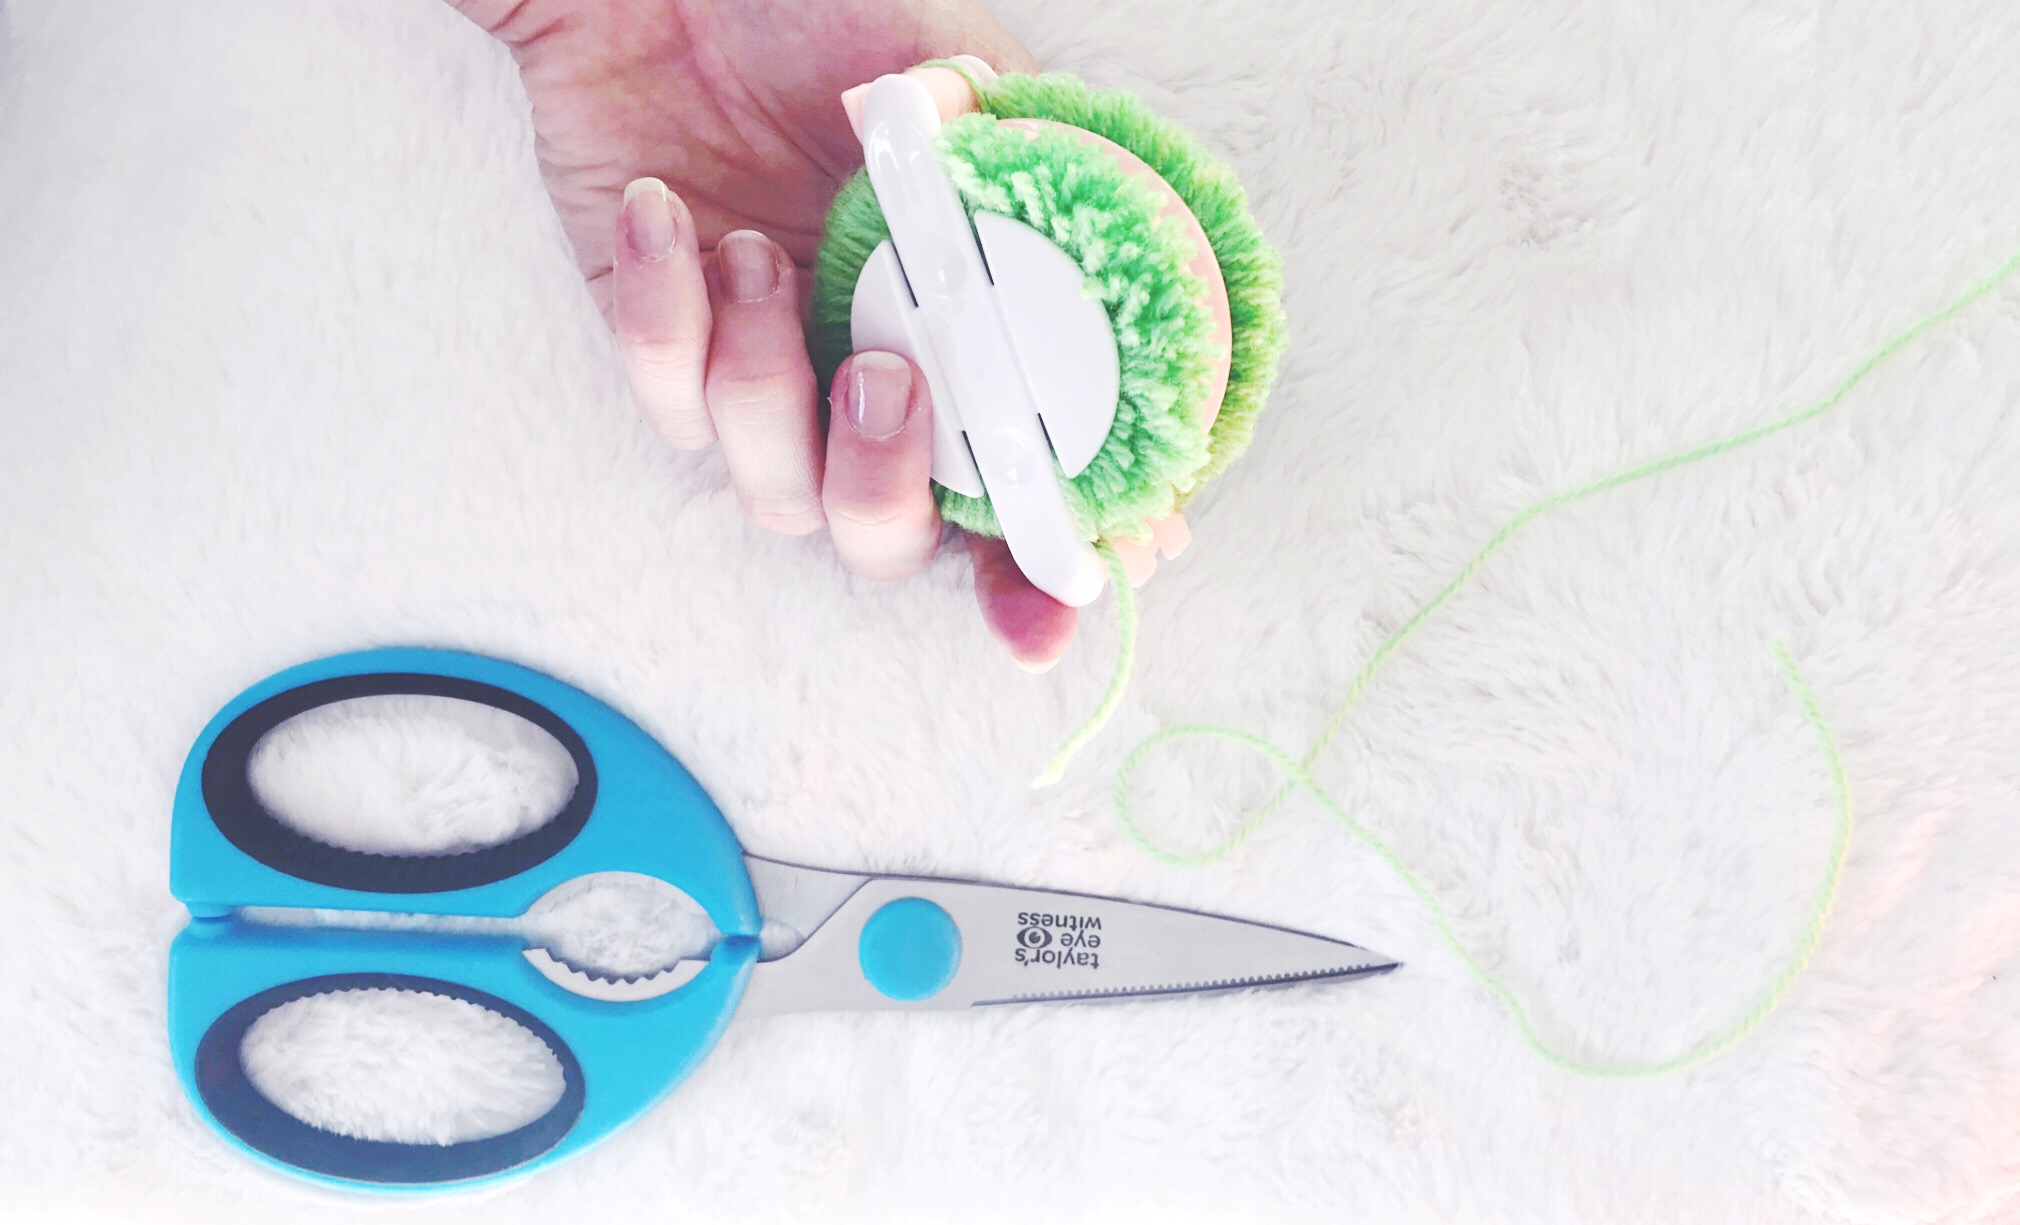
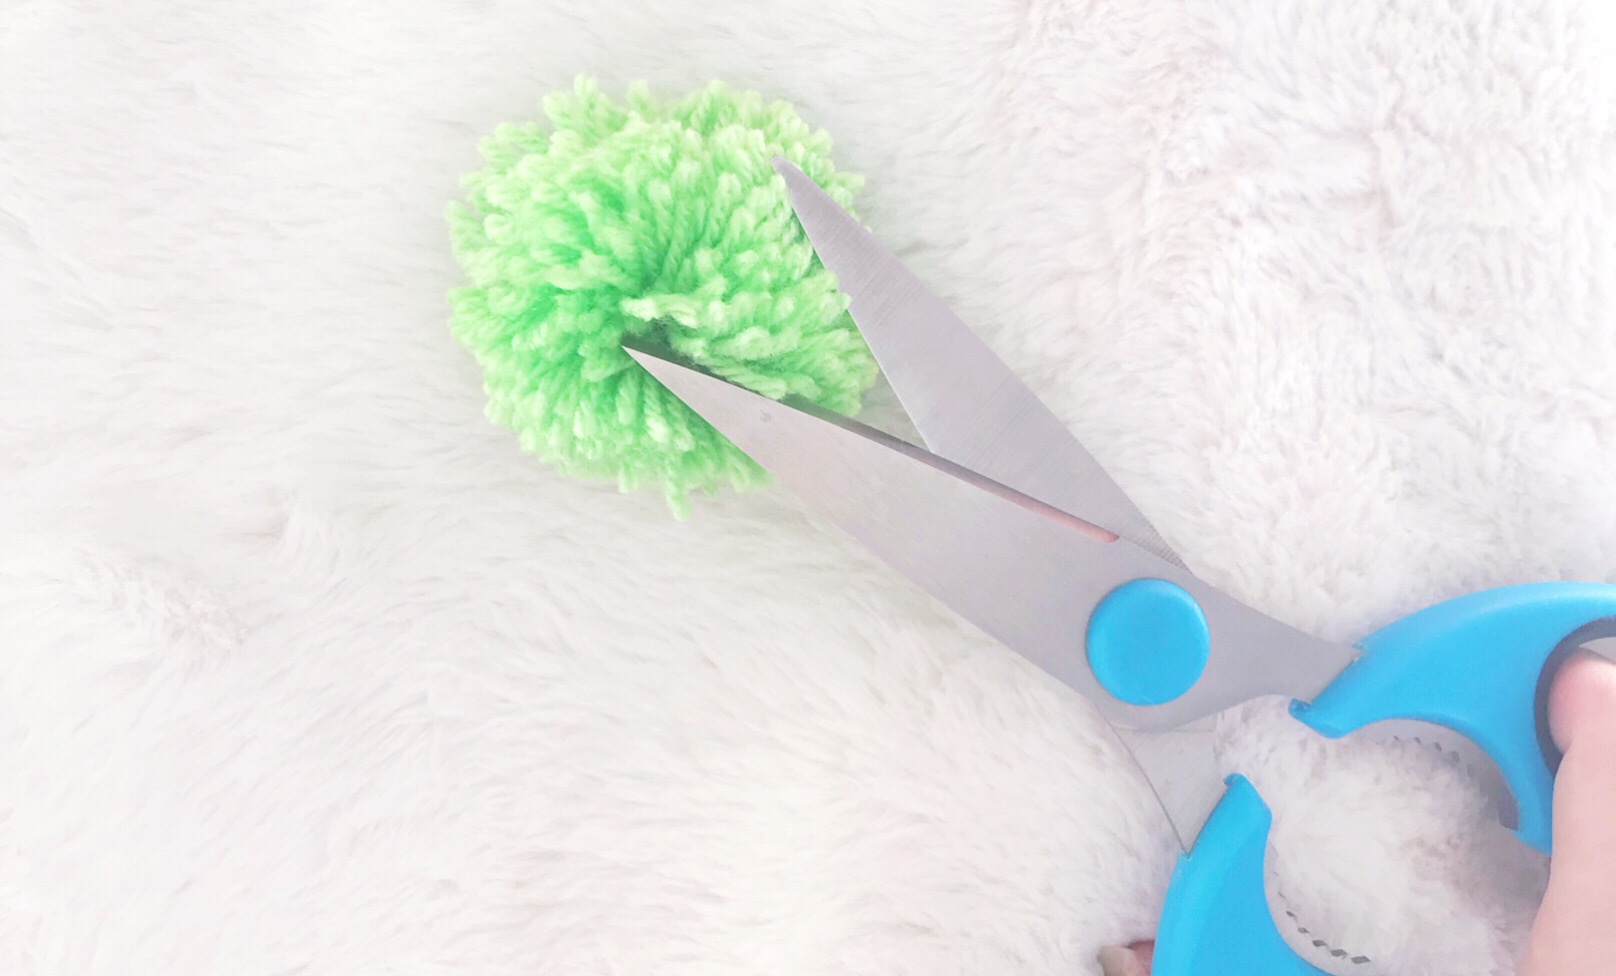
Step 6: Snip
Take your scissors and carefully cut through the top of your wrapped yarn. Make sure you stay in the centre when you do this! Repeat on the other side and cut the yarn tail off to separate your soon-to-be
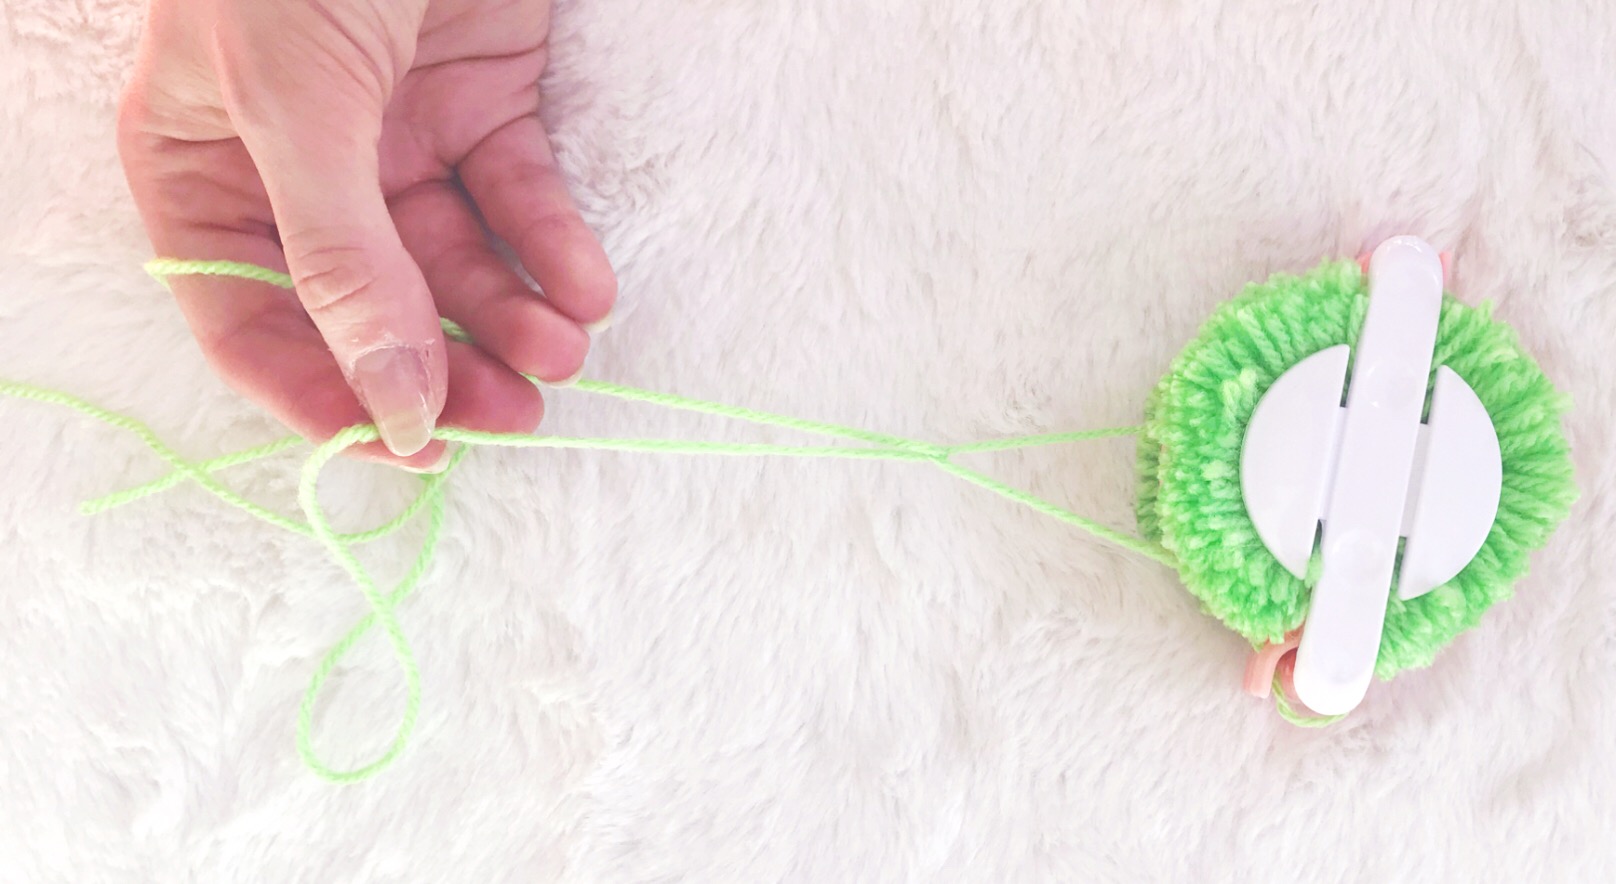
Step 7: Tie the knot
Take a new string of yarn and thread through the centre of the maker. Cut away from the yarn ball to around the length you see below. Tie the top in a knot and tighten to secure the middle of the pom pom. Repeat the same at the other end of the maker to make sure the yarn won’t unravel once you remove it from the maker in the next step.
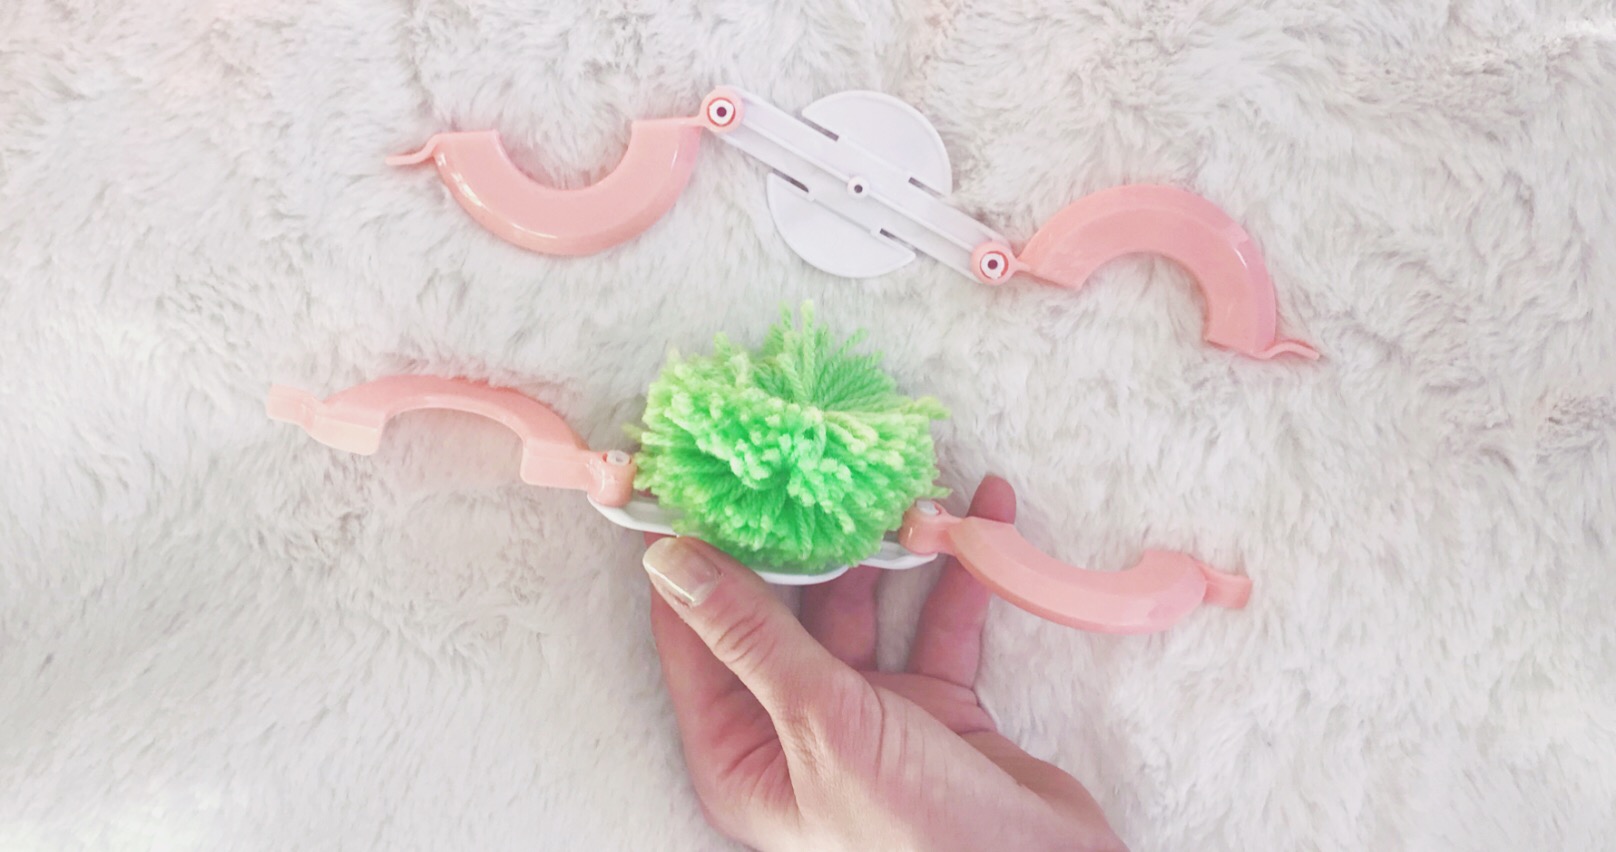
Step 8: Free the pom!
Gently pull the side of the maker away and it should detach into two halves like the below. This will release
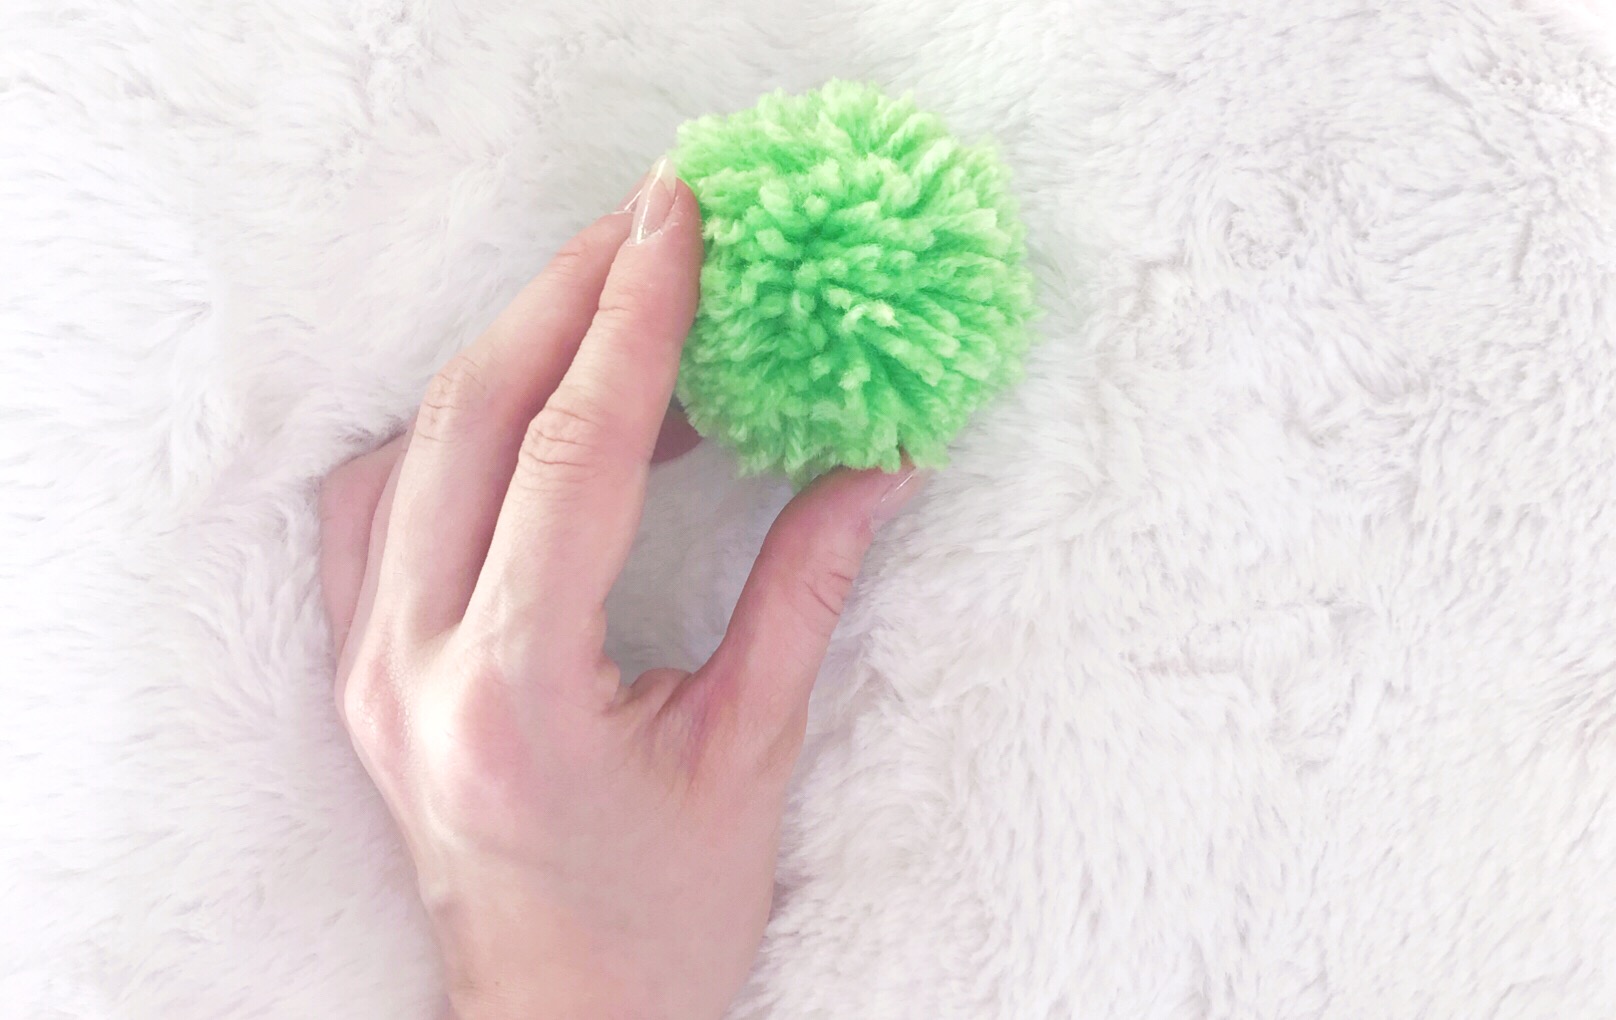
Step 9: Even poms need haircuts
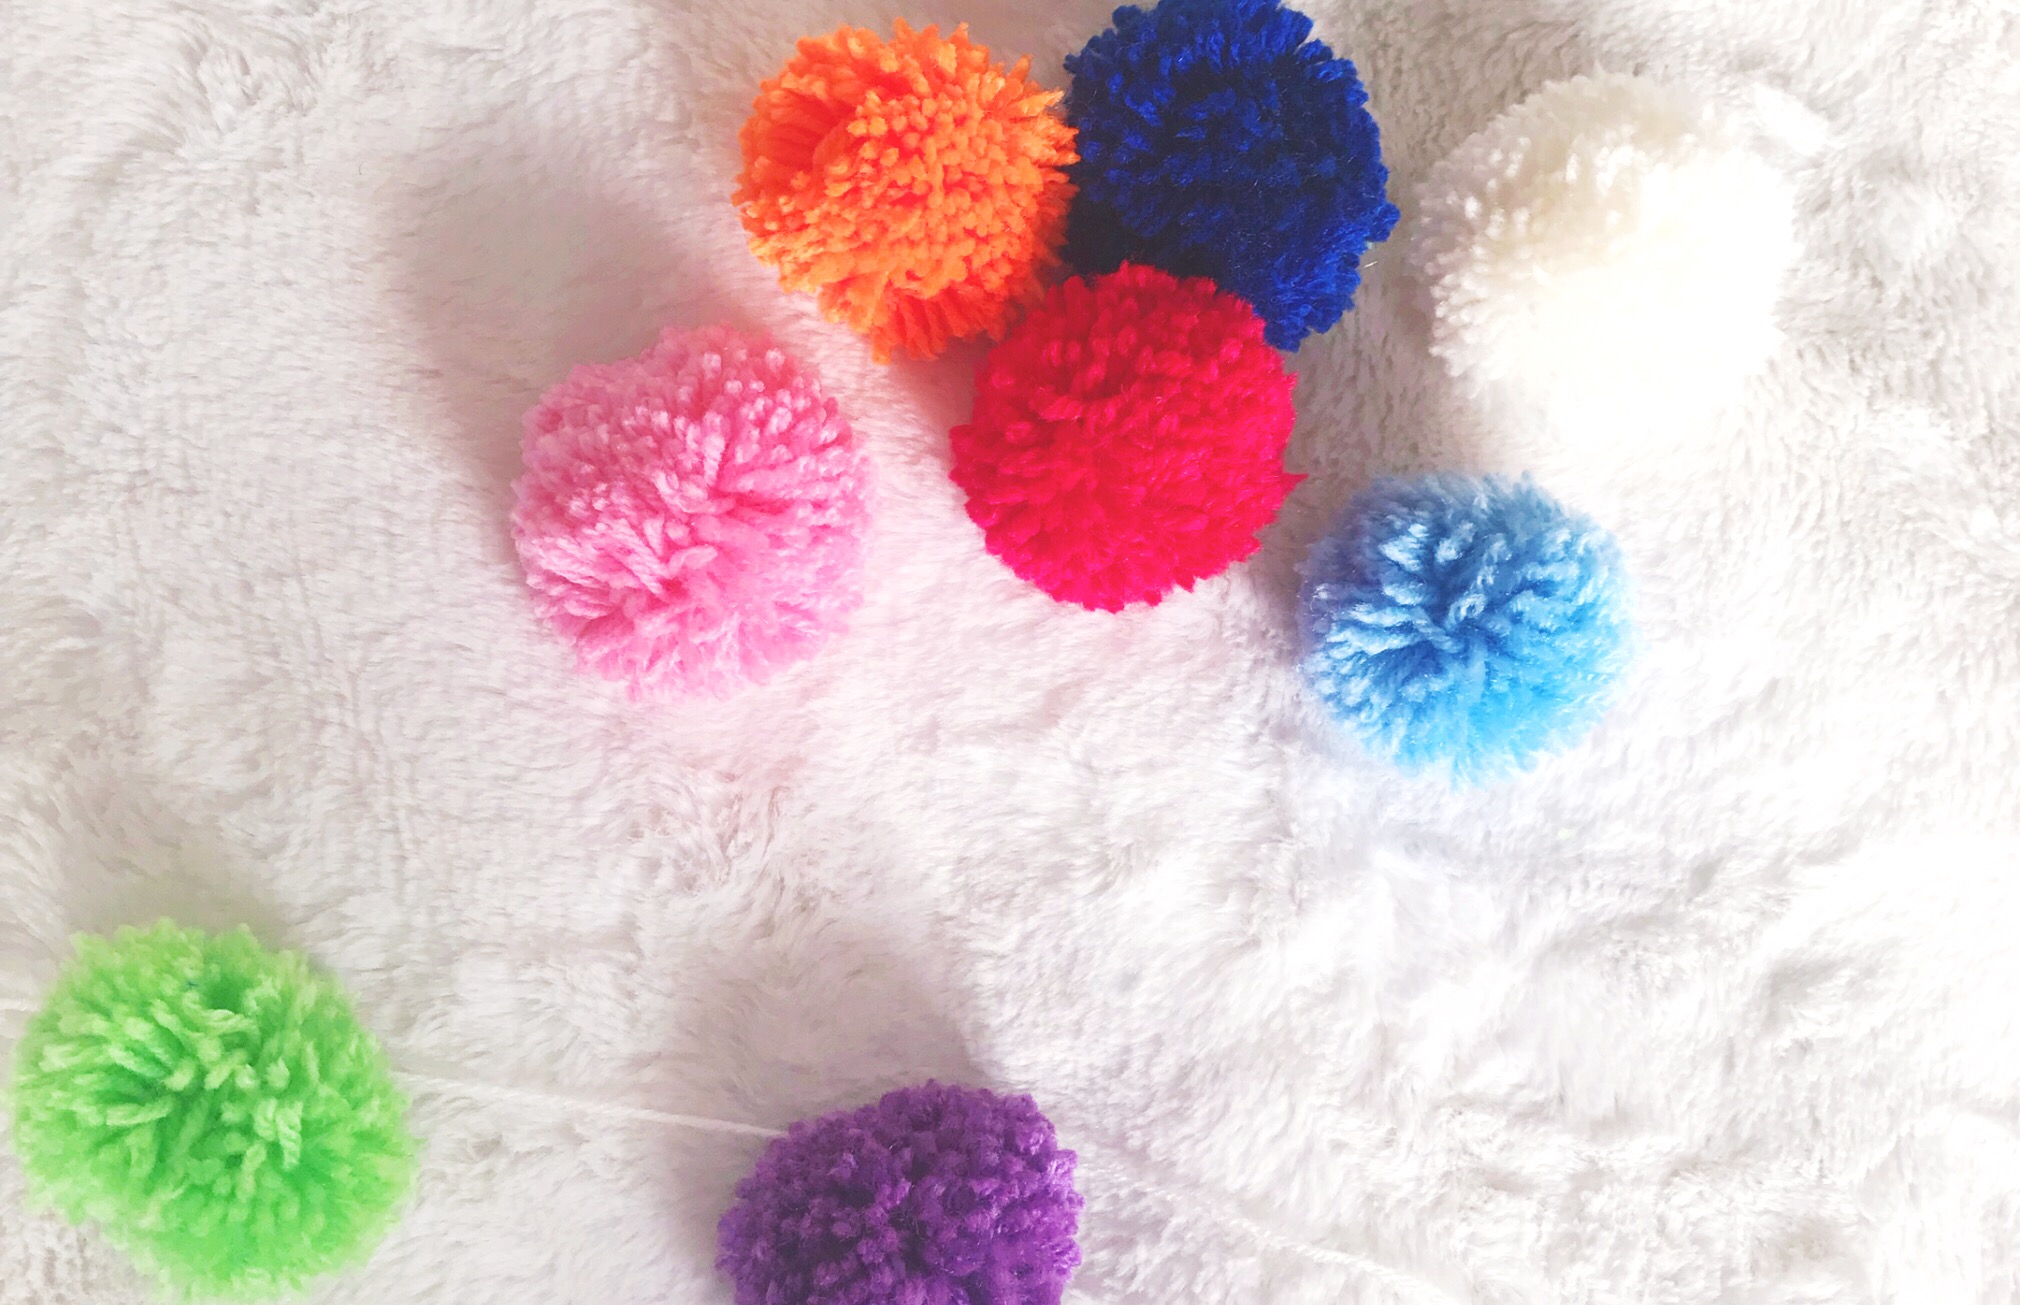
Step 10: Multiply!
Time to make more of these cute little pals. Go ahead and make as many as you wish to attach to your garland. Remember, if you have a set of
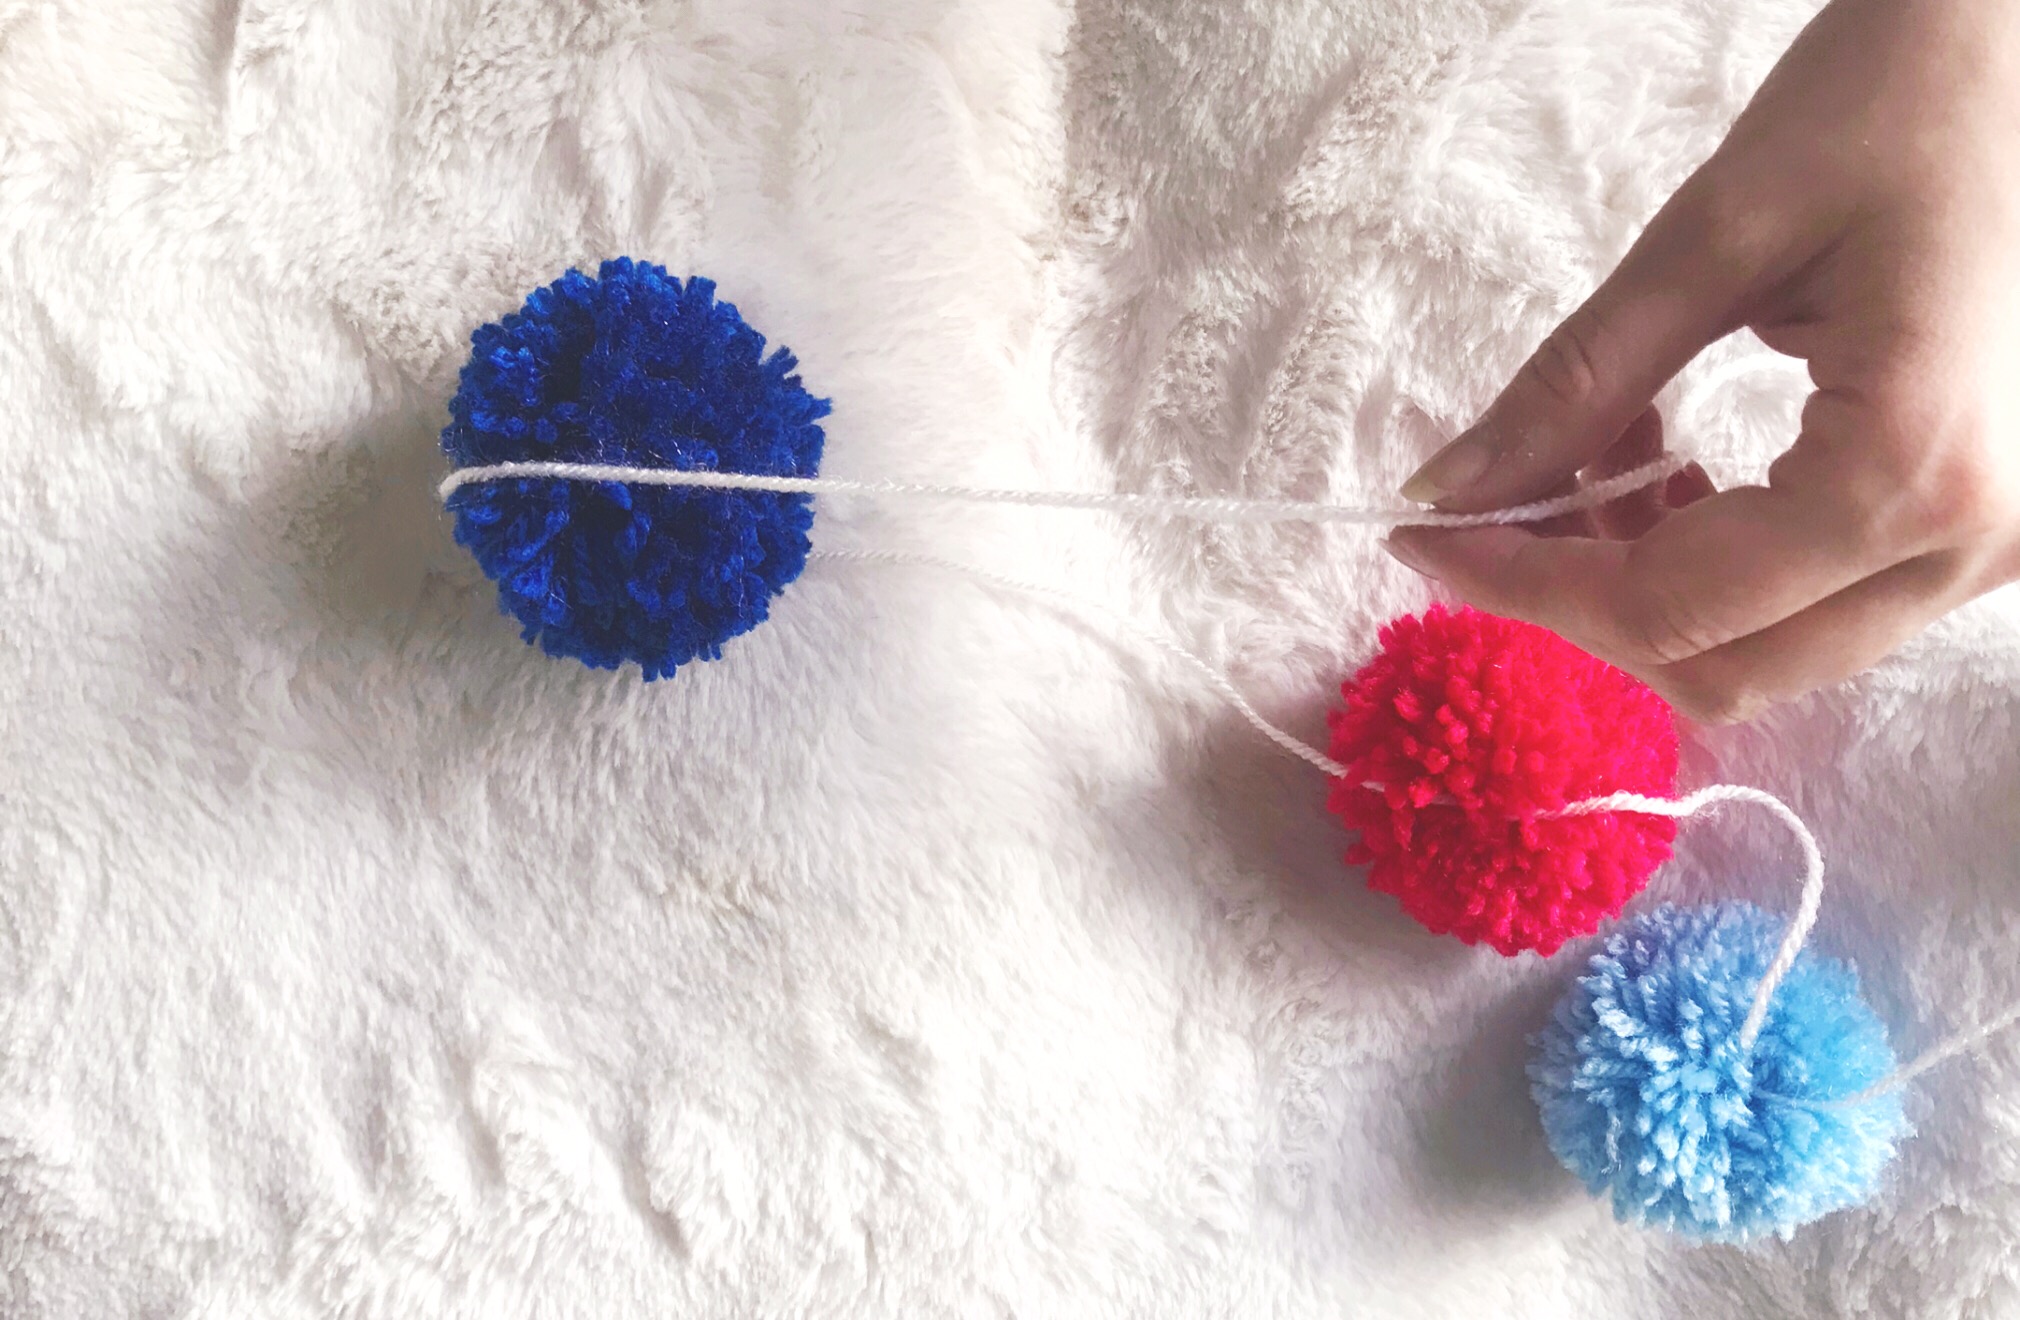
Step 11: Get attached
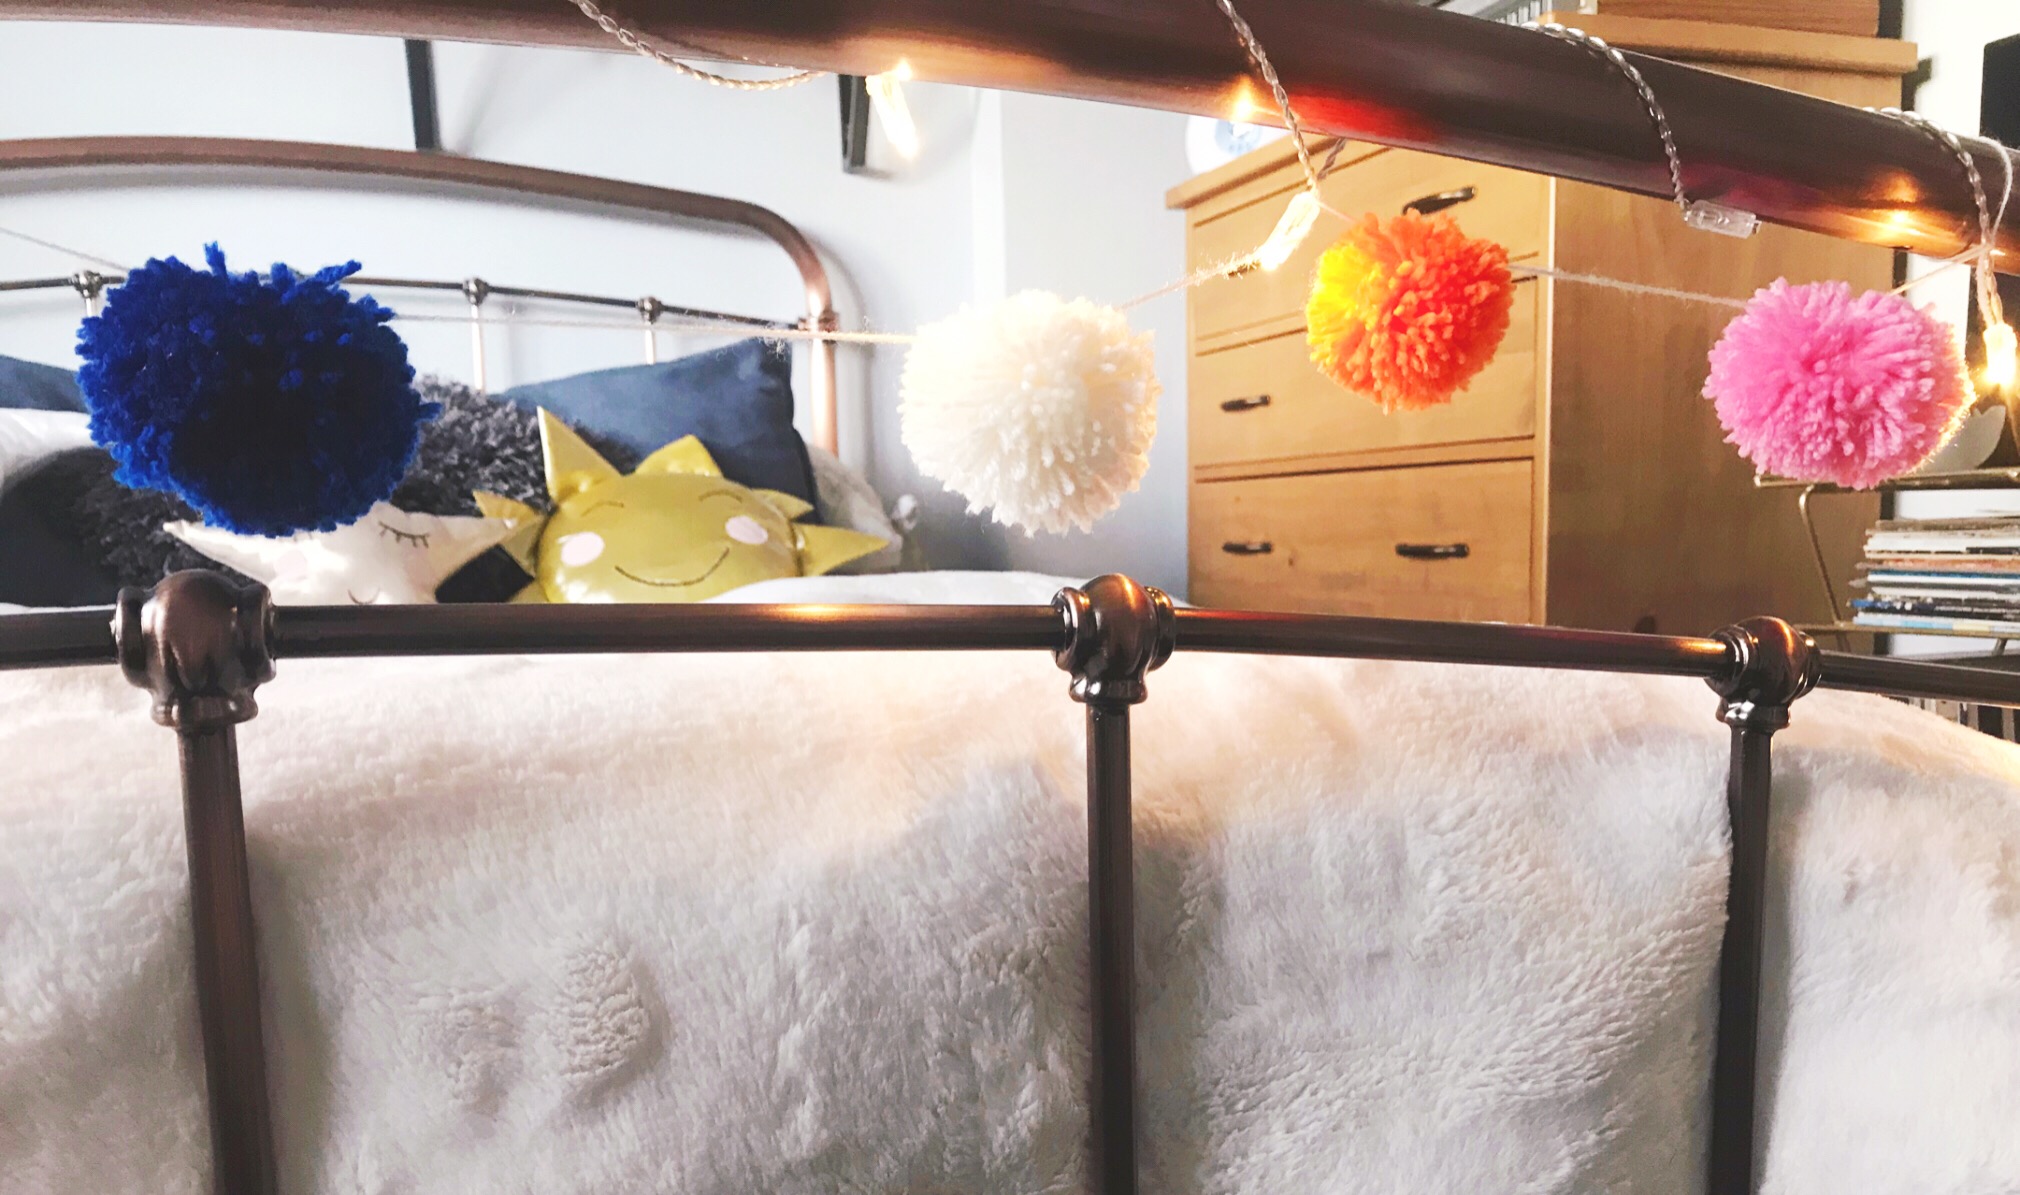
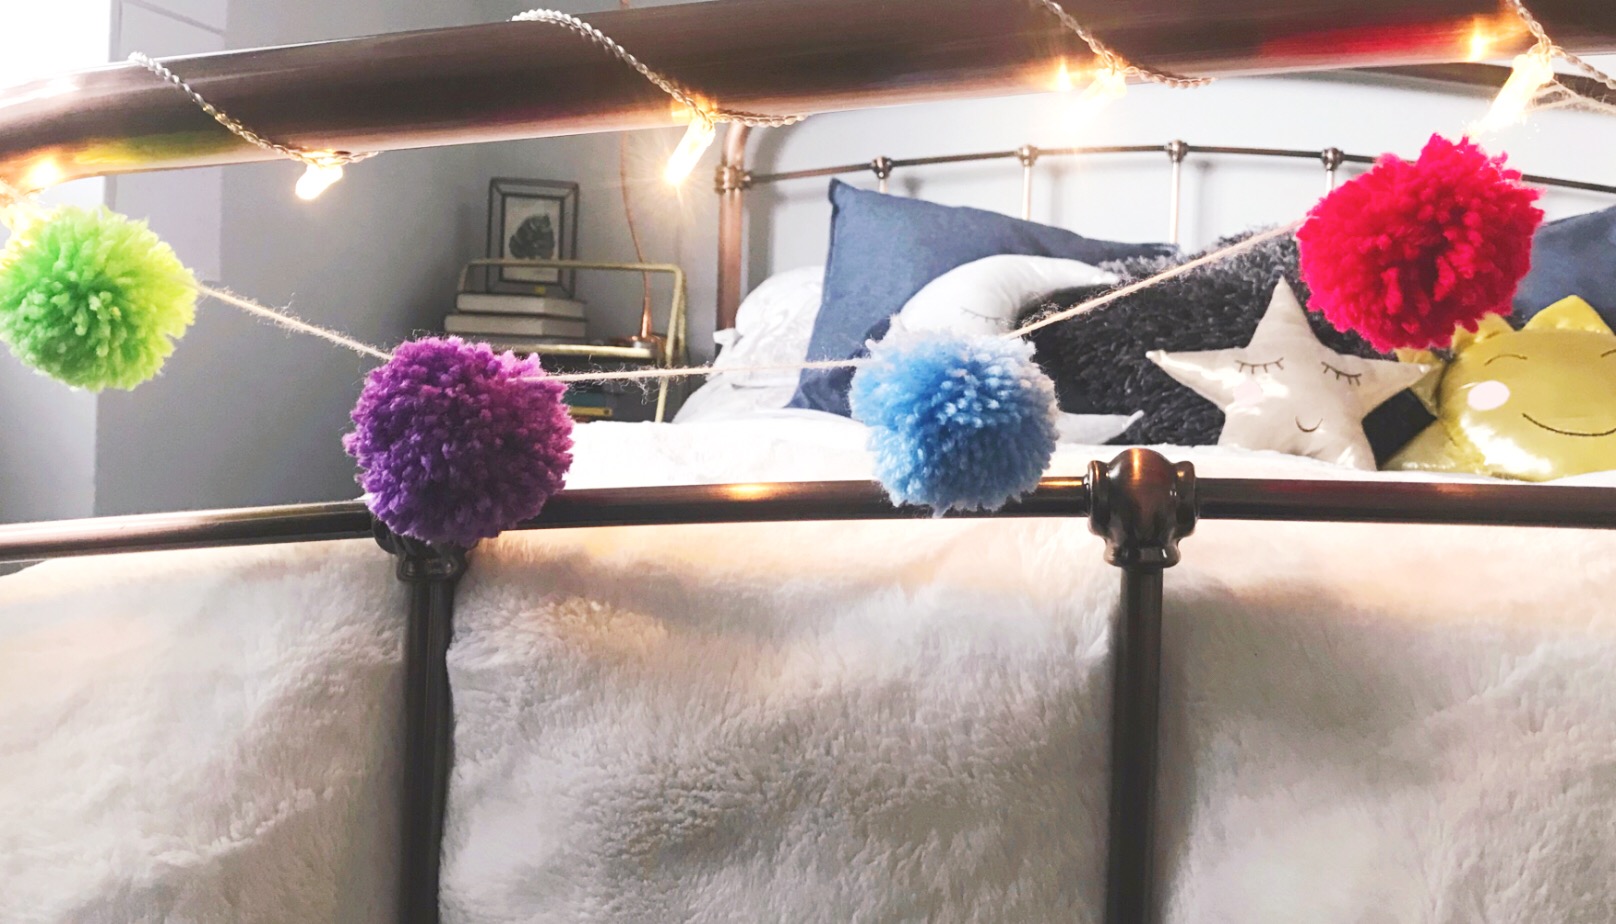
Take some more yarn for your garland string. We opted for cream for a neutral colour that would look great with all our other colours. Lay your pom poms out in a line with the amount of space between them you wish them to have when on the garland. Now you can measure and cut the yarn to the correct length. Tie the yarn around each
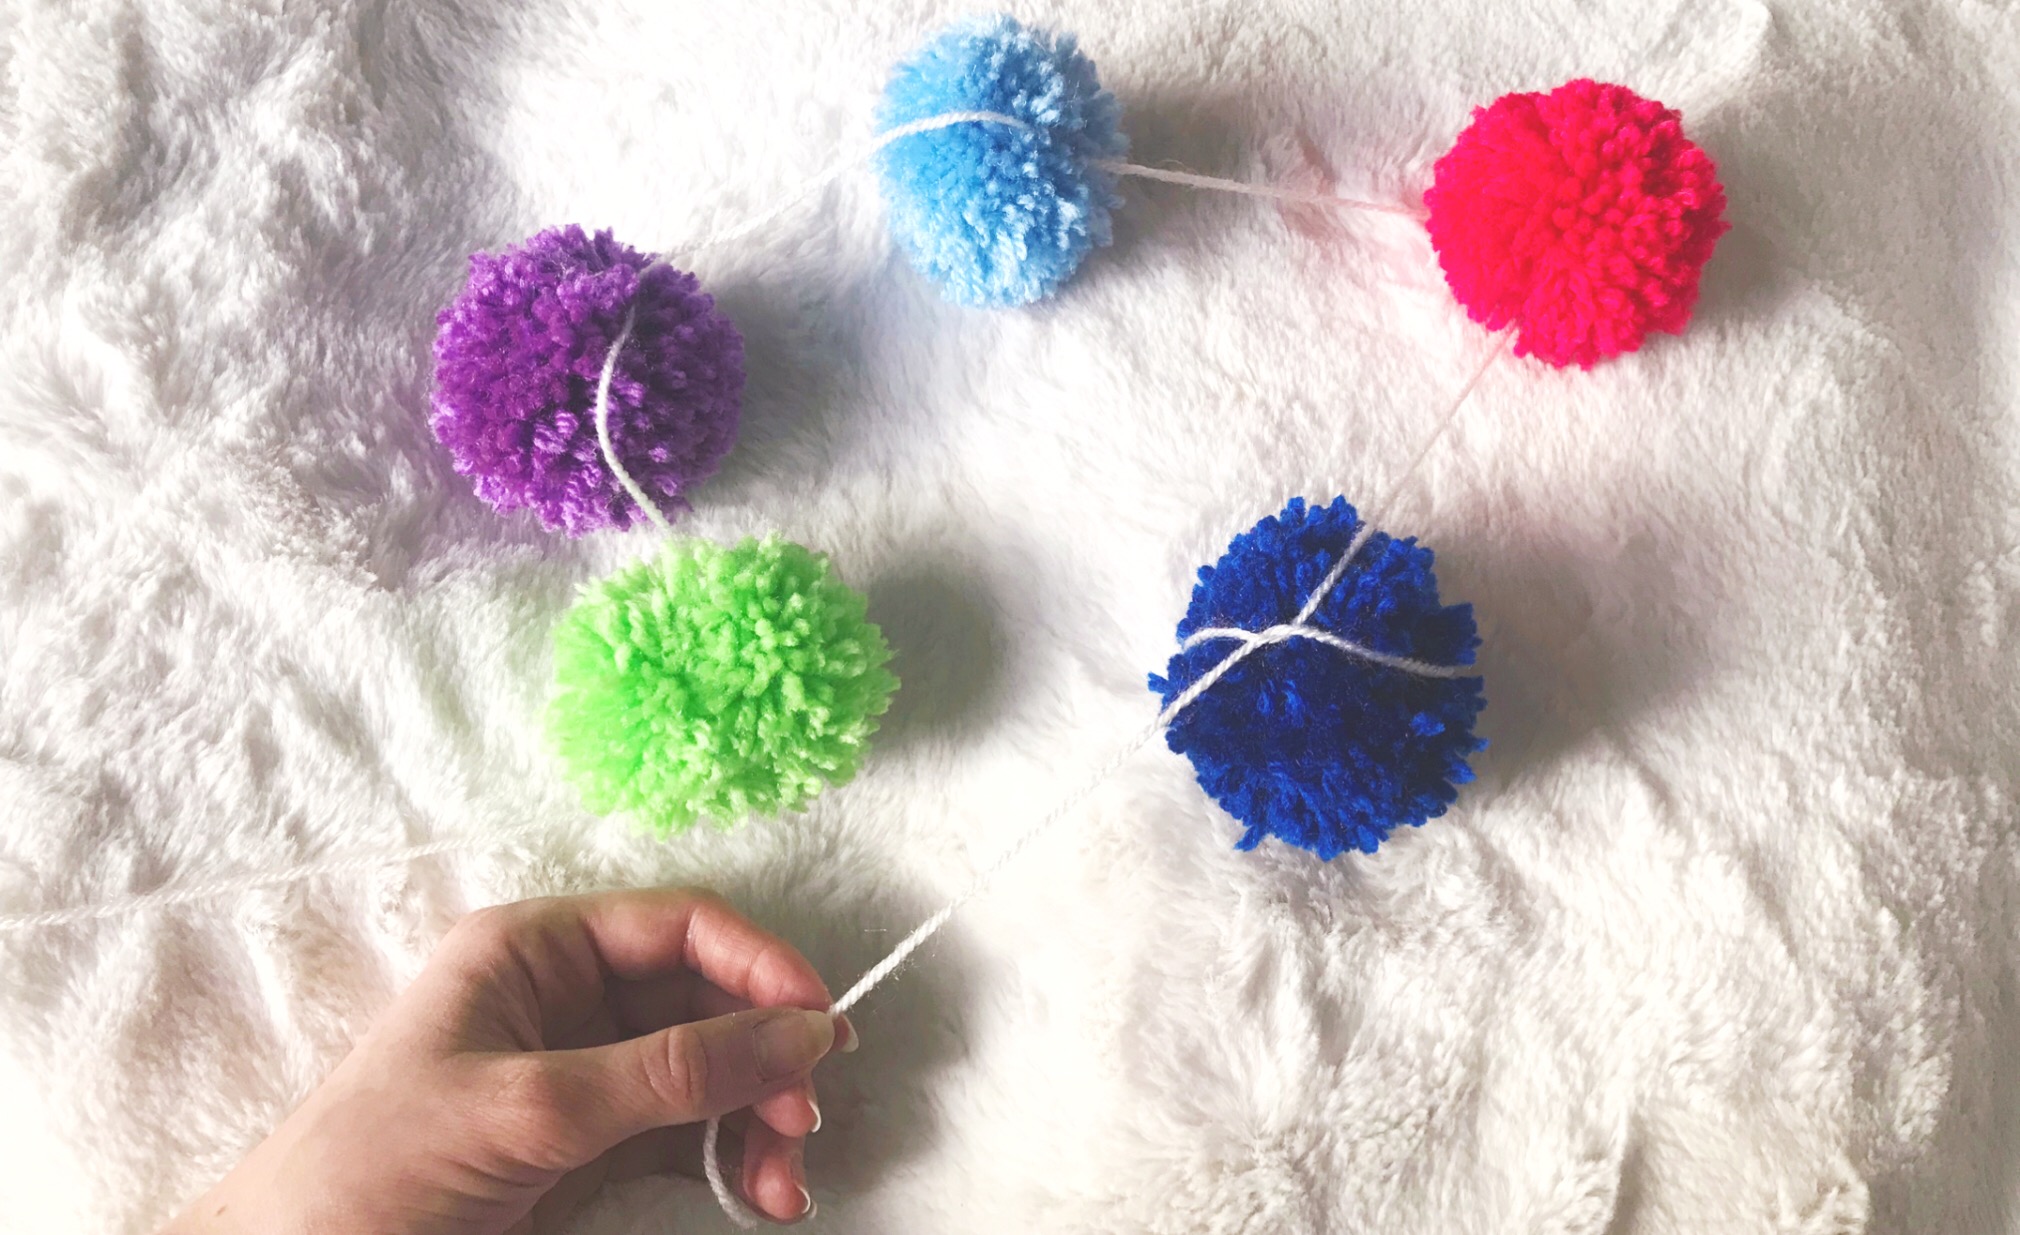
Step 12: Decorate!
All done! Go forth and adorn your entire home with these adorable and easy-to-make fluffy friends! We love them to brighten up a