Fantastic Flamingo Cake
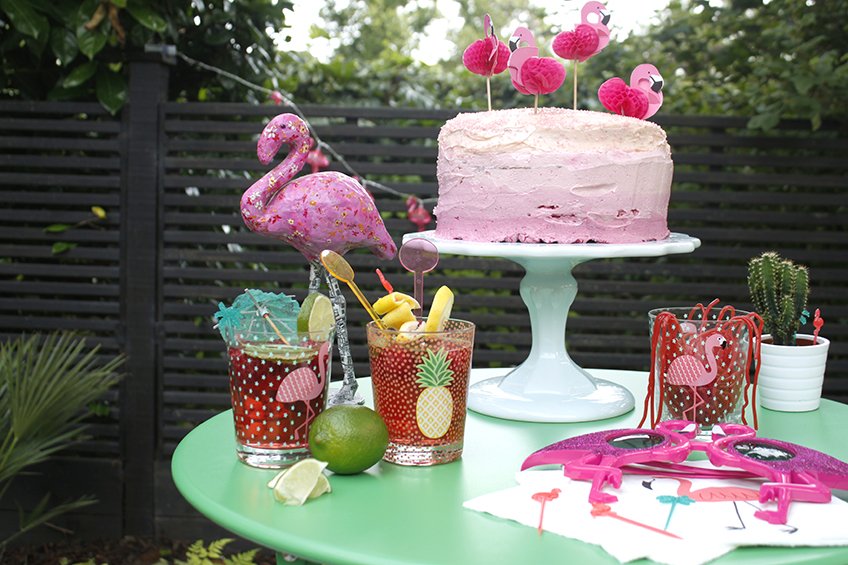 We are very excited right now, for so many reasons. Firstly because today The Great British Bake Off will be back on our screens. There is no TV programme we love quite like GBBO. Mary Berry and the clan are as comforting as tucking into a slice of Victoria Sponge. It inspires us to bake in a way that no other cookery show has done before it. For that, we are eternally grateful. Another reason we’re rather ecstatic is because we have our very first guest blogger showing us how to bake *the prettiest cake we’ve ever seen*! The lovely Eboni, from EBONI + IVORY, also shows us an extremely easy Pink Lemonade recipe – another thing we’re eternally grateful for (you can see why we’re a little overexcited.) Now you’ve heard what’s in store, we imagine you are a bit too! Read on to discover how to bake pretty with Eboni…
Hey Guys,
I am Eboni, from EBONI + IVORY Blog. Lovely to meet you! Today’s post is a little bit special and a lot-le bit exciting!! It is a “How-to” Flamingo Cake and Pink Lemonade. This month Sass & Belle and I have teamed up to bring you a fabulous food post celebrating the Tropical Flamingo Summer products and The Great British Bake Off returning to our screens! So, we’ve all heard the saying “Third time’s a charm”? Well, I’m inclined to universally change this saying to “FIRST time’s a charm”! Because this is the first time Sass & Belle have collaborated with a Guest Blogger and the first time I have ever made this cake! I must admit, the process of making this Flamingo cake was not always smooth sailing (although we never got as heated as that Baked Alaska, Bake Off disaster) but I like to think that all the mistakes I made, will be mistakes that you won’t have to make! (Like that positive twist? ;) OK, without further ado, LET’S GET BAKING!
You will need:
- 450g unsalted butter, very soft
- 450g caster sugar
- 2 teaspoon vanilla extract
- 8 large eggs
- 400g self-raising flour
- 50g cornflour (note you can use an additional 50g self-raising flour instead)
- 4-5 tablespoons milk
- Pink food colouring
For the icing – (this is a basic guide; you may end up using more or less depending on your taste)
- 280g/5oz butter softened
- 560g/10oz icing sugar
- 2-3 tbsp milk
- Pink food colouring
- Pink edible glitter for decoration (optional)
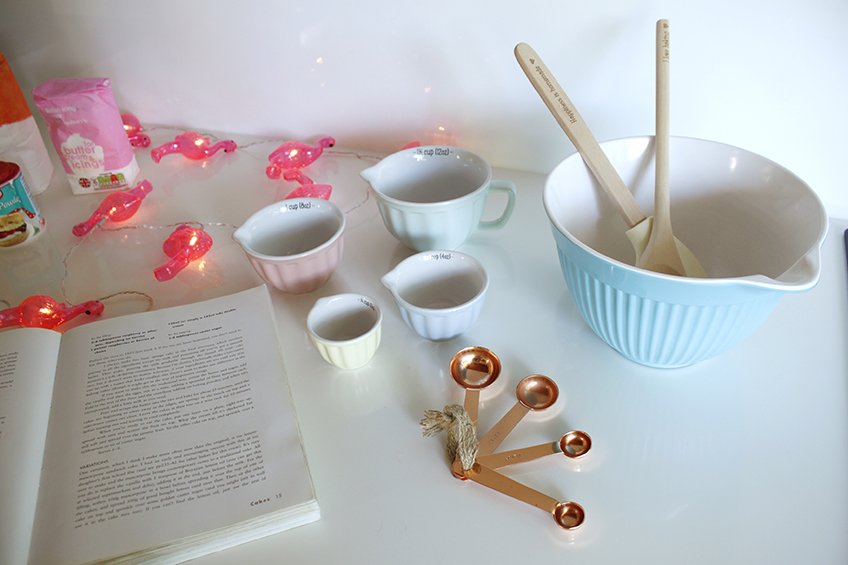
Equipment
- Mixing bowl
- Weighing scale or measuring cups
- 2 x 21cm sandwich tins (about 5cm deep), buttered
- Measuring spoons
- Electric whisk
- Wooden spoon/spatula (Sass & Belle have some cute ones)
- Piping bag
- Long palette knife (or similar)
Method
This method is to make the first 2 layers of your 4 layer cake.
- Preheat the oven to 180C / gas mark 4. If the tins are loose-bottomed, you don't need to line them, otherwise, do.
- Cream 225g of butter and 225g of sugar, add 1tbs of vanilla and 4 eggs, one at a time, adding a spoonful of flour between each (only use 200g of flour at this point). Fold in 25g of the cornflour and when all incorporated, add a little milk as you need.
- Now the fun bit! Add a generous amount of the pink food colouring to create a pink batter - My top tip would be “more is less”! Be generous with your colouring for a brighter pink (but remember to save some for the icing!)
- Pour and scrape the batter into the tins and bake for about 25 minutes, until the cakes are beginning to come away at the edges, are springy to the touch on top and a cake tester comes out clean.
- Leave the cakes in their tins on a wire rack for 10 minutes before turning out and leaving to cool completely.
- Repeat the process using the leftover ingredients to make the third and fourth layers.
You may want to add a little more of the pink colouring to the second batch to darken the colour of the layers and create an ombre effect.
Ombre Icing
- Beat the butter in a large bowl until soft.
- Add half of the icing sugar and beat until smooth.
- Add the remaining icing sugar and one tablespoon of the milk and beat the mixture until creamy and smooth.
- Beat in the milk, if necessary, to loosen the mixture.
- Ok, you should now have a smooth, creamy, fairly stiff buttercream icing mix.
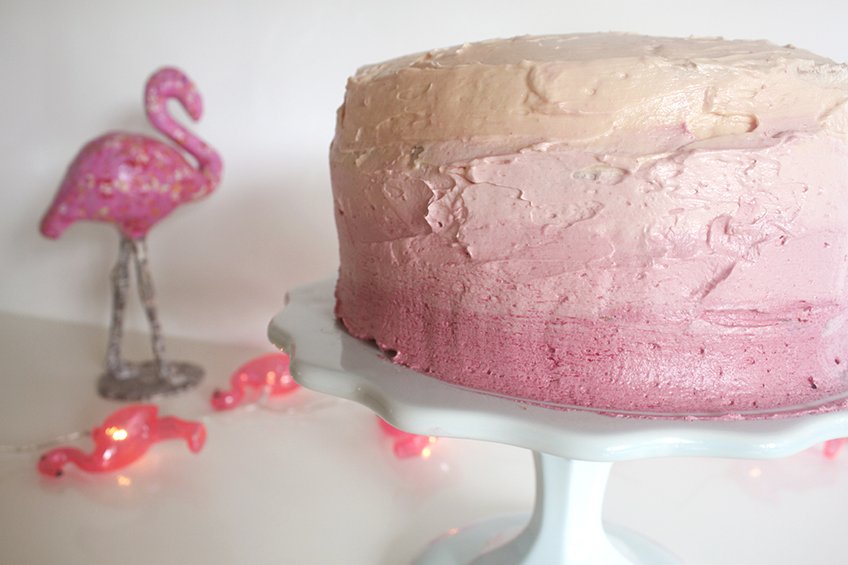
- You are going to add a little of the pink food colouring to create a pale pink. Use this between the cake layers to create your tower. (If your layers are different colours, stack them light to dark for the ombre effect. Or, you could stack them “light, dark, light, dark”, as I have done).
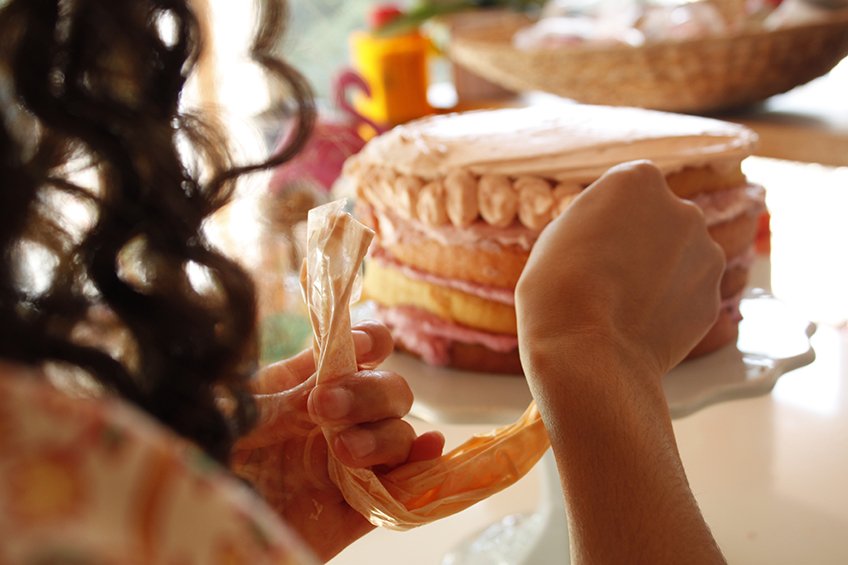
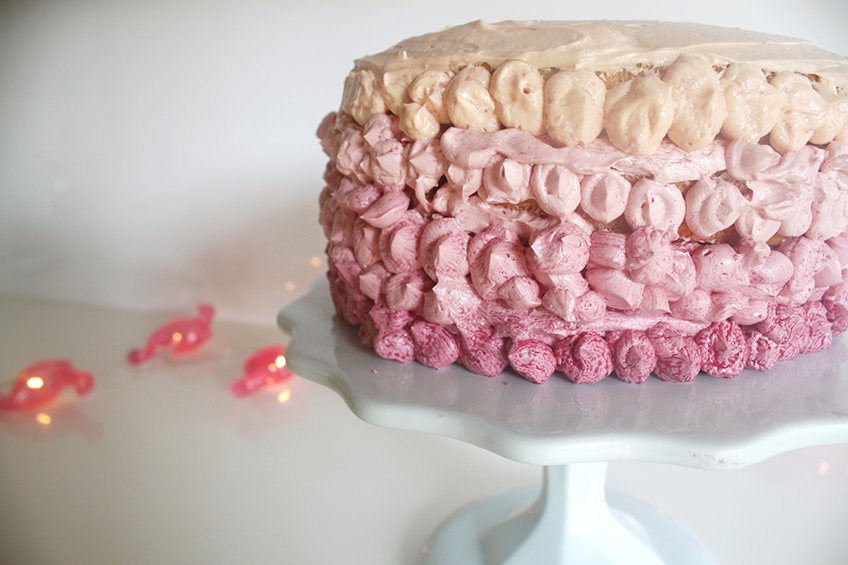
- Now use the piping bag to pipe blobs of icing on the top of the cake and around the sides of the first cake layer.
- You can now add a little more of the pink food colouring to darken the shade of the icing and pipe in blobs around the sides of the second cake layer.
- Repeat this process of darkening and blobbing down the fourth cake layer.
- Take the palette knife and gently smooth the blobs to create a sleek ombre effect.
- My top tip would be to use a piece of kitchen towel in your other hand to wipe off the excess icing that you will scrape away.
- There may be some air pockets that you can just smooth over with a little butter knife or teaspoon.
Decoration
This is my fave bit! Time to show off your art skills and jazz up your flamingo cake!
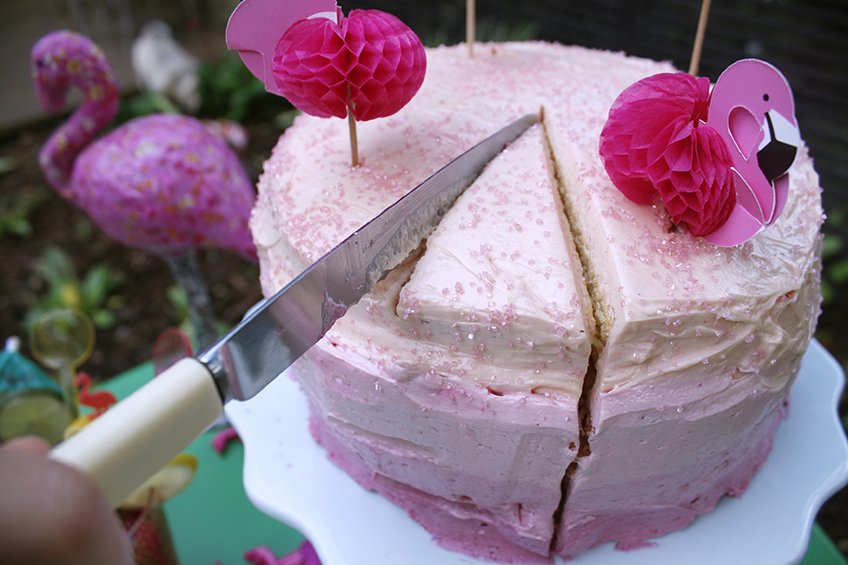
- I sprinkled edible pink glitter on the top of the cake. I also sprinkled a little bit at the top of the sides to create a “dripping crystals” effect.
- I also found some Flamingo cocktail sticks to top off the cake with a party theme.
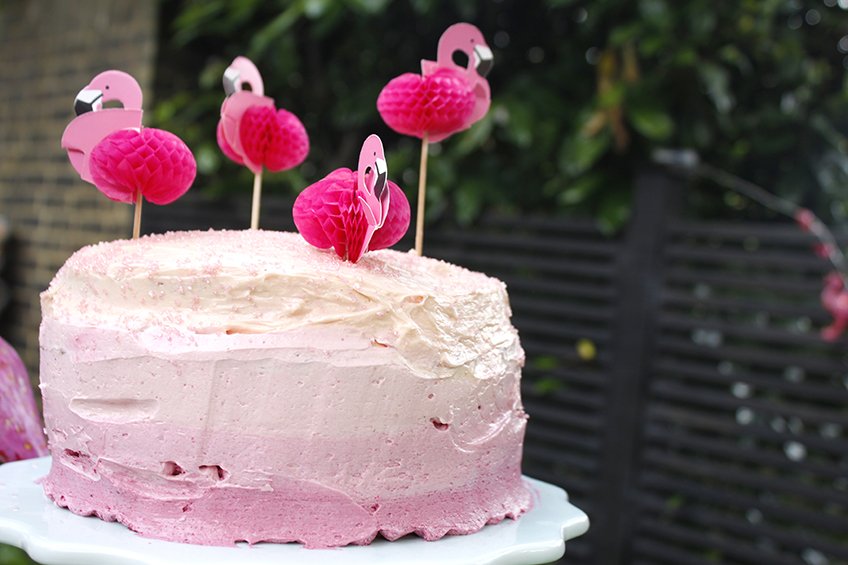
And there you have it! Your Fantastic Flamingo Cake! Perfect for a summer party or birthday!
After all that baking and flamingo fun, you may be thirsty! Perfect time to make a juicy thirst-quencher in the best colour!
Quick Pink Lemonade
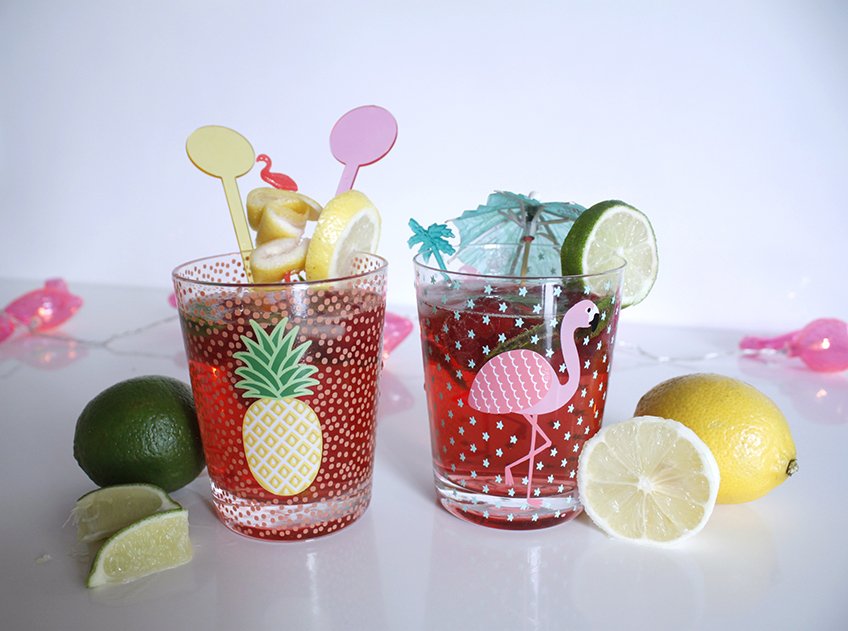
You will need:
(For 2-3 glasses)
- A large handful of raspberries
- Cranberry/Raspberry juice
- Sparkling lemonade
- 1 lemon
- Ice
- Mint to taste (optional)
- Fun decorations
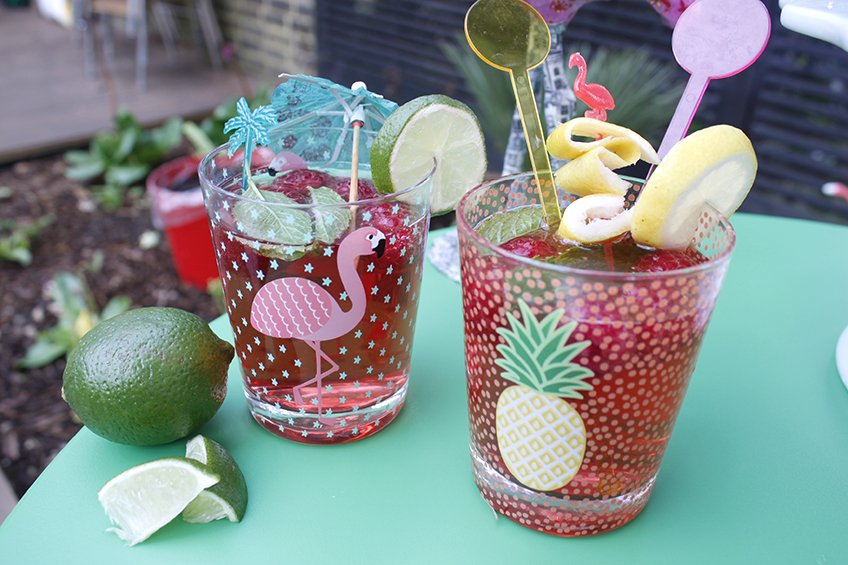
- And of course, some sassy tropical glasses
Method
- Fill half the glass with the cranberry/raspberry juice and top up with sparkling lemonade.
- Squeeze 3-4 raspberries to allow the juice to escape and drop into the glass.
- Add a couple of mint leaves for a refreshing twist.
- Add your fun decorations. I have used an umbrella, flamingo and palm tree sticks and some bright stirrers.
- Add ice just before serving.
Advance technique: Turn your Quick Pink Lemonade into a boozy dream “Pink Mojito” by adding a little white rum, lime and a sprig of mint!
Thanks for joining me for this fun post! And thank you to Sass & Belle for having me as your first guest blogger!
I hope your bakes are going well and if you do give the Flamingo Cake or Pink Lemonade ago, I would love you to send me pictures via Twitter: @ebonidixon. You can find more about me over on my blog EBONI + IVORY. I post regularly about lifestyle, fashion, beauty and travel.
Love Eb x


